
Hi everyone! Are you surprised to finally hear from me? :) Well, lets just say I planned on taking a short break from blogging to enjoy my month long vacation in Alaska, and then the short break became a looooong one. So what has been going on in my crazy world? The question should be what hasn't? Our time in Alaska was great! I will be typing up a few posts and adding them to the travel section within the next few days (I hope). We returned on August 9th and that night our air conditioner went out! Say what?! No AC in TX in the middle of August?!! Aaaahhhhh!!!!!!!!!!! So anyway, I decided to have the entire system changed out and two days later we were A-ok.
The next day my close childhood friend from 5th grade and her son stopped by for a week long visit. We had a blast showing them around San Antonio. We were so busy with the AC going out and our site seeing that I didn't even get to unpack our luggage from AK. Anyway, our friends left last Friday and I have been taking the past few days to clean my house, work on the toy room, and do laundry.
I seriously feel SO BEHIND. I have tons of blog posts I need to type up and I have yet to paint my master bath or do the master bedroom stencil accent wall I've been planning for about 4 months. Actually today's post was supposed to be blogged about back in June! I'm ducking my head in shame. Yes, that's right, I completed this project back in June when my Mother in Law was in town visiting. So without further ado, here we go:
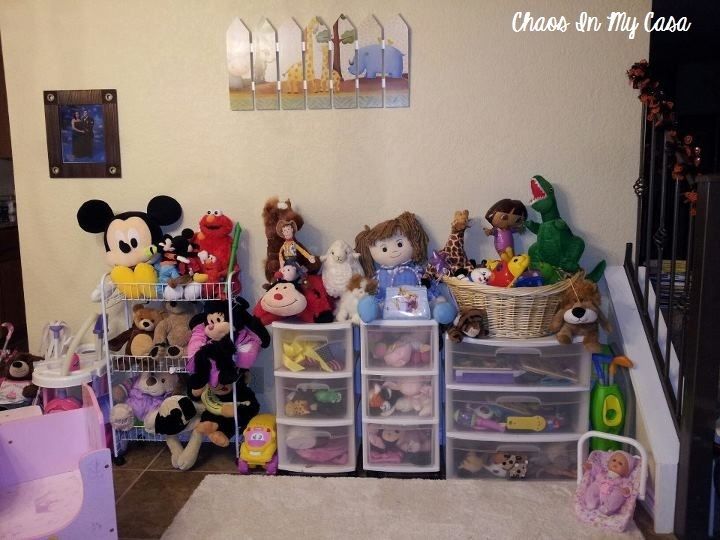
As you all know, Eva's toy room has been an ongoing project for me. I've owned my house 11 months and thus far I've redone that room about 4 or 5 times. I can't seem to find an arrangement that works. As she gets older, her toys change, we donate the ones she no longer plays with, etc...Well, for the past year or so she has been heavy into Disney princess everything. Shocking, I know. She has amassed quite a dress and accessory collection and it has given me lots to think about. I used to store everything upstairs in her closet, but that made no logical sense since she wanted to change her outfit like every 2 minutes. Then I tossed all her Princess shoes and dresses in a big Princess bin...but it was overflowing, as were all the other toy organizers.

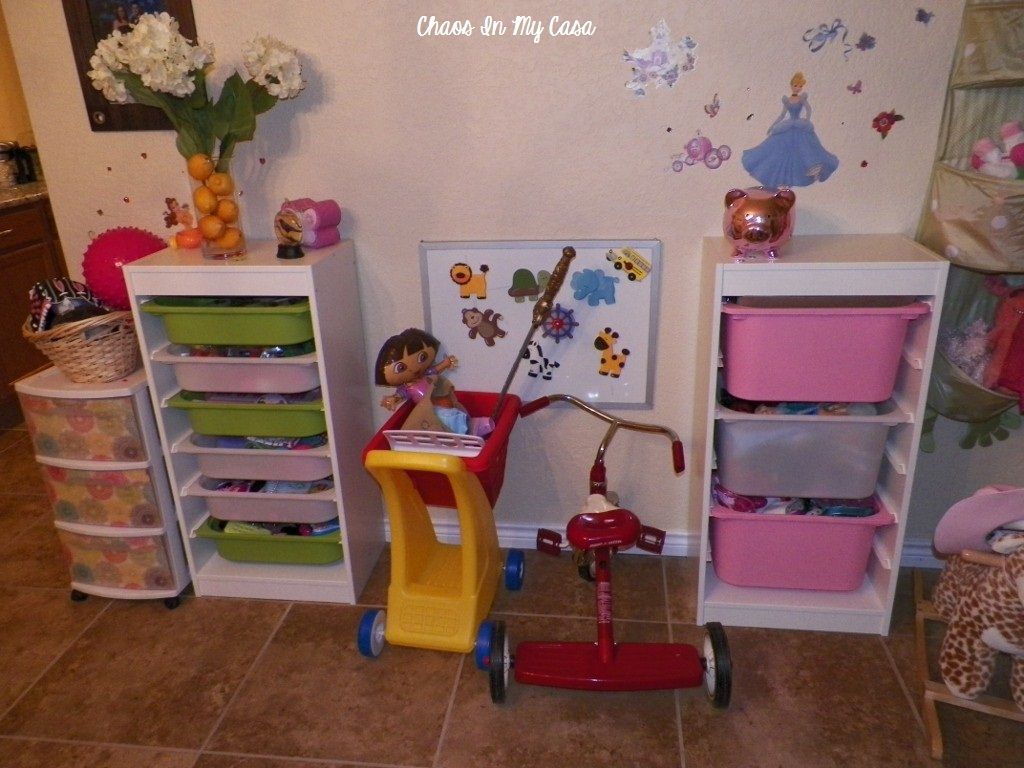
Some time around March or April, I went to Ikea and bought two of their TROFAST shelving units and bins to help me organize and store Eva's toys:


This is how they looked in our home:
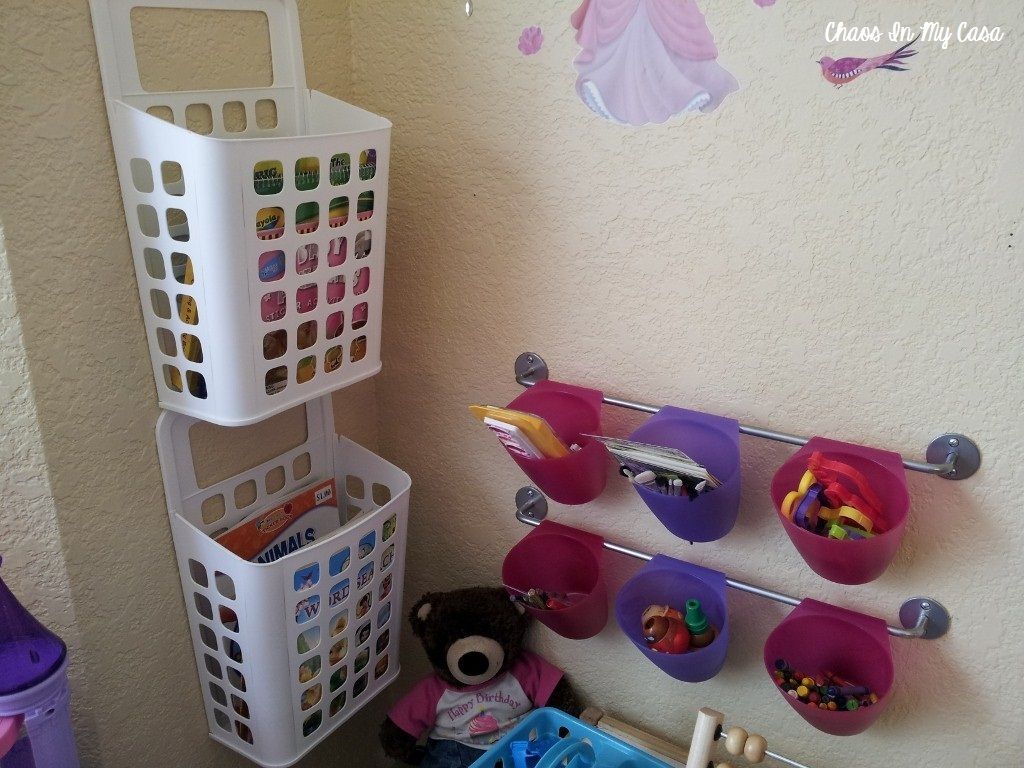
I also bought a rail system to hold her crayons, stickers, paint brushes, etc, and two plastic wall containers for her coloring books:
I was happy with the organization aspect of it, but one day out of the blue, I thought to myself, wouldn't it be great if I could create one single unit out of the two TROFAST shelving units? If I could buy a piece of wood, cut it, and paint it, then use it to cover both, I could even move her TV there and possibly get rid of the coffee table. I thought I was getting in over my head so I never acted on it. Then my Mother In Law came to visit in June, and I mentioned my idea to her. I also told her I would like to hang a tension rod between the two units so I could hang all of Eva's princess dresses. She basically said, "Good idea, what are you waiting for? I'll watch Eva, you go get the materials." She also said she thought the tension rod probably wouldn't hold well, so maybe I should consider putting in something more substantial, like a hanging bar. She is a GENIUS, I tell you. So off I went to Home Depot. Lo and behold, not only did they have a long piece of wood that was the exact size I needed, but it was also already painted white! WHAAATT???? I seriously lucked out. No cutting and no painting. Next I went to look at wood dowels. I chose one and asked the very nice guy at Home Depot to cut it down to my desired dimension, which he did. I also consulted him on hanging hardware and he showed me exactly what I needed. I love Home Depot!
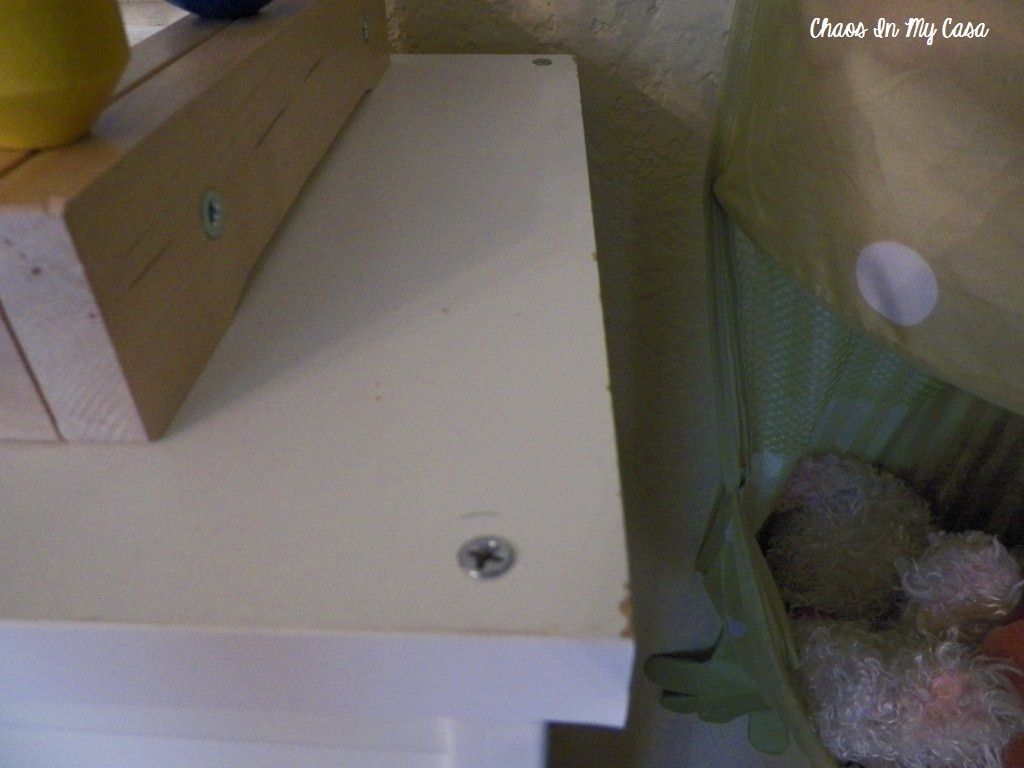
When I got back home, the first thing I did was lay the white board on top of the shelving units, and used four screws to anchor it down.

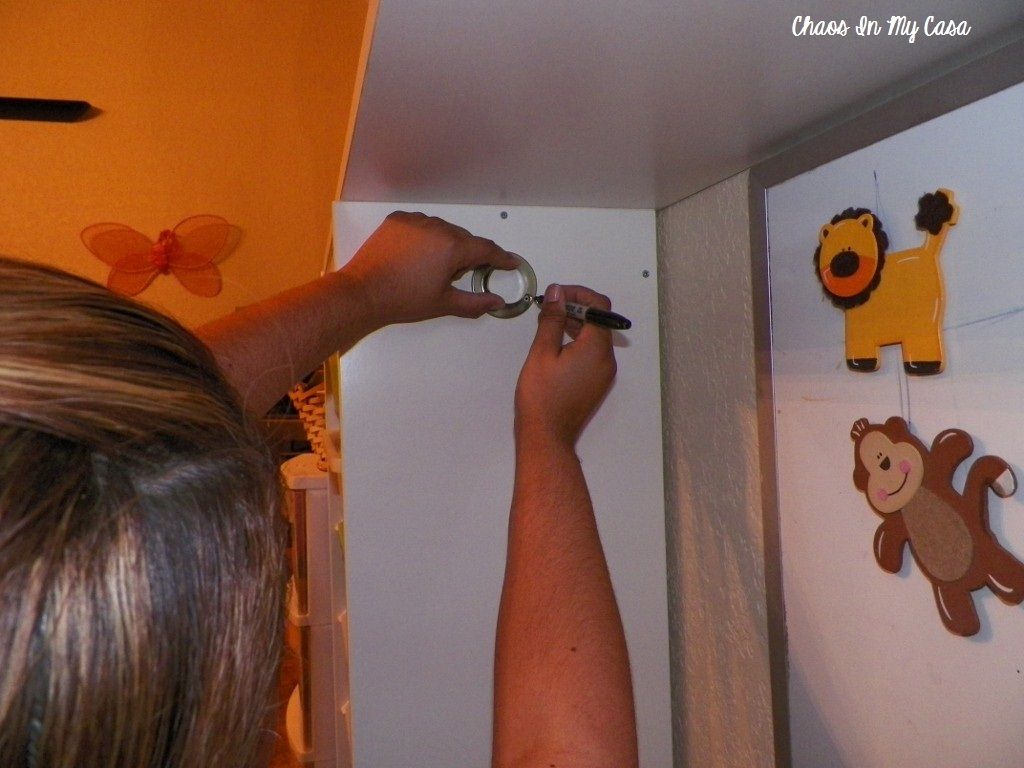
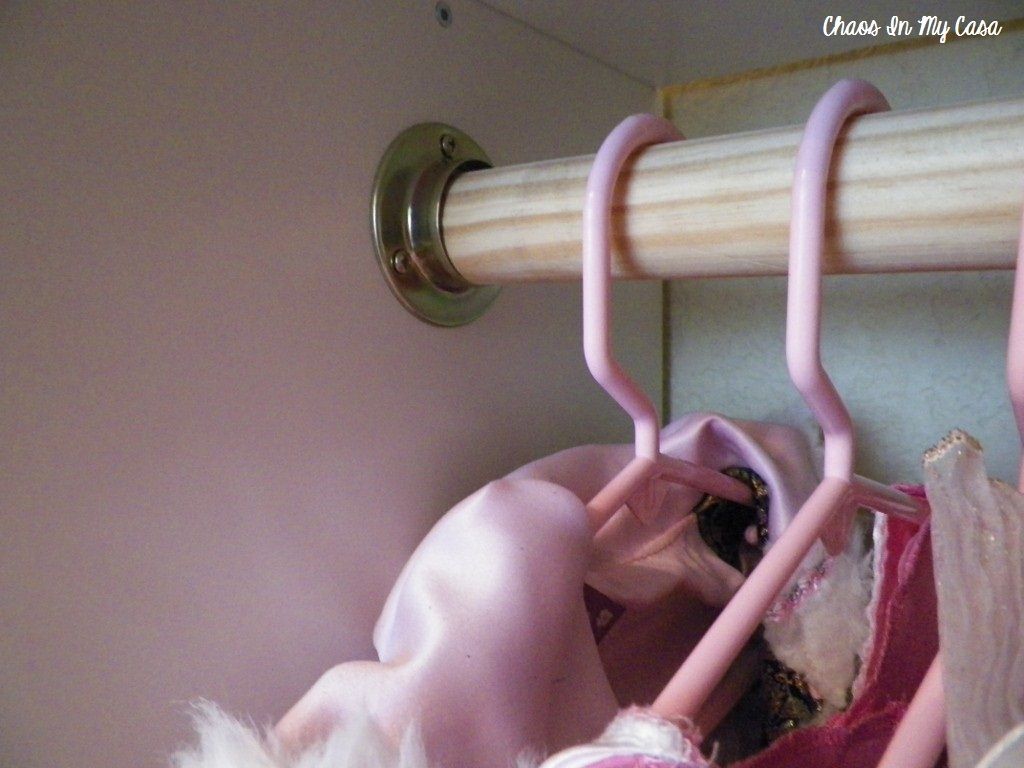
Next, I measured and marked where I wanted to install the hanging hardware for the dowel:
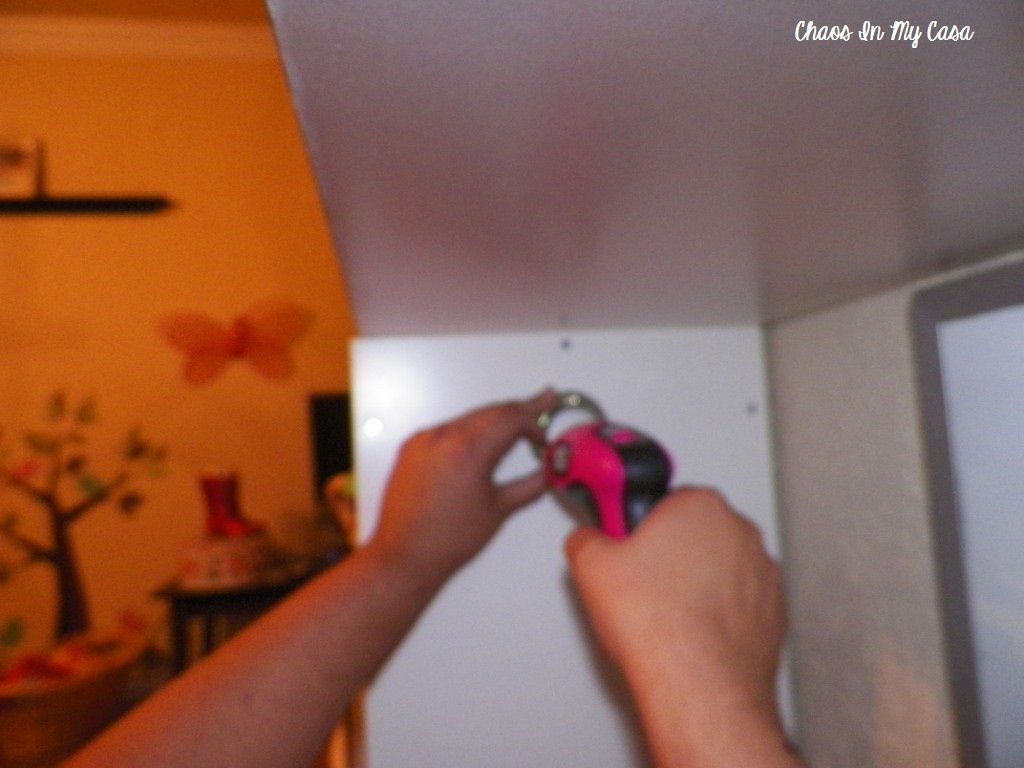
Then I used my mini drill to install it because using a plain ole screw driver was taking too long. (sorry for the blurry picture)
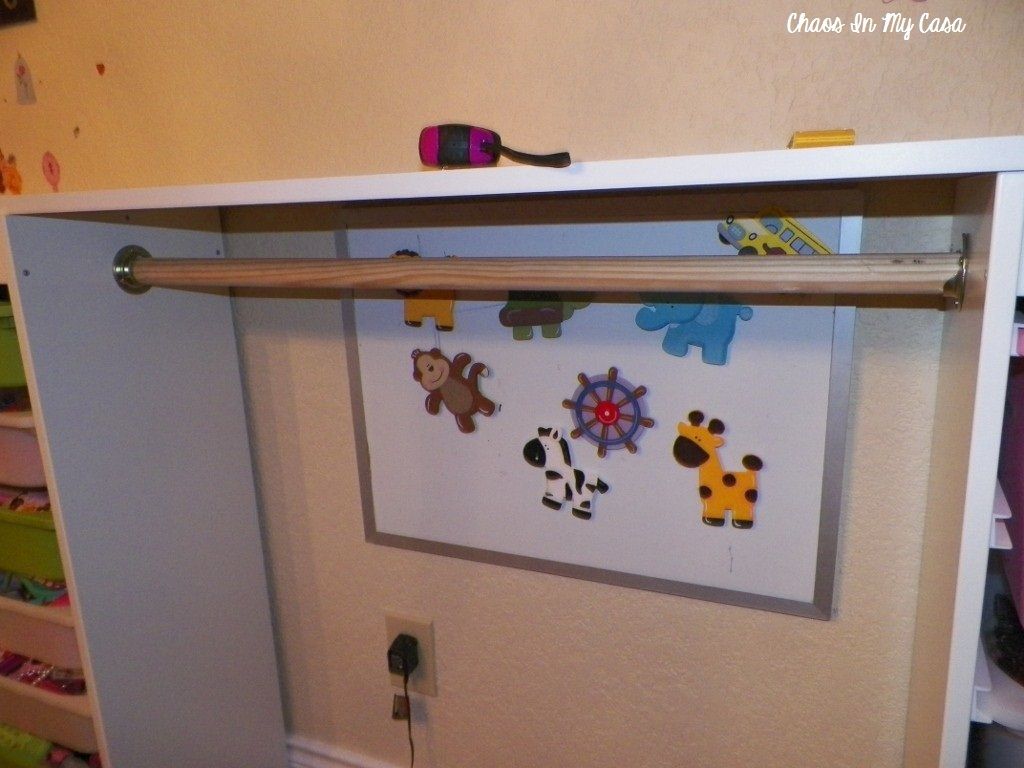
TADAAAA!!!
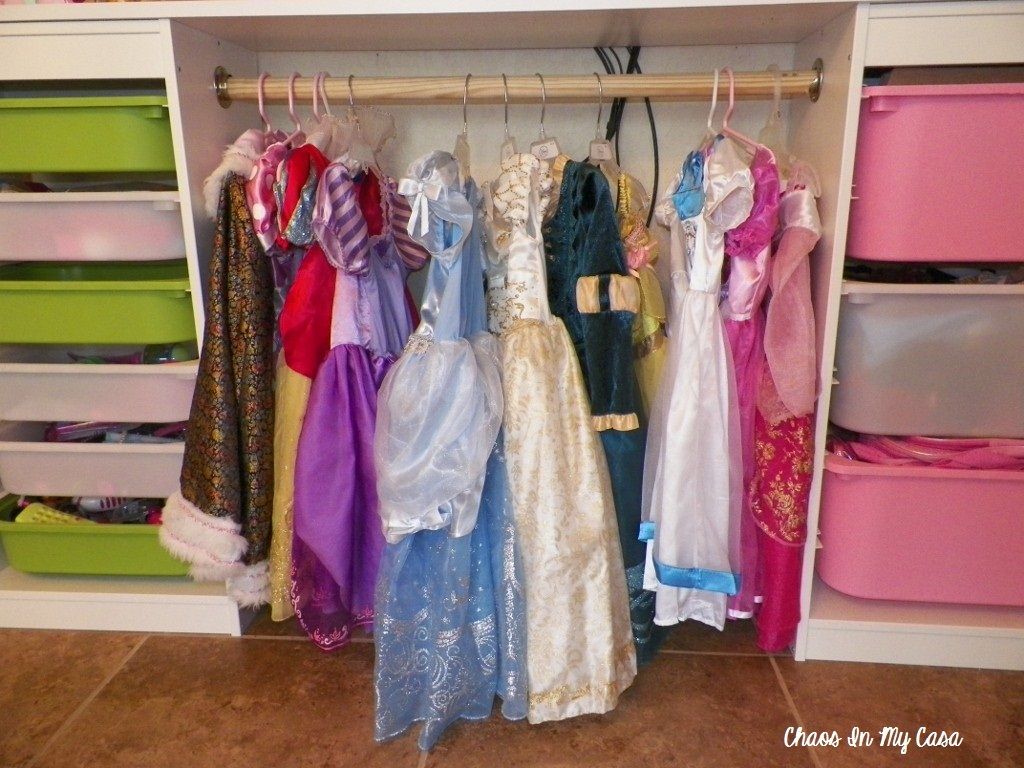
After that was done, I just removed the dry erase board and hung up all her dresses:
Now that it was all put together, I was able to move the dvd player and TV from the coffee table to the top of this unit:
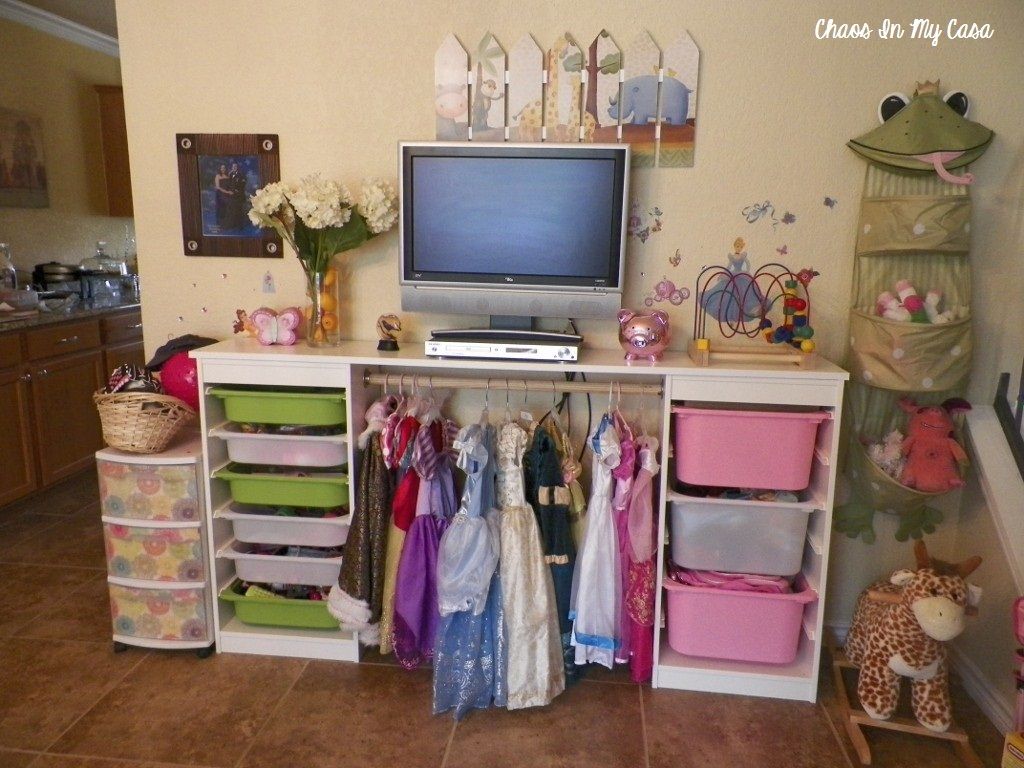
I was pretty darn happy with myself. Of course, I found out later that my idea wasn't the first of its kind. People always modify IKEA furniture and they use the term "hacking IKEA furniture." There's even a website dedicated to these types of idea. Who knew?!
So that is how I was able to organize and corral all of Eva's toys and dress up clothing. This puts everything in one location and I no longer have to worry about her going up and down the stairs to grab her princess gear. I have plans to make the dining room more formal and less kiddie, so I would like to make a curtain to cover up the front of this unit. I was working on one inspired by Raising Up Rubies, but the colors aren't working for me anymore, so back to the drawing board I go. Sorry it has taken me so long to get back to blogging, not that many people noticed lol, but it is good to be back!
Thanks for posting this! I am looking to do something similar to corral all of my daughters' dresses too! Wonderful idea! I see a trip to Ikea in my future. :)
ReplyDeletewww.dinnerandamommie.blogspot.com
Thank you! It has worked out wonderfully. I hope it works for you as well!
DeleteThis is really wonderful :) But I have to ask where you got those plastic wall containers for the coloring books in the picture with the rail system? Those are exactly what i need! Thank You, Sammy
ReplyDeleteThank you, those are from Ikea :) They were between the children's department and the area with the rail systems.
Deletedid you get the coloring bins and railing at ikea also?
ReplyDeleteYes, they are also from Ikea :)
DeleteWhat are the finished dimensions on this? I definitely need to do this! Thanks.
ReplyDeleteThe board I purchased was 72.5" by 12" and I had the wooden dowel cut to 35" :)
DeleteThis a great post! I enjoyed reading it.
ReplyDeleteI think this article could complement your post.
Good luck with your future piece :)