
Hiya Everyone!
As you all know, a few months back my MIL taught me how to sew on a sewing machine. Since then I have been dying to try my hand at making something all on my own, and redoing my dining room has provided me with many sewing project opportunities. First, let's talk fabric. I told you I wanted to reupholster the dining chairs. The original fabric was too dark and outdated. Hello, 1950 called and it wants its tacky fabric back ASAP!
In addition to that, I wanted to make curtain panels to cover up the unit I created for Eva's toys out of 2 IKEA cabinets. I also took down the cutesie curtains that were hanging in the room since they were the same ones that we used in Eva's nursery when she was born. So we needed new curtains as well.
That's a whole lot of fabric we're talking about. Those of you DIYers who sew know that nice fabric is not cheap. It's hard to find nice fabric, period. Joann's and Hancock usually have very limited selections. I decided to check at Hancock first since it's located next door to my Benjamin Moore paint store and I was already heading that way to buy paint samples.
I totally hit the jackpot at Hancock's. I found a beautiful fabric with French handwriting (how perfect is that?!), which would go perfectly with the new dining room table. It was only $11.99/yard, much more affordable than the other French writing fabric they carried that was $25/yd. Actually they were having a sale so I think I got it for about $8/yd. Next I looked for a pretty print for the window curtains...not so lucky there. I found NADA. I was also having a hard time finding fabric for the small panels that would cover the toy unit. Then I passed by their scrap section, where everything is $5/yd. I found the perfect fabric. The only problem was I needed a piece big enough to cover the 72"x38" unit. I crossed my fingers and measured it with one of their yard sticks. It was 75"x43"! I knew I would be cutting it close once I started hemming it, but it was too perfect to pass up.
So without further ado, here is the chair fabric, already on the chairs:

If I can locate the photos I took while covering them, then I will do a tutorial for you this week. I just uploaded a ton of pictures and I can't figure out which file they're in lol. Yes, I am that scatterbrained.
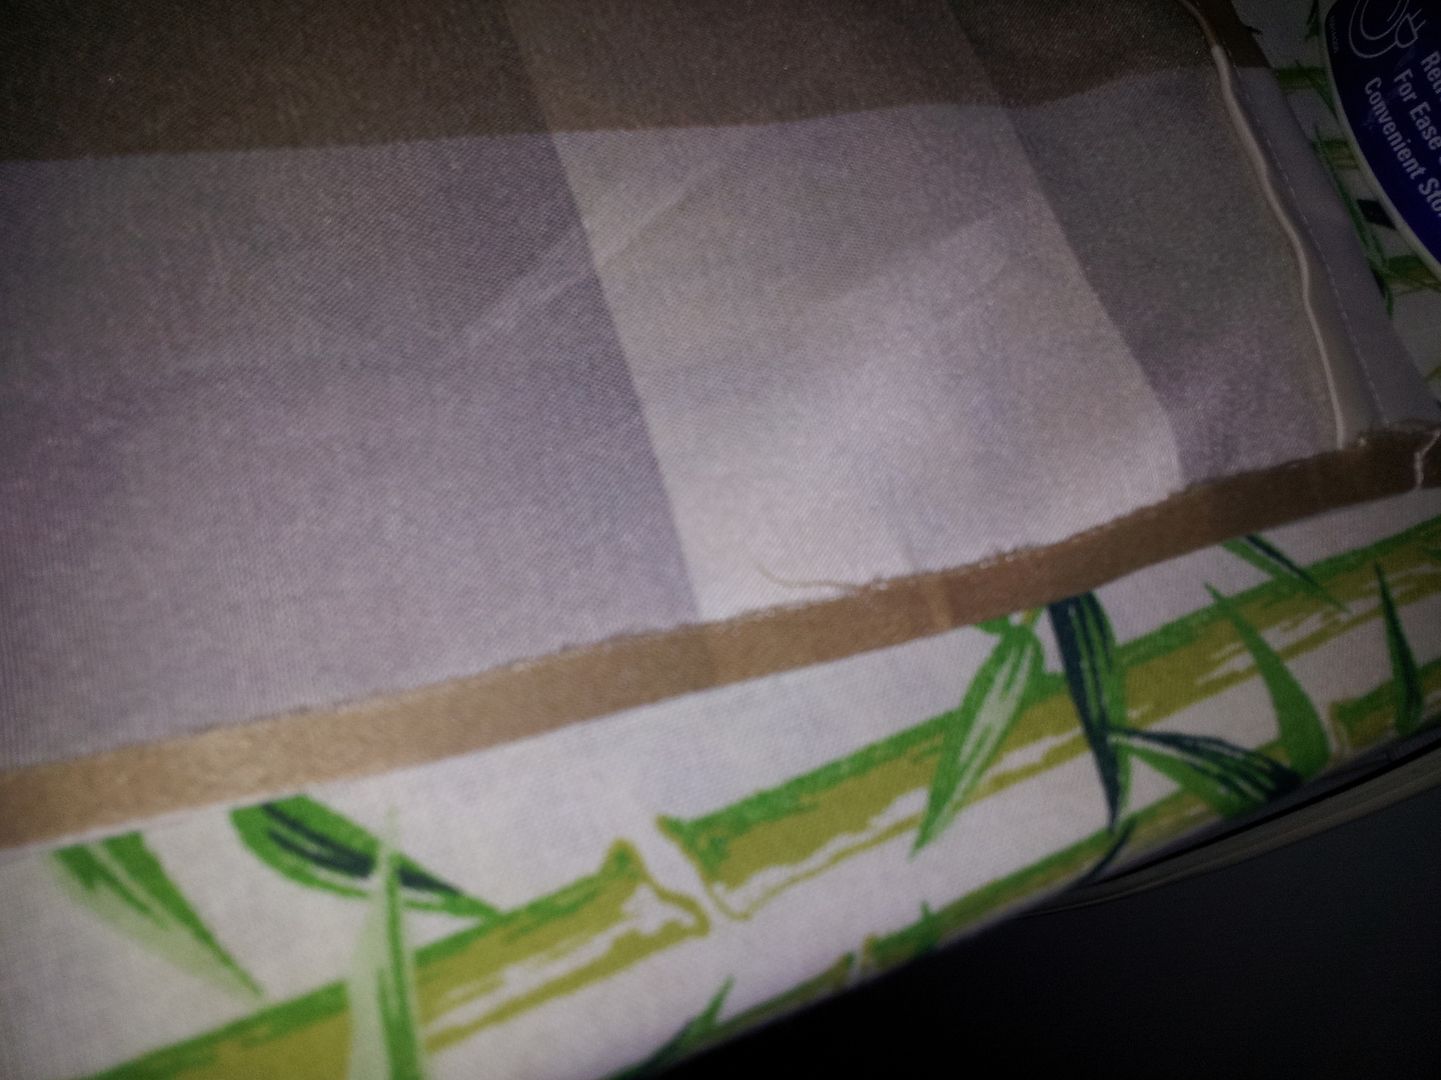
Here is the fabric for the toy unit curtains:

I don't know if you can tell, but there are very light grey stripes running vertically, which is perfect because I'm wanting to paint the room a lilac-y grey color.
This is not the original curtain I was going to sew. You probably don't remember this, but a few months back I started sewing ruffled curtains for this unit using fabric from a shower curtain I fell in love with at Marshall's. This is the fabric:

I was already started on ruffling and sewing a second curtain when I decided that I wanted to do something different in the room. It might seem like a lot of wasted work, but I plan on taking these apart and reusing the ruffles for a pillow cover or something.
So there's the whole back story, if you made it through that jumbled mess of retelling, you are now caught up on the fabric situation, and we are ready to start the tutorial. Finally!
Continue reading to see how I made these:

1.) Pick a fabric that is long enough and wide enough to cover whatever it is you're wanting curtains for, a window, toy unit, craft table, whatever. Have your fabric cut so that you have an extra inch on the bottom for the bottom hem, an extra 6 inches on top for the rod pocket, and at least 1-2" for a hem on each side.
Let's simplify that. You'll nee your fabric L+7" and W+4". I told you the dimensions for my toy unit were 72x38" and my fabric was 75x43", which means I only had 3 extra inches to work with for the side hems and 4 extra inches to work with for the bottom hem and rod pocket...this is why I said I was cutting it close. The only reason I was able to make it work was because I made the bottom and side hems really small, maybe about 1/2" and the the curtain rod I was using is really thin, so I only needed about 3" for the rod pocket.
2.) Once you've had your fabric cut to the correct specifications, iron it, and cut it down the middle length wise to create the two panels.

My fabric was 75" so I measured up to 37.5", made a mark and cut it down the middle.
(here are the two panels after I had cut my fabric straight down the middle):

3.) Next you're going to take both panels to your ironing board and you're going to hem both sides of each panel. It is IMPERATIVE that you do the sides first and not the top first or you will sew your rod pocket closed!
To hem the sides, follow these steps:
Make a small 1/4" fold

Iron

Fold over that 1/4" again so the raw edge is covered:

Iron:

Pin along the edge:

Then just sew straight down each side where you pinned:

Once you've finished, all four sides should look like this:

4.) Next repeat those same steps to hem the bottom of each panel. If you've got plenty of fabric to work with, you can make the hem wider. I had very little so I made it really small:

5.) The last thing you complete is the rod pocket. To create the pocket, you're going to follow the same basic steps you used to create the other hems, except this time, you will make a small fold where the raw edge is:
I basically folded along that perforated line:

Then you're going to fold again, making sure that your second fold is big enough to fit whatever curtain rod you're using.
Then iron:

Pin and insert your curtain rod in the pocket before you sew to make sure it actually fits:

One extra precaution you can take is to hang the curtains before sewing that pocket, just to be sure they are actually long enough:

Mine fit perfectly, but if yours are just short and you have extra material where the rod pocket is, you can always let some of the material out before sewing the pocket.
Next, carefully sew right along the fold so you don't sew the pocket too small for the rod:

When you're finished, you'll have something that looks like this:


Now go hang your curtains!
Ahhhhhh.....so pretty!

Buh bye toy bins and dresses:

This makes me happy :) I love that the fabric I found is sort of a checkered pattern, and checkered patterns are often used in French Provincial decor. I love that Eva's toys and dresses are hidden away! I especially love that I can proudly say I made these myself.
I know it seems like a lot of steps, but it's really very easy, I just talk so much that I make it seem complicated. Would it be easier to just go buy some curtains? Yes, of course, but it would be much more expensive, and when you're dealing with an odd size that isn't going to be sold in stores, your best solution is just to make them yourself. I hope you decide to give it a try!
Ps, if you're wondering if I ever found fabric for the window curtains, the answer is yes! I went "shopping" inside my own house and decided to use these curtains from the ex-office:

The cream color and satiny texture match the new toy bin curtains very well. Best part is they cost me $0 since I already had them! Woot!
I'm almost finished painting the dining room and it looks completely different. All that's left is deciding on an accent wall. I can't wait to share it with you!
Linking Up:
No comments:
Post a Comment