
Hi everyone, are you all caught up in a Christmas frenzy? We definitely are. It seems like everyday Eva and I are working on something holiday related, whether it's wrapping gifts, decorating, or crafting. I went on a ribbon craze at Michael's the other day. They had their holiday ribbons 60% off, I was like OMG. I have a serious ribbon obsession as it is, so I couldn't pass up the chance to stock up on neutral colors. This is my first year decorating a neutral tree, so all I had was red and green ribbon. Here's how crazy I went:
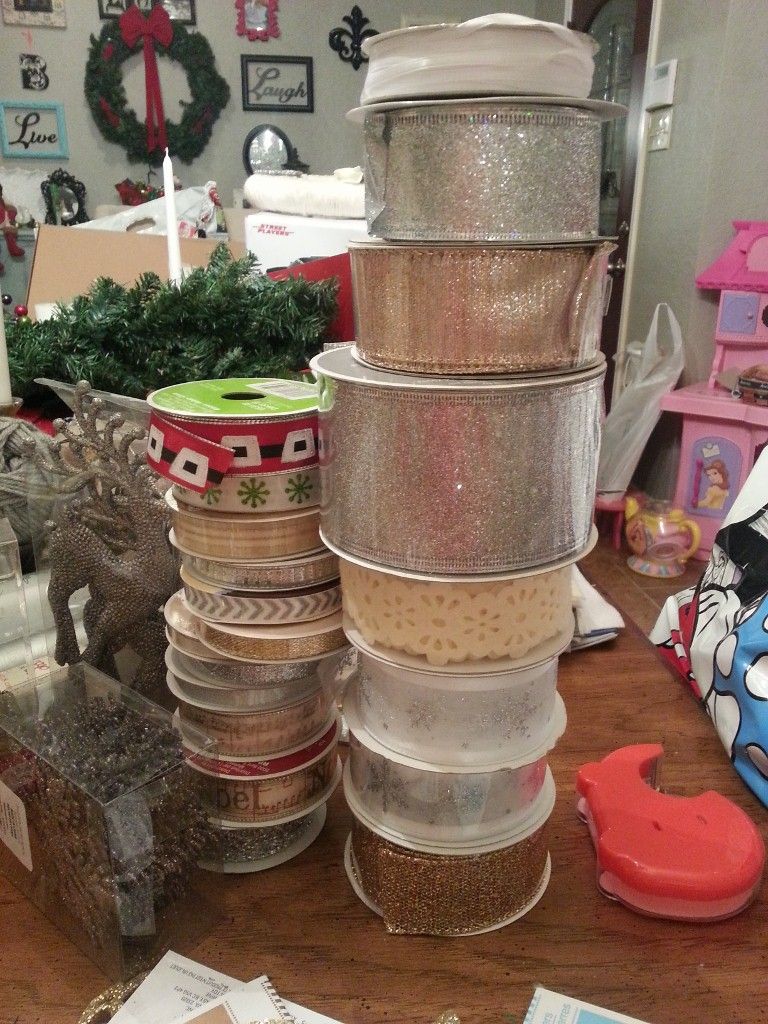
Fo' Real! Actually, if I'm going to be totally honest, the piles were much bigger before I took the picture, but I used a few rolls on my Christmas tree. So what's with all the ribbon? I needed it for gift wrapping, wreaths, tree toppers, bows, etc... I'll go into it a little more when I share our Christmas tree.
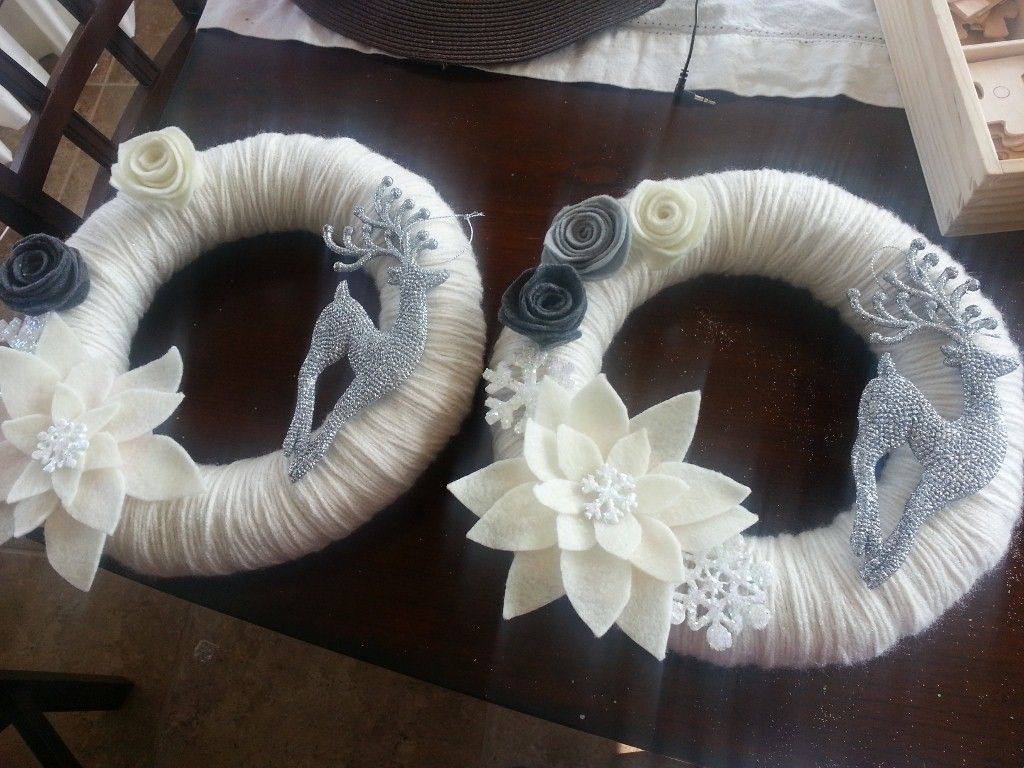
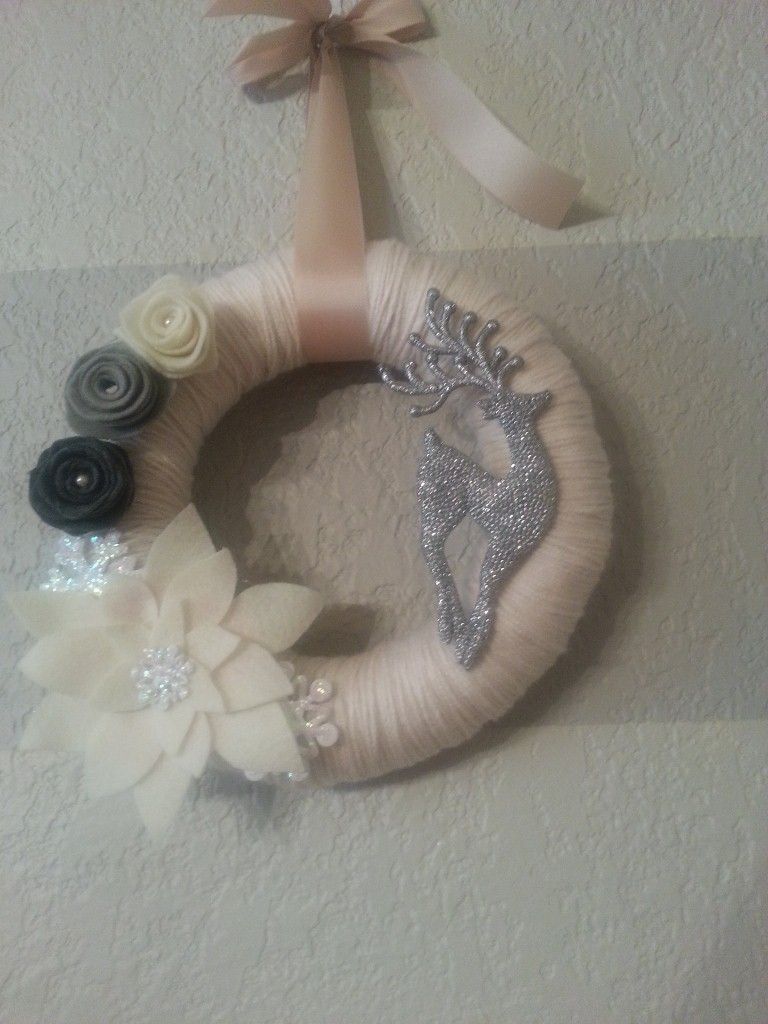
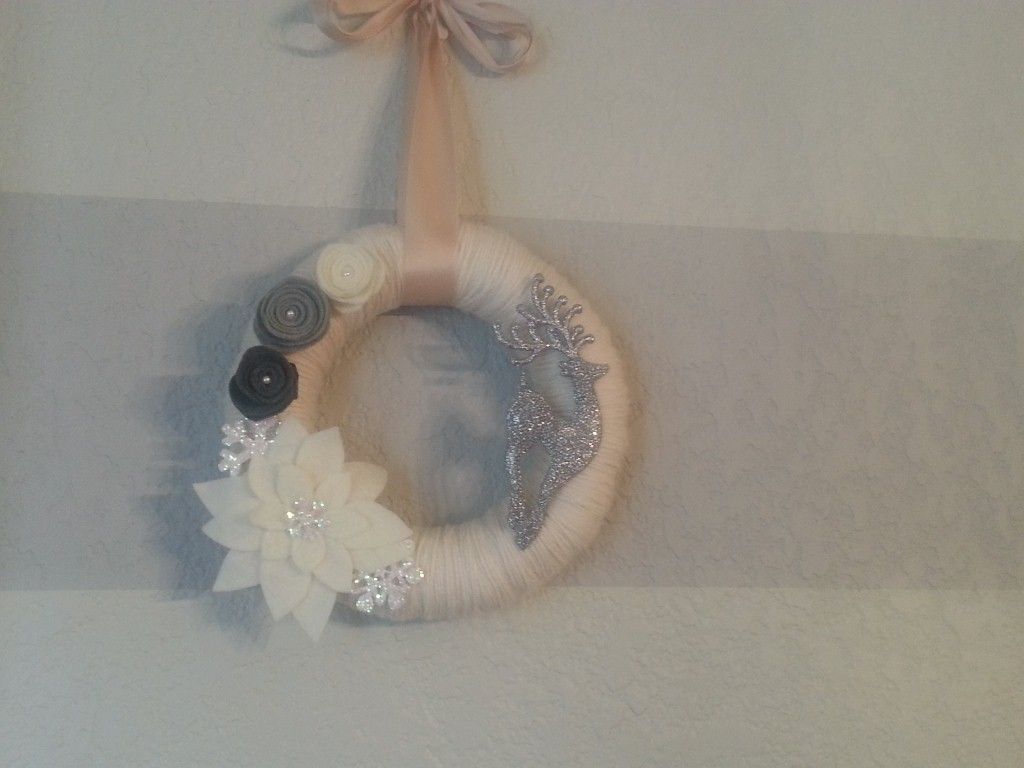
Anyway, so one of the things I've wanted to make for the longest time is a yarn wreath. I've seen so many on pinterest and etsy, and I just hadn't set aside some time to make one until last week. Actually, I wound up making two. I found some small 10" straw wreaths and decided to go for it. I apologize for the crappy pictures, but I decided last minute to do a tutorial and just used my phone's camera, and as usual, I was crafting at night. It's the only time Eva is asleep and I have time to myself.
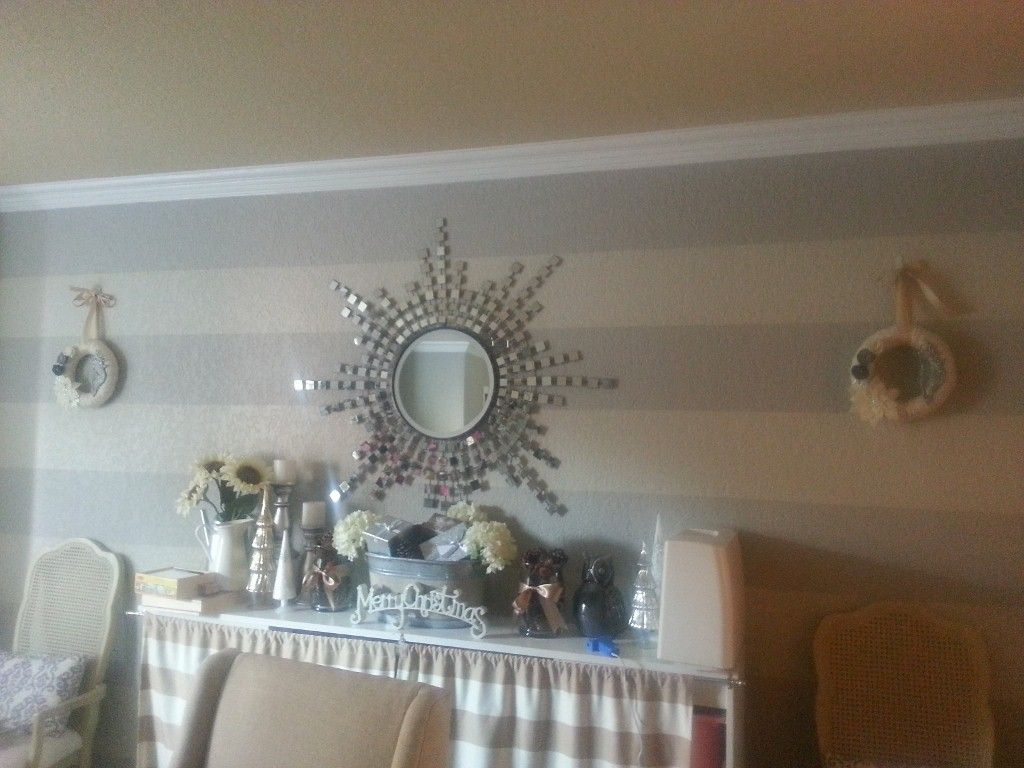
First things first, decide on a color scheme. I wanted beige and gray since the wreaths are for my dining room. Next, decide what you want to attach to your wreath. I wanted Christmas wreaths so I used some rubber snowflakes, white glitter, and a reindeer ornament.
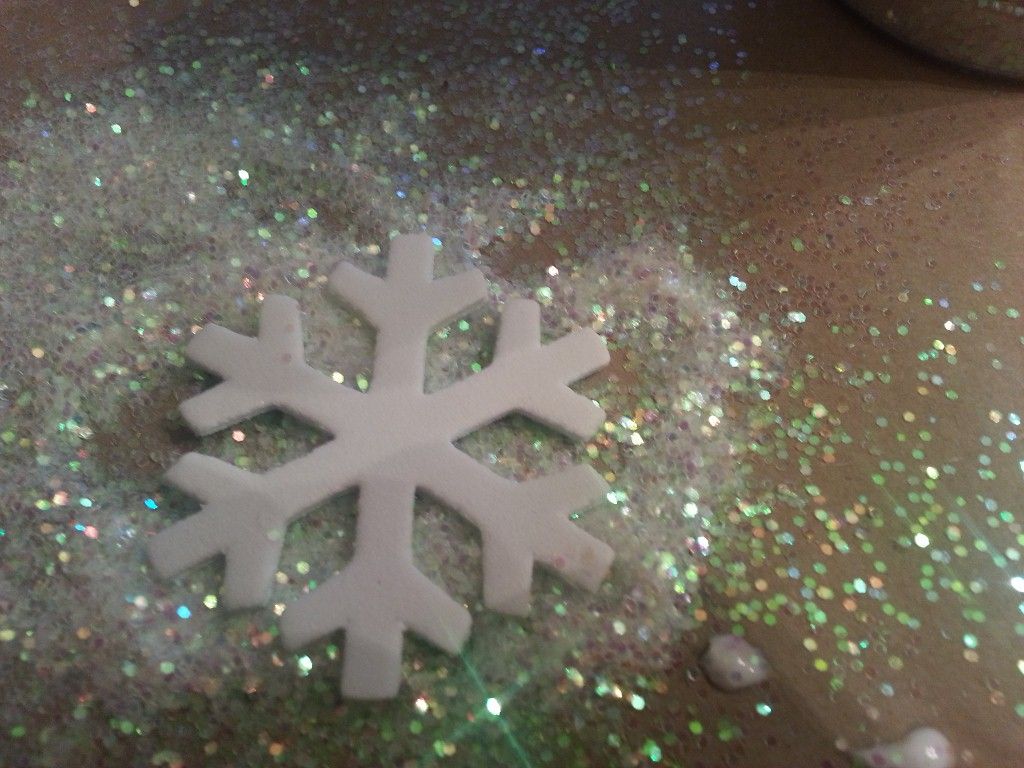
I hadn't bought any snowflake ornaments at this point so I decided to add glitter to these cheap little snowflakes I found at Joann's a while back. To make them shine I just added some glue and sprinkled them with glitter:
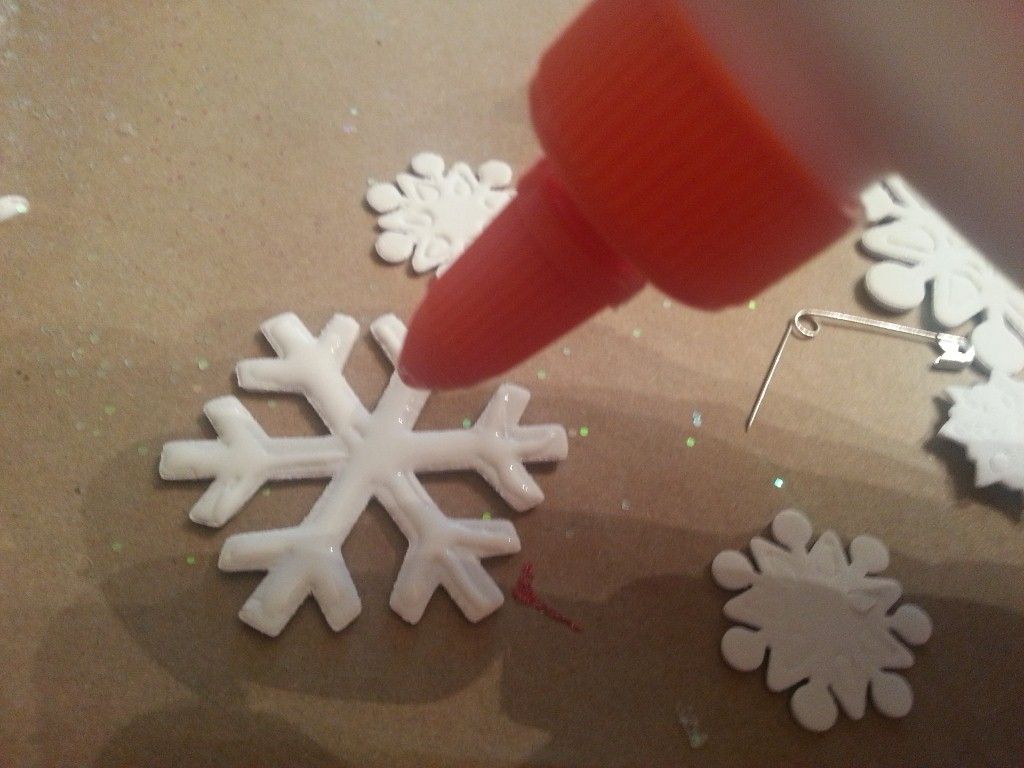

If you have similar ornaments, just use those and save yourself the time.
Yarn Wreath:
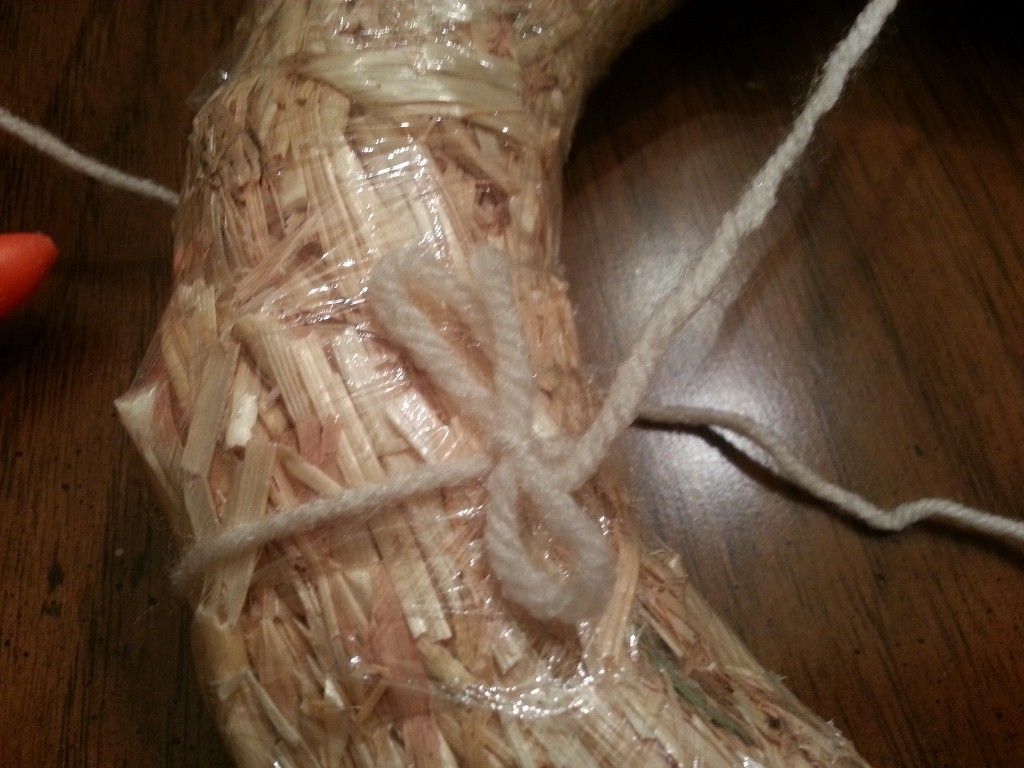
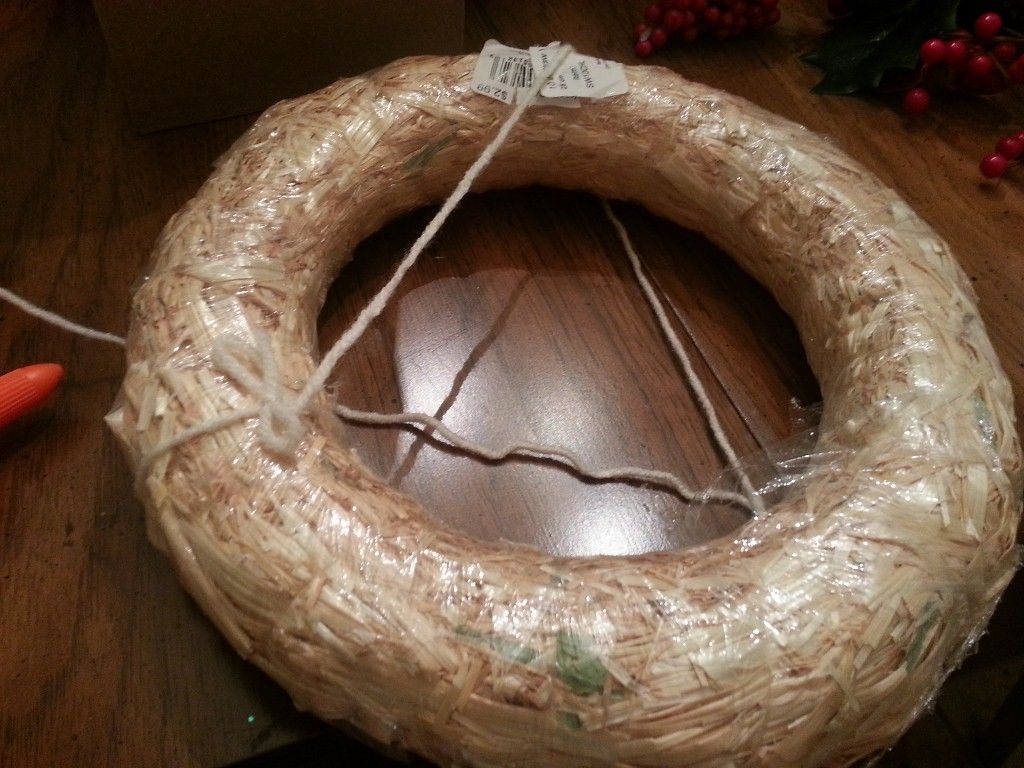
You can use a foam wreath form, a pool noodle, or a straw wreath. You will need at least one skein of yarn and some scissors.
If you use a straw wreath, leave the plastic on! Now grab whatever color yarn you chose, loop it around a section of the wreath and tie it into a knot.
I then consider this the back side of the wreath:
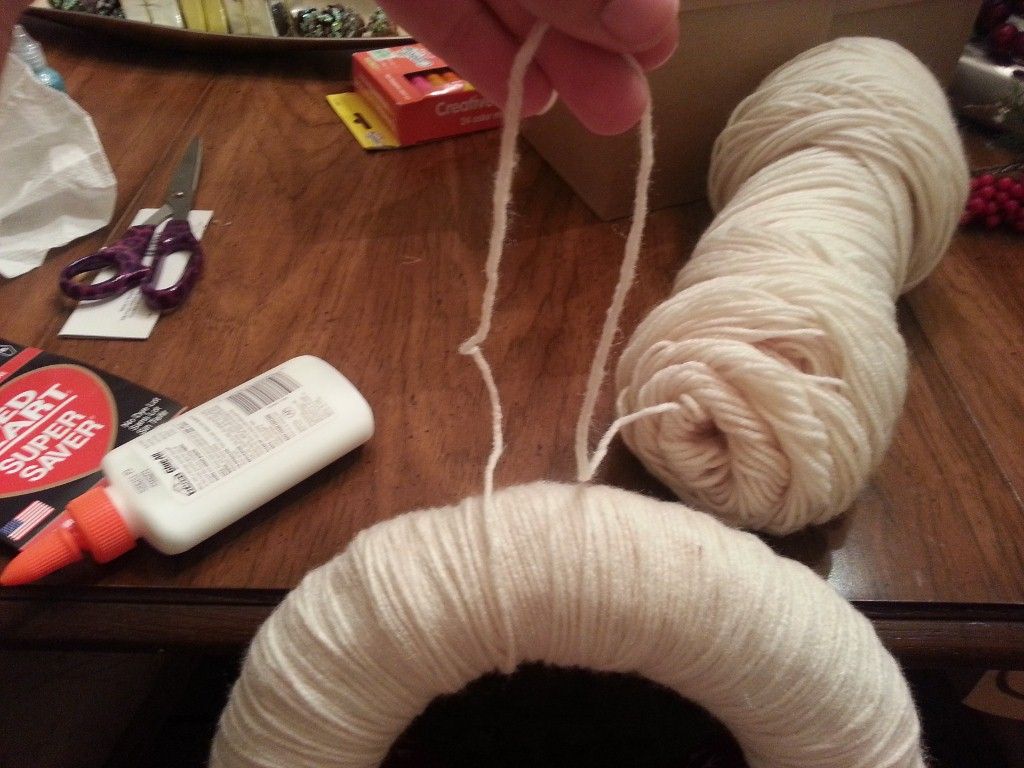
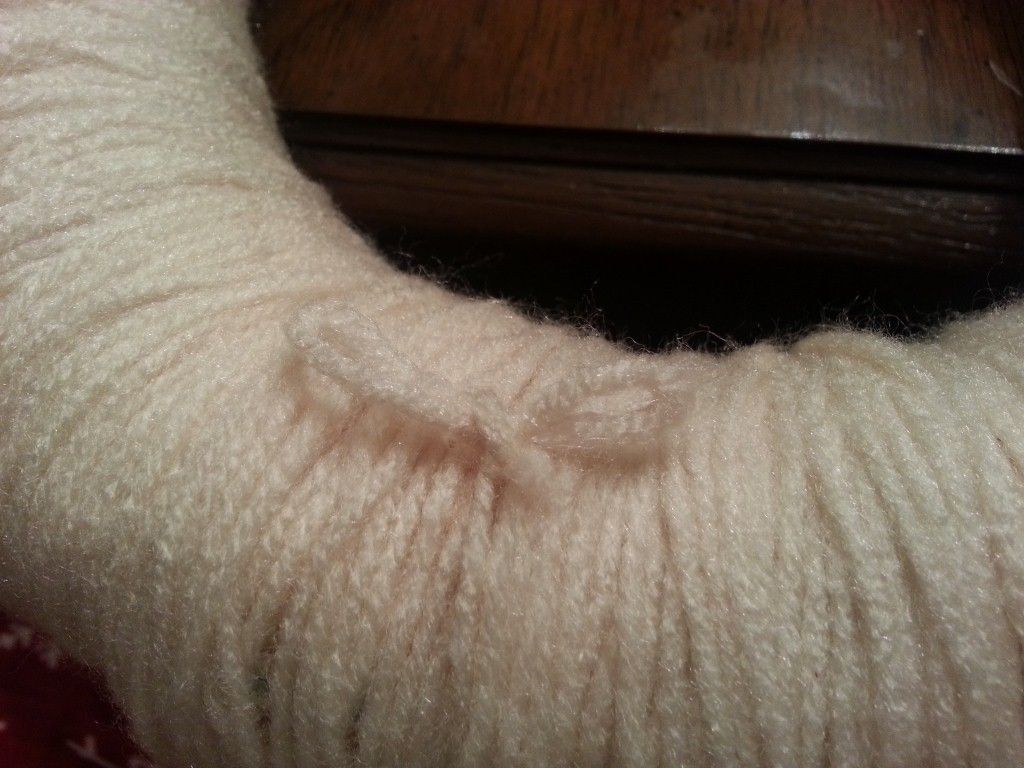
Grab your skein and pass it around and around the wreath...over and over...until you cover the entire thing with yarn. No seriously, there's no easier way to wrap it. It helps to have a glass of wine while you work. It took me about 30 mins to wrap both and it went something like this: take a sip, wrap, take a sip, wrap, ponder why you decided to try this out, take a sip, wrap, curse the wreath, take a sip, wrap.
When you're finished, your wreath will look something like the picture below,unless you drank a little too much and passed out mid-wrapping.
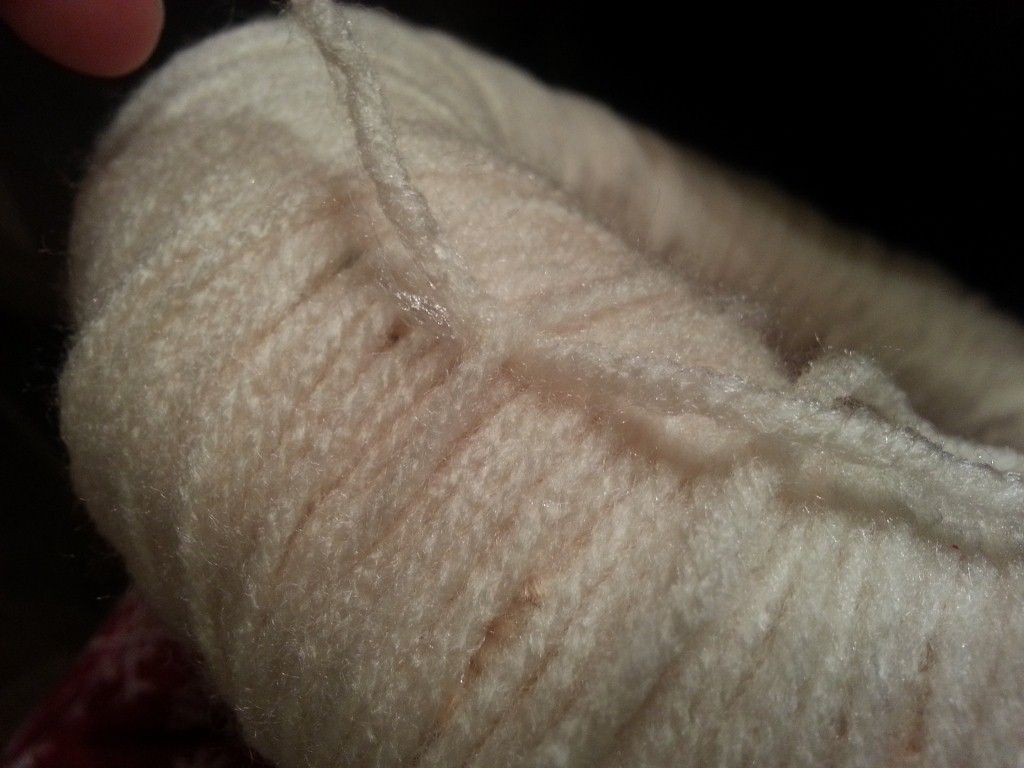
Once you've made sure there are no gaps, leave off a long piece and cut.
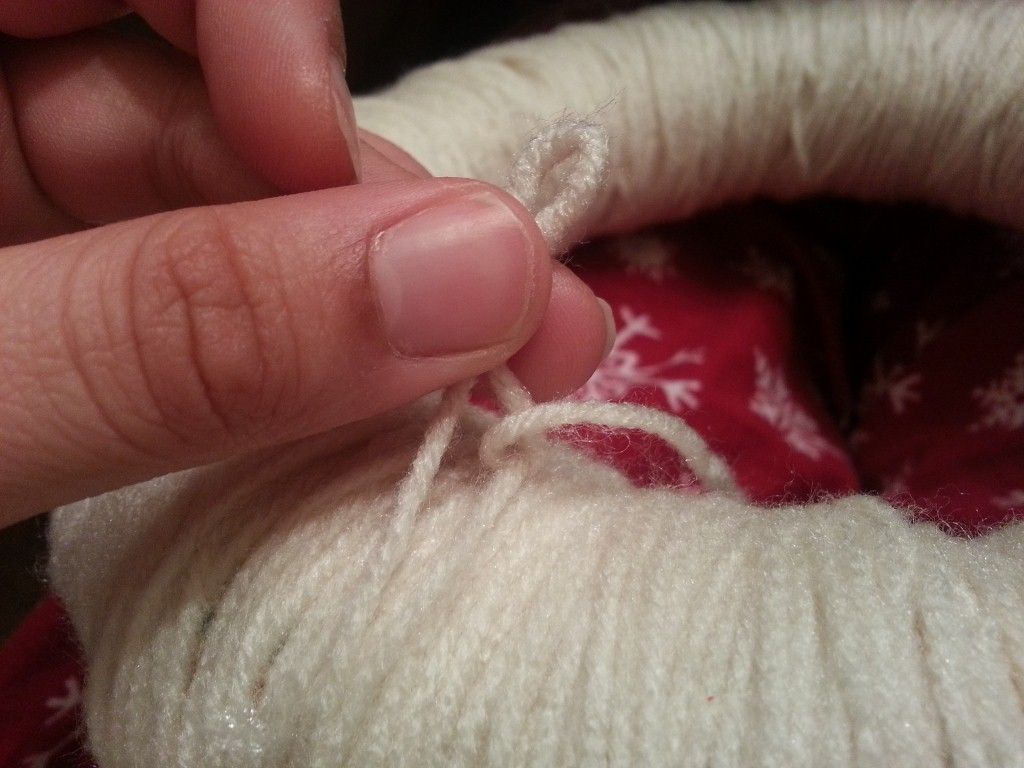
Make a knot at the back of the wreath to finish it off:
I usually tuck my long strand under a piece of the yarn, loop it, and make two knots.
If you made it through the wrapping process, congratulations! It's now time to decorate your wreath.
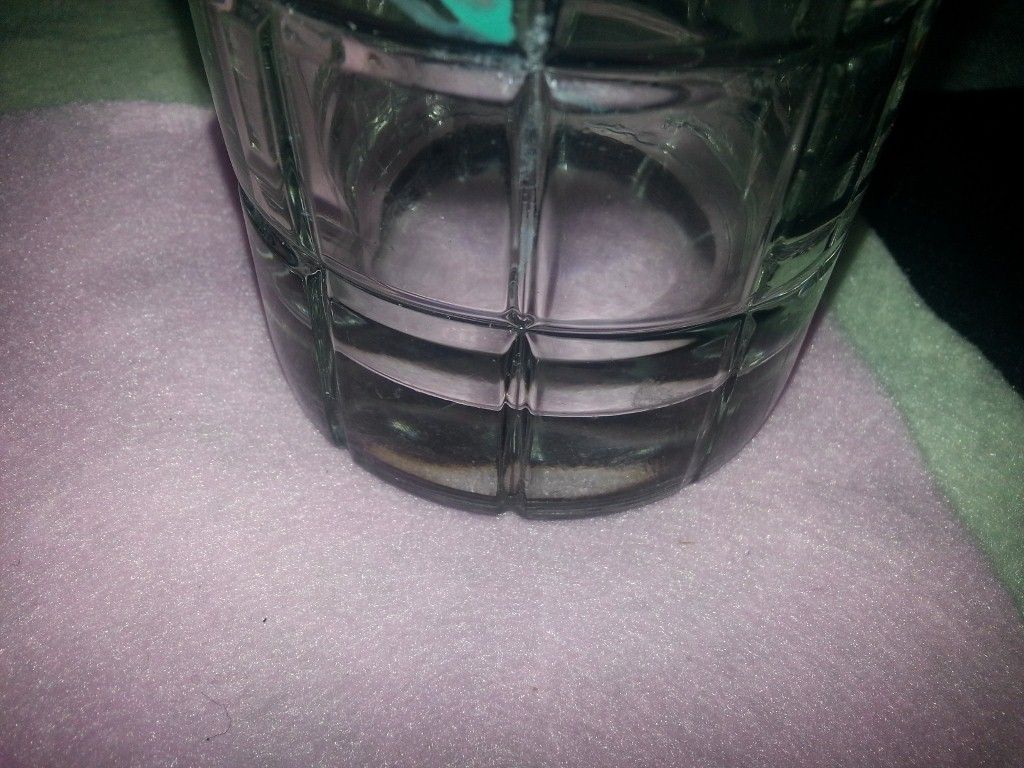
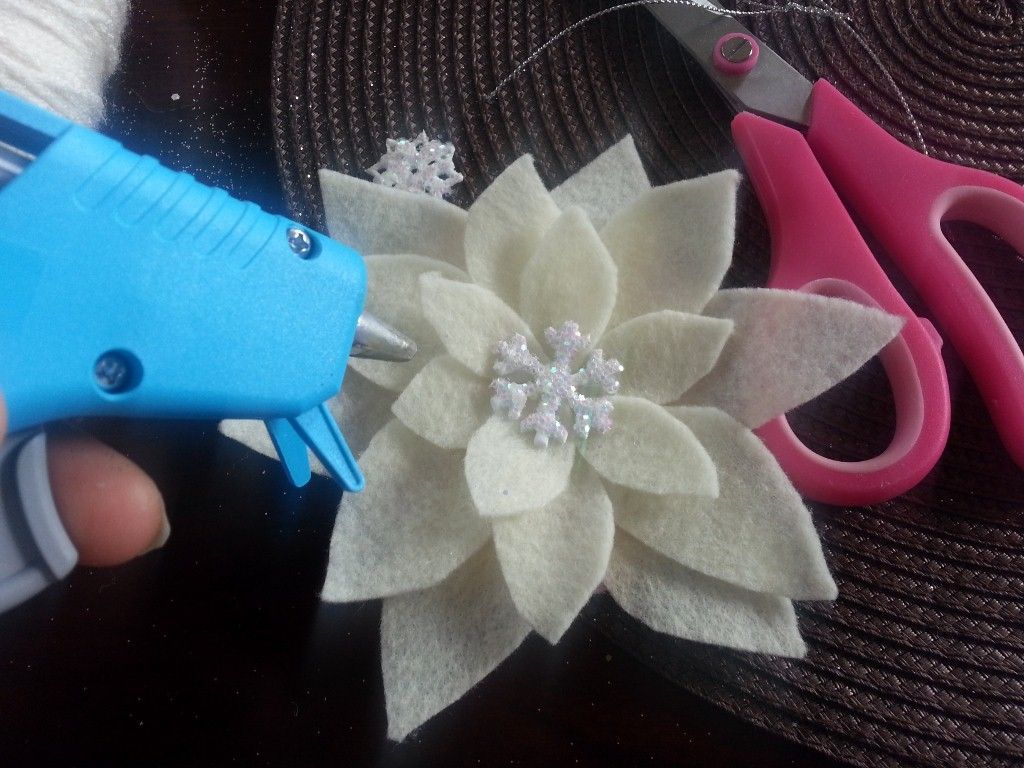
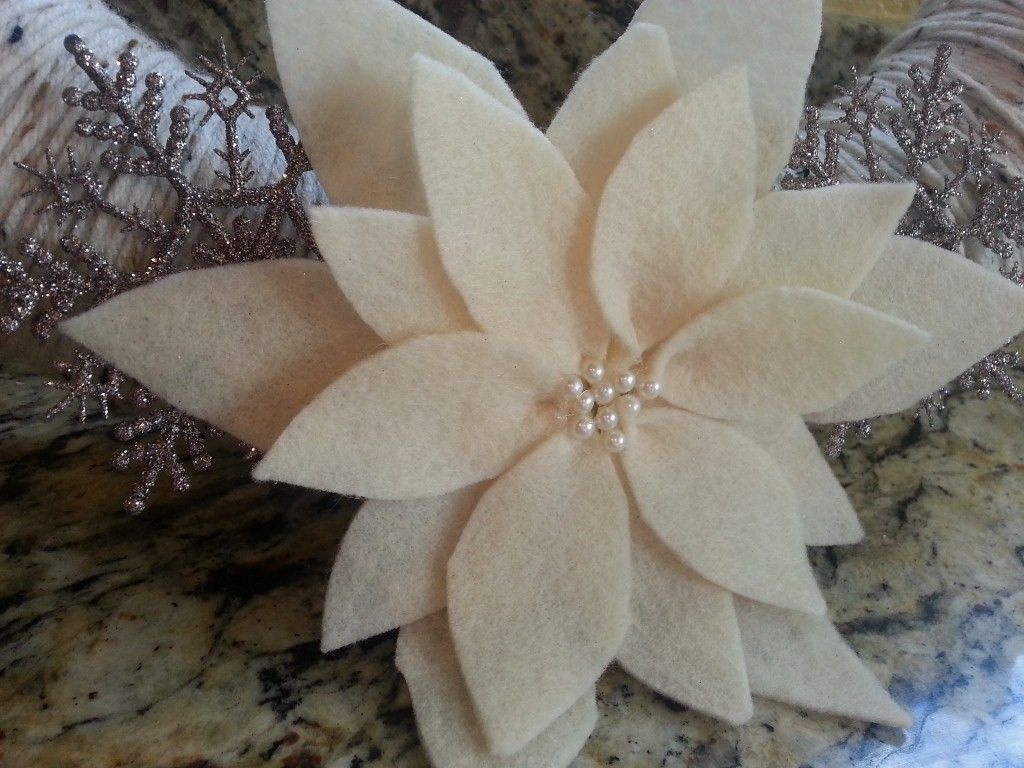
To stick with the Christmas theme, I chose to make a felt poinsettia. You will need felt, scissors, felt glue or a hot glue gun, and something round, like a cup.
Felt Poinsettia:
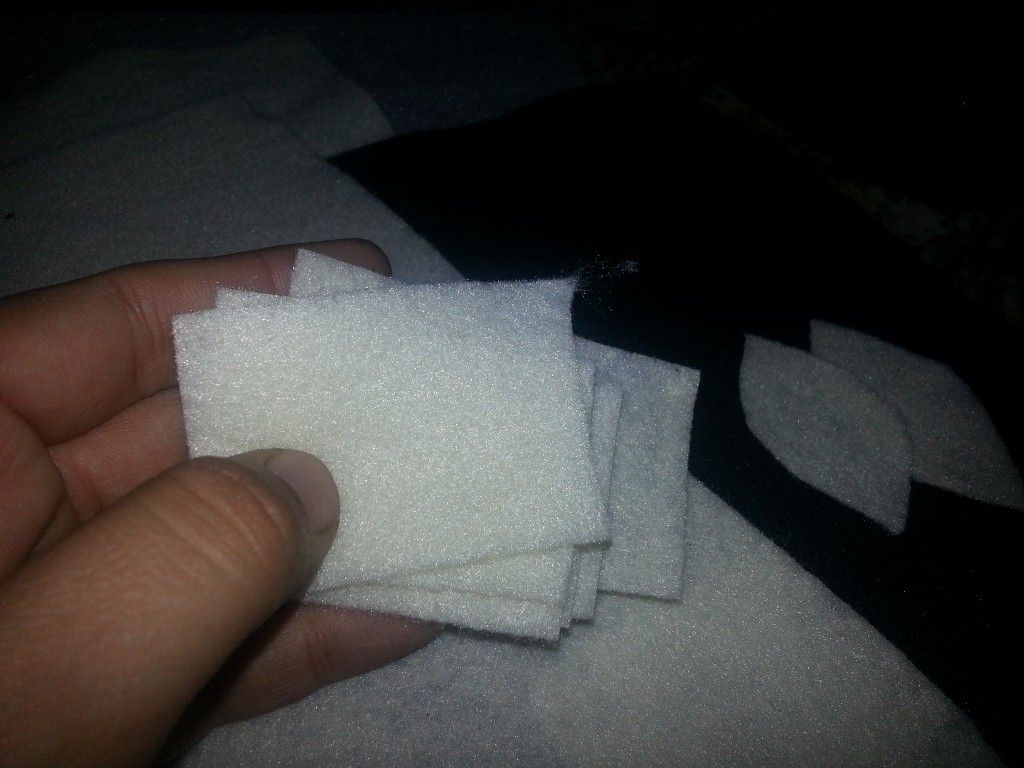
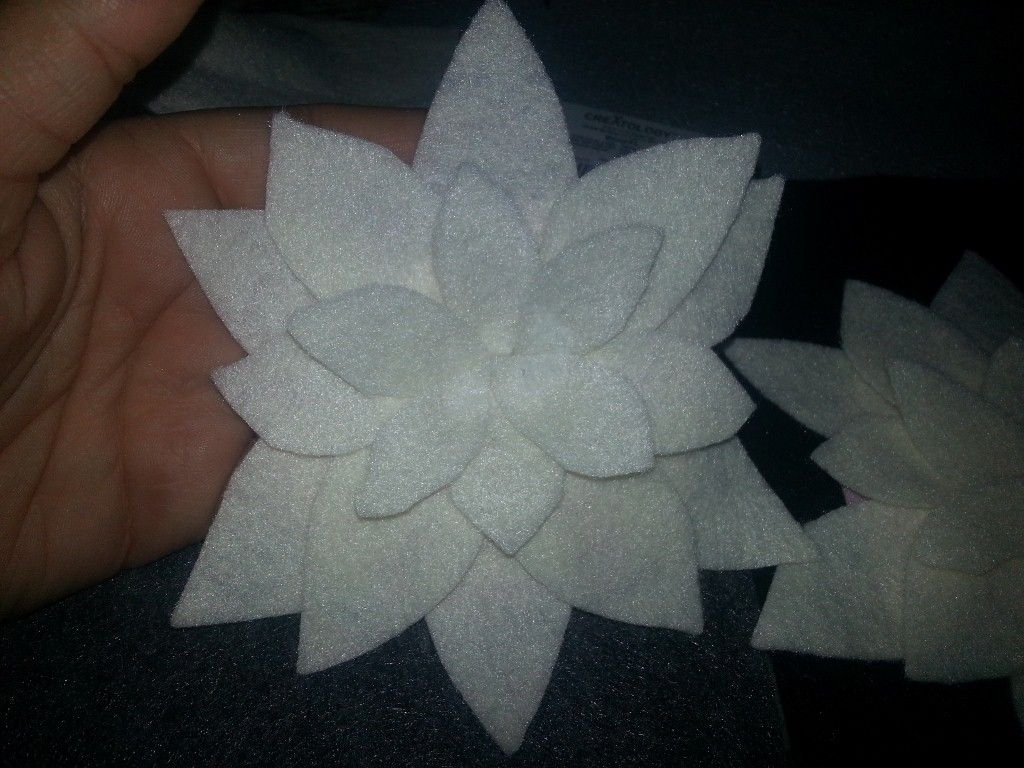
I used 18 petals for each poinsettia, 6 small, 6 medium, 6 large. Start by cutting your felt into strips about 1.5" wide.
Next cut the strips into rectangles. I didn't measure them out, I just kinda eyeballed it, but I'd say my largest rectangles were probably 1.5" x 2.5". The mediums were probably half an inch shorter, and the smalls were probably another half an inch shorter.
Now cut the corners off one side so that the middle comes to a point:
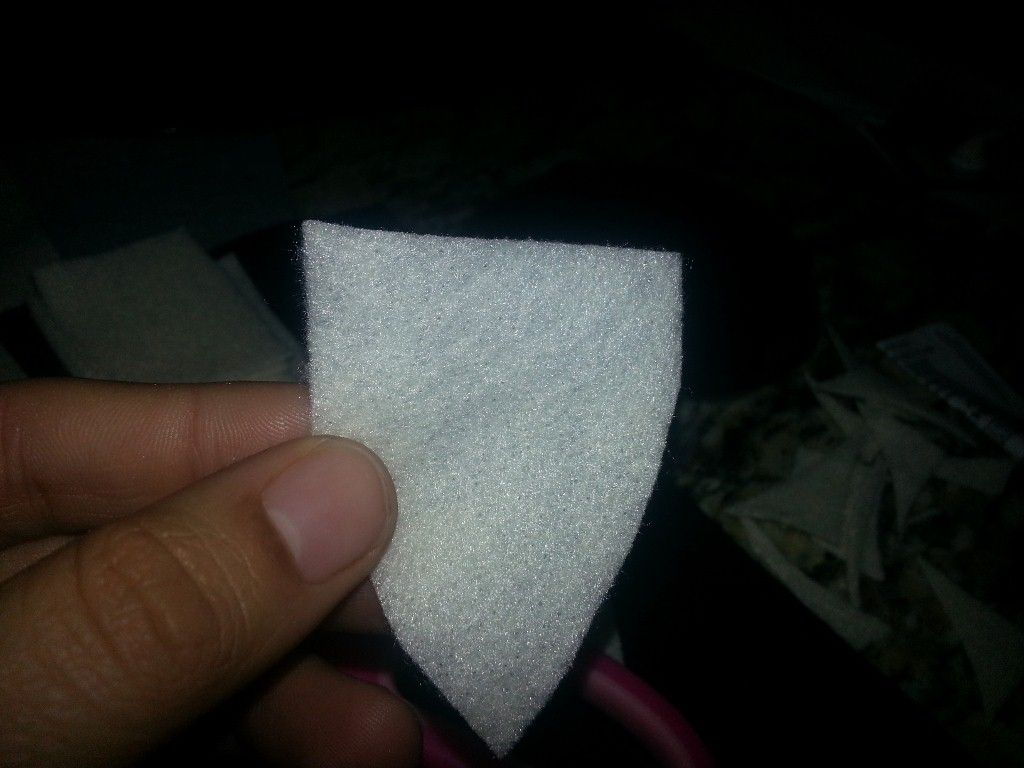
Do the same to the other side so that you are left with a petal shape:
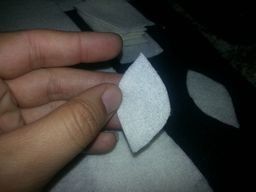
Do this with all your petals.
If you want the top row of petals to have the pinched in centers, dab a bit of hot glue on one end

then pinch it closed.
This is totally optional, it just depends on how you want your flower to look.
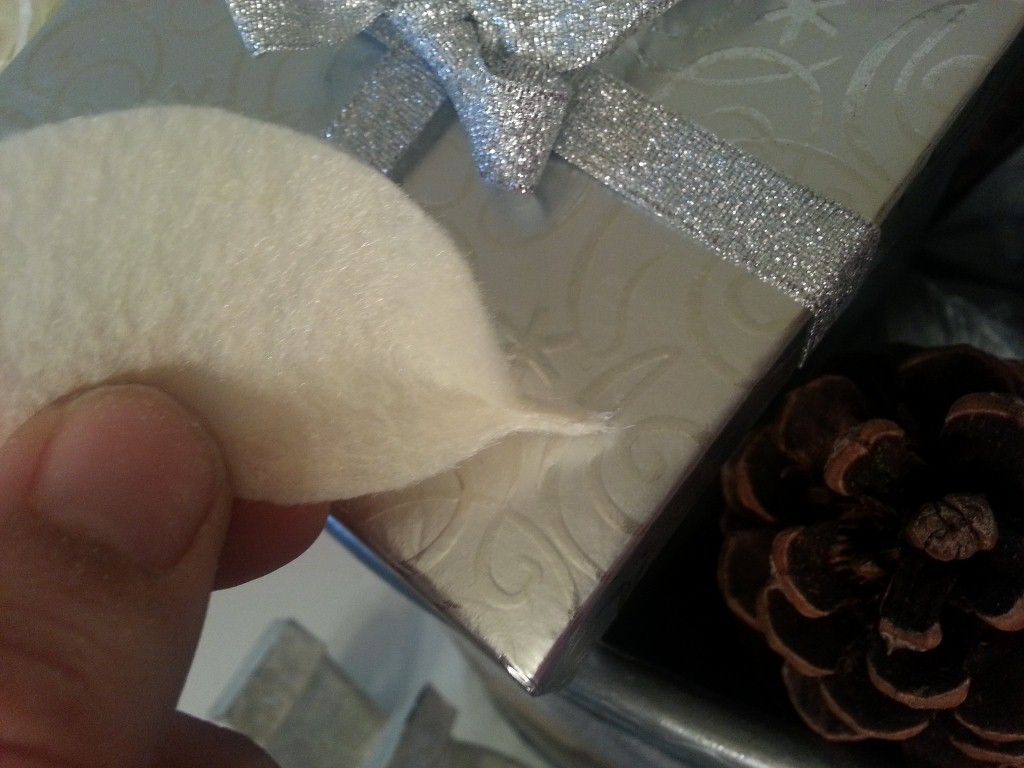
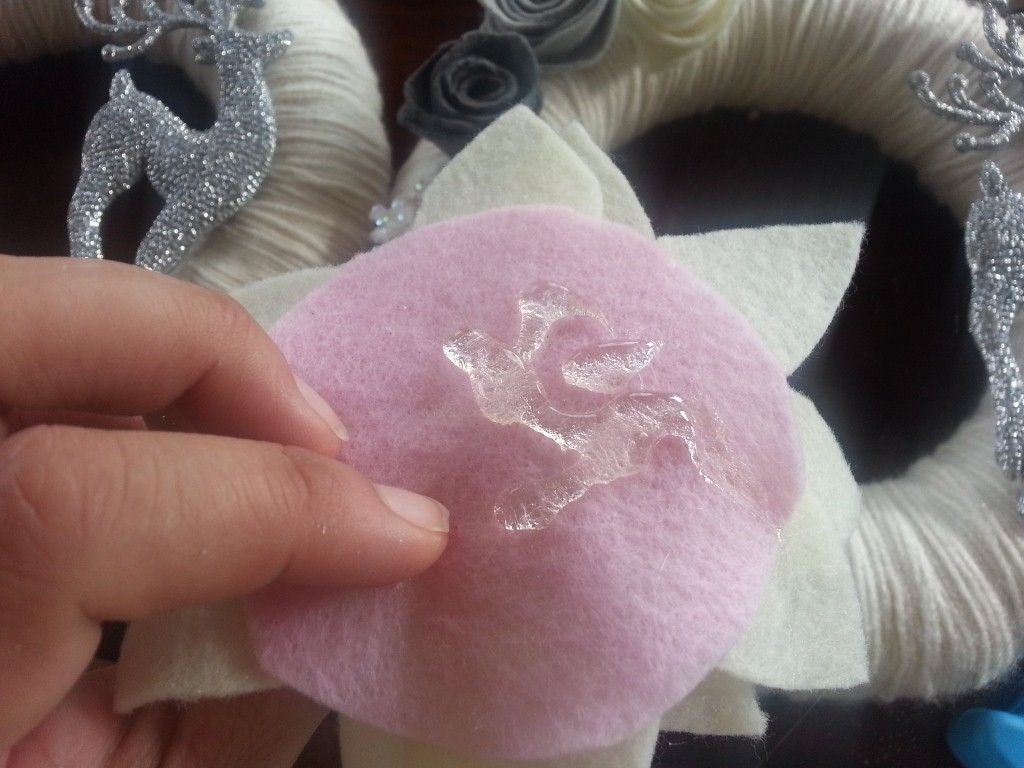
After all your petals have been cut, take your cup or something round, and trace it onto a matching piece of felt. I had a pink piece close by so I just used that.
Use your scissors to cut out a circle. This is where you will glue down your petals. Before I glued anything down, I laid out my petals to figure out the shape:

Then I attached each petal with felt glue. You can use hot glue if you don't have felt glue. Just fyi, felt glue takes forever to dry.

Once my six large petals were glued down,

I glued on the medium six between the large.
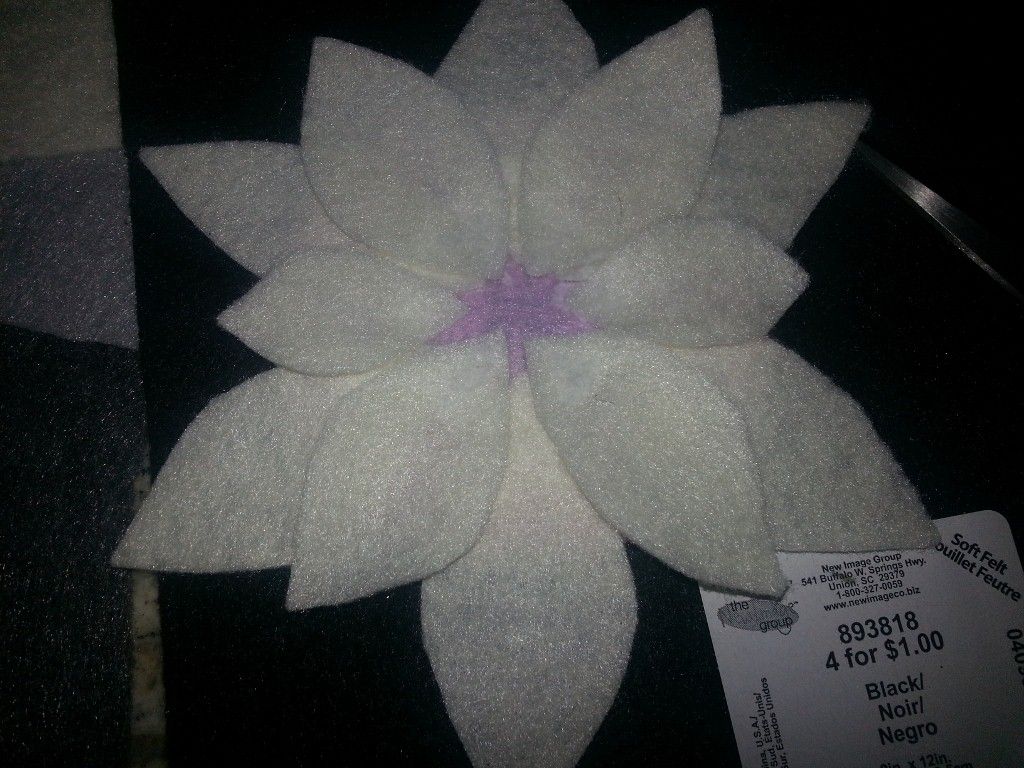
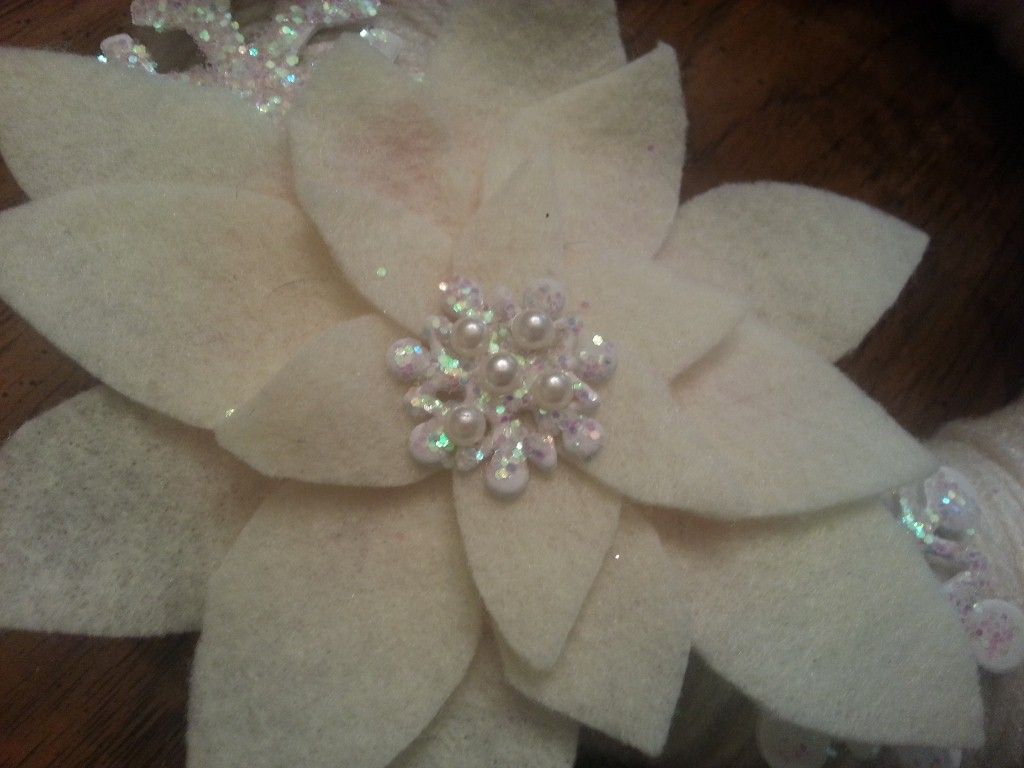
Then I repeated the pattern with the six small petals.
I had made several glitter snowflakes so I used one of the tiny ones for the center and glued it down using hot glue.
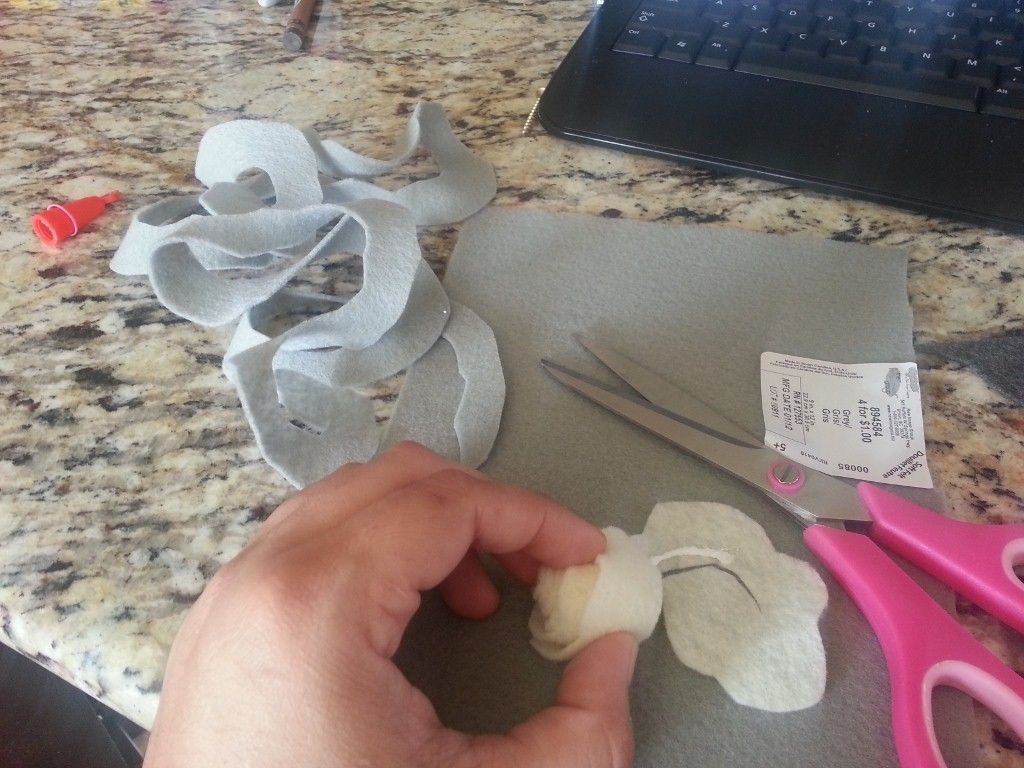
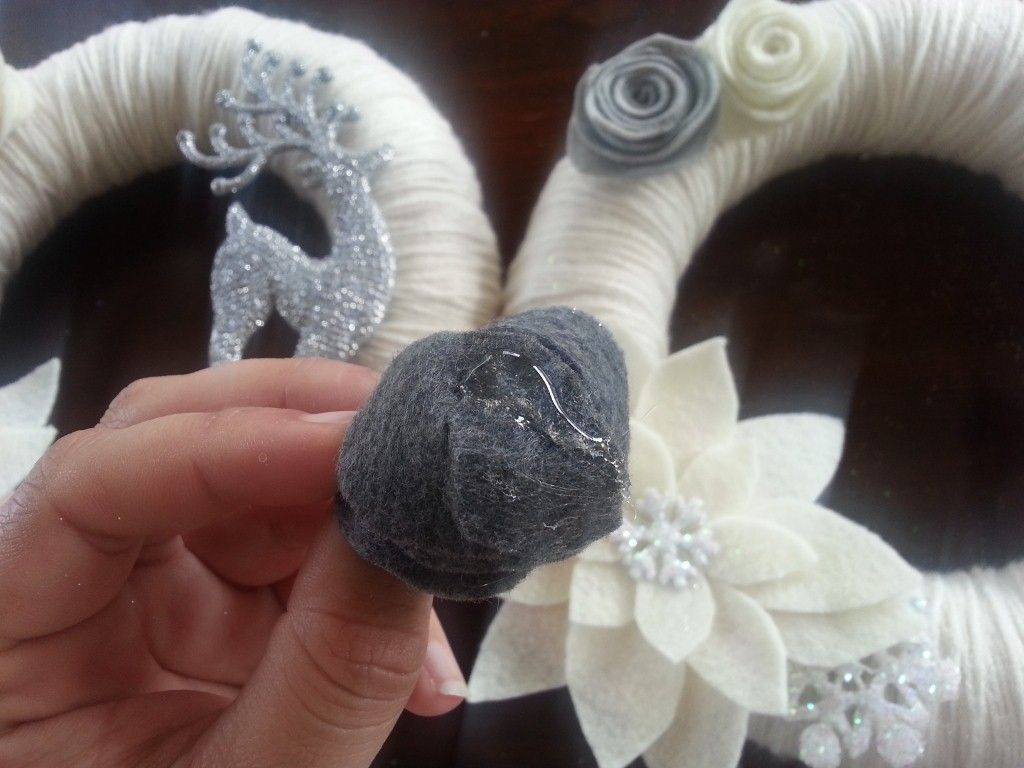
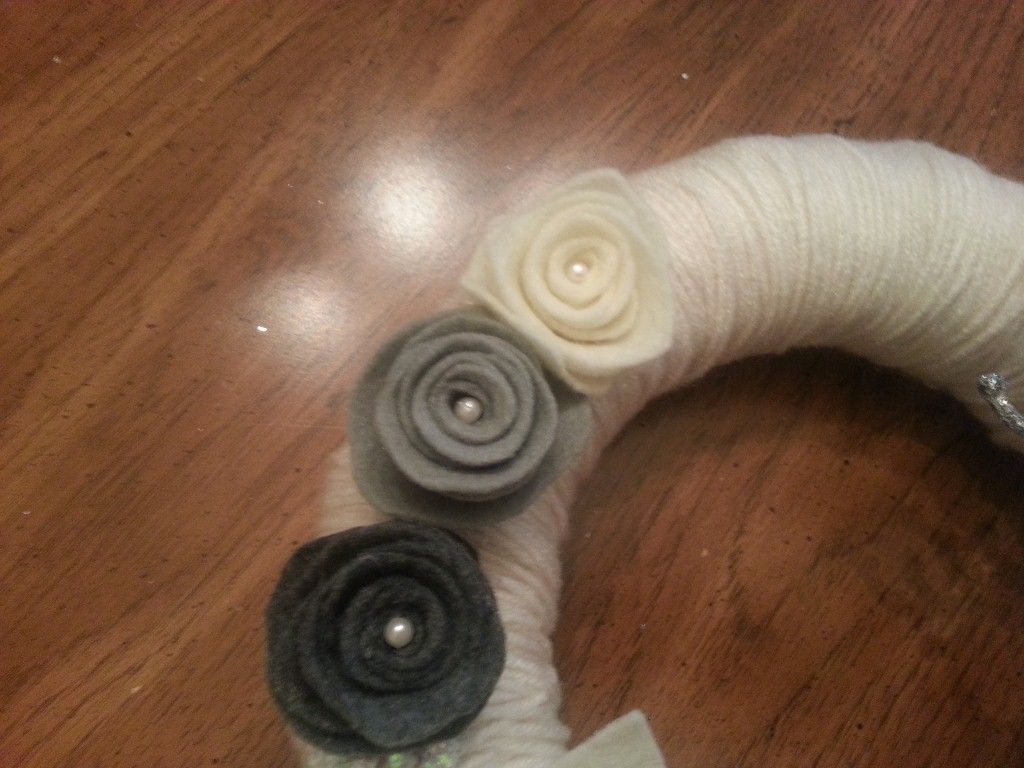
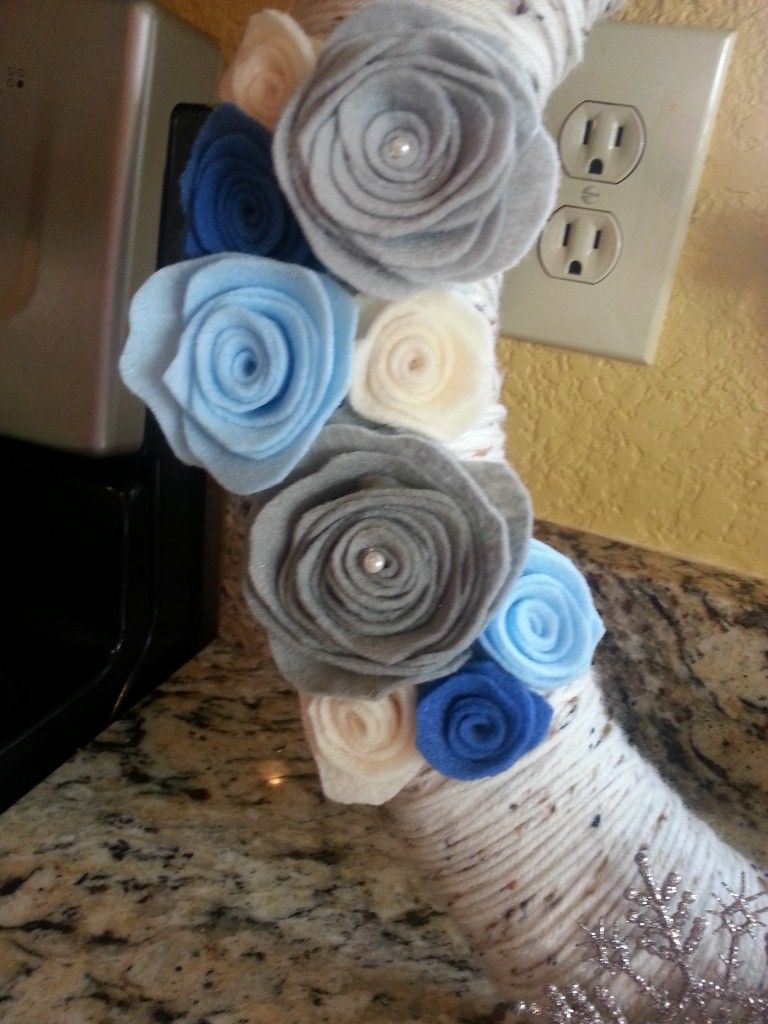
I also wanted felt rosettes so I went ahead and made some in gray and cream. They are made using the same technique as paper rosettes. You can find the tutorial here.
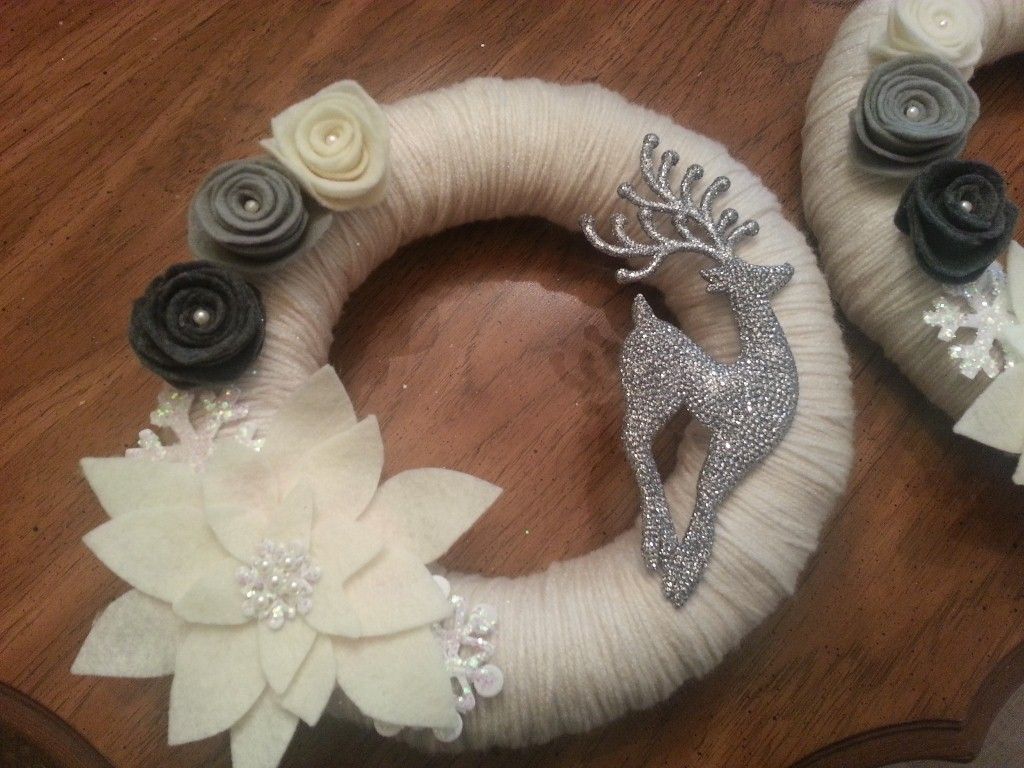
Once you've finished making all your embellishments, plan out where you want everything to go before you start gluing things down. I came up with this arrangement and liked the way it looked:
Now it's time to attach everything to the wreath:
I used hot glue.
I added little pearls from the craft store to the center of each rose. I love pearls and always have a set of these in my supply closet.
On the other side I hot glued a sparkly reindeer ornament. I bought a set of 4 for like $1 at Big Lots.
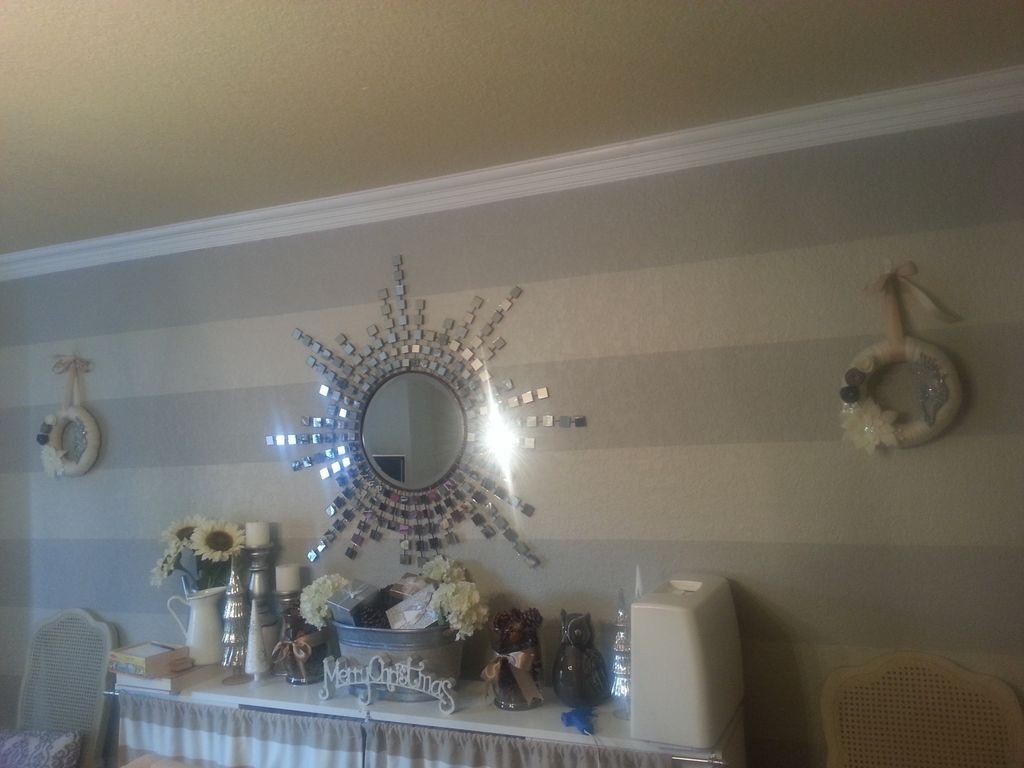
Then I used some Command hooks and ribbon to hang them in the dining room:
They're way too small for the space, but it doesn't bother me too much so I'm leaving them for now.

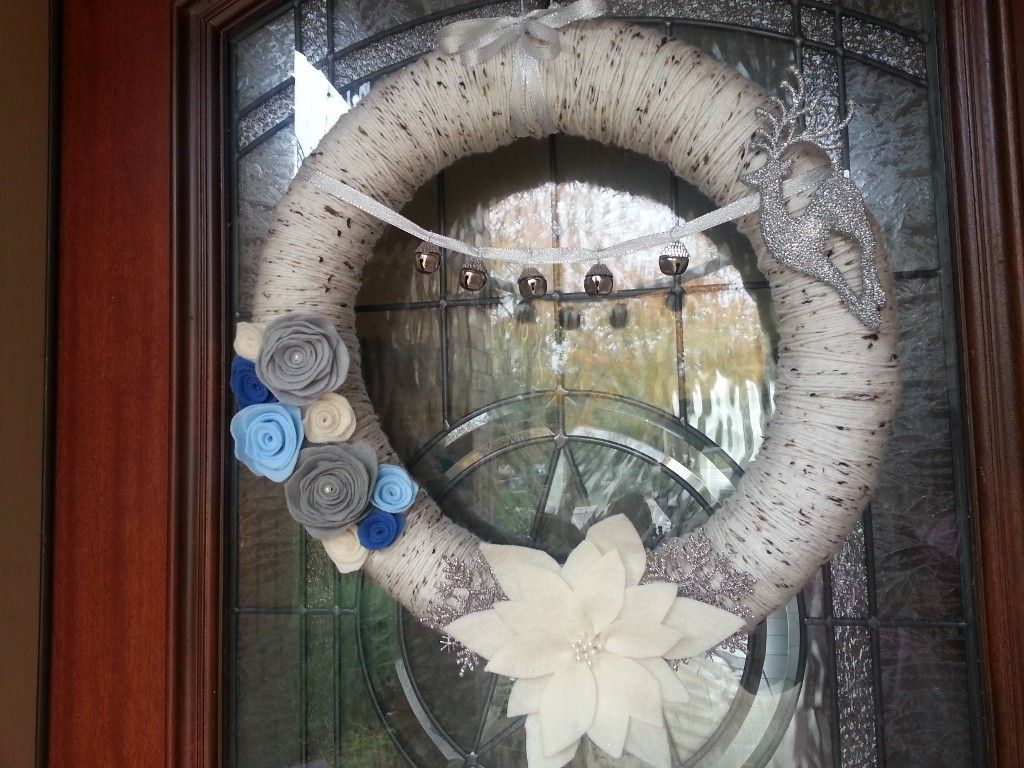
After my mom saw a picture of my new wreaths, she requested one for her front door in silver and blue.
I already had a large 18" straw wreath halfway wrapped in a beige & brown yarn (it was supposed to be my Fall wreath, but I had never finished it) so I finished wrapping it and made this:
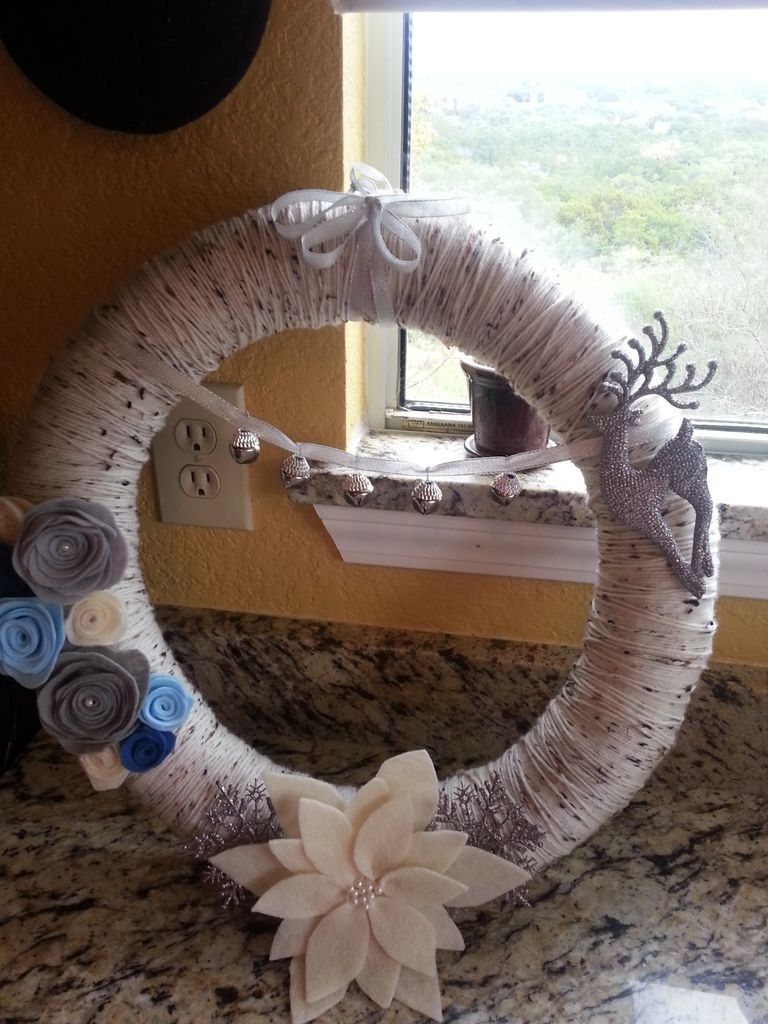
I wanted to make hers look a little different than mine, so I took six silver bells from a set I found at the Dollar Tree and hung them on a piece of silver ribbon from my new ribbon stash.

Instead of using a snowflake for the center of her poinsettia, I used a couple of those craft pearls.
Then I added snowflake ornaments to either side. The ornaments are from Walmart, something like 12 in a set for $2.
I made rosettes in different sizes and colors.
To hang the wreath, I made a small double looped bow using the same silver ribbon from which I had hung the bells:
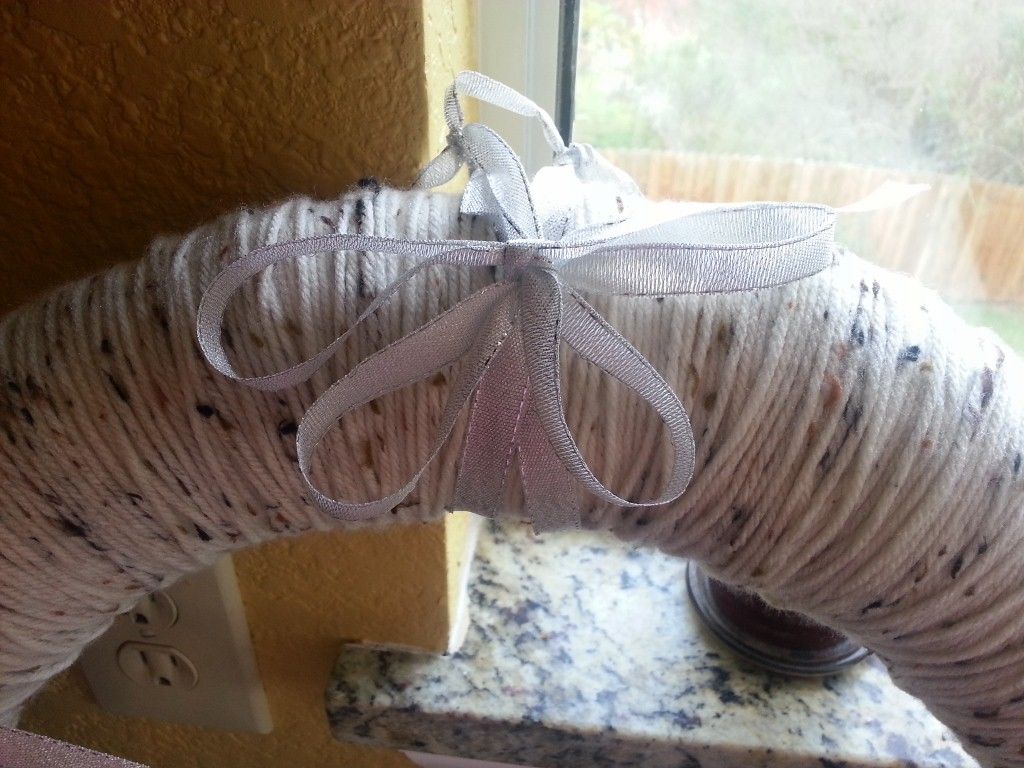
It looks so pretty hanging on my door, but I'll be delivering it to my mom tomorrow.
The wreaths are super easy to make. If you think you want one, but can't decide on a layout, check out pinterest and etsy for inspiration. There are some incredibly beautiful wreaths out there. The total cost for a large wreath will be about $12 if you have to go out and buy all the materials. I stock up on felt and yarn all the time, so I think it might have cost me $7 to buy the wreath and ornaments...much cheaper than buying one for $40, which is about what they go for on etsy. I don't know about you, but I love saving money by making things myself. I hope you found the tutorial helpful. Happy crafting!
Linking Up:
Crafty Texas Girls
Alderberry Hill
The Dedicated House
Adventures of a DIY Mom
Home Stories A to Z
A Diamond In the Stuff
Tessacotton
Savvy Southern Style
Someday Crafts
High Heels & Grills
Chic on A Shoestring
French Country Cottage
Centsational Girl
Nesting Place
Someday Crafts
Linking Up:
Crafty Texas Girls
Alderberry Hill
The Dedicated House
Adventures of a DIY Mom
Home Stories A to Z
A Diamond In the Stuff
Tessacotton
Savvy Southern Style
Someday Crafts
High Heels & Grills
Chic on A Shoestring
French Country Cottage
Centsational Girl
Nesting Place
Someday Crafts
Your wreaths are absolutely beautiful. Thank you so much for sharing how to make those flowers. I am going to have to try one now. I am also obsessed with Michaels ribbon sales. :) Megan
ReplyDeleteThank you Megan :)
DeleteHey from tessacotton! Love your creation. I would be so thrilled if you would link up to my new, Christmas themed linky party!
ReplyDeletehttp://tessacotton.blogspot.com/2012/12/christmas-linky-party.html
Thanks for the invite, I went ahead and linked up :)
DeleteYou did a fabulous job for your first attempt at a yarn wreath! My first attempt was a little wonky.. lol! Saw your post on the Christmas Cheer link up and figured I'd stop on by! So glad I did, love your blog and excited to follow along!! :)
ReplyDeleteShannon
Fabulously Vintage
Love your blog too and am now following along as well. Thanks!
DeleteSo very pretty. Great job and tutorial and it all looks beautiful together.
ReplyDeleteThank you!
DeleteGorgeous wreaths!!! I'm definitely pinning these, and I'm your newest follower!
ReplyDeleteT'onna
Submarine Sunday Link Party
Thank you for your kind comment, the pinning and for following along!
Deletei love the simplicity of the yarn wrapped wreath and what you can do with simple white felt!
ReplyDeletehope you will have a chance to stop by, and today i am hosting a giveaway. hope you win! http://hellolovelyinc.blogspot.com/2012/12/personalized-lovely-giveaway.html
peace to you.
michele
Wow! These are amazing! Would love if you’d join our Countdown to Christmas link party! Hope to see you there! Happy weekend! :) http://dixie-n-dottie.blogspot.com/2012_12_04_archive.html
ReplyDelete