
Warning: Picture heavy post. I will explain why at the end.
Yarn trees are EVERYWHERE and I, for one, have been loving all of the yarn Christmas trees I've seen this year on blogs and in catalogs. This picture is from a Pottery Barn Kids catalog that Eva keeps flipping through while requesting every single item inside:
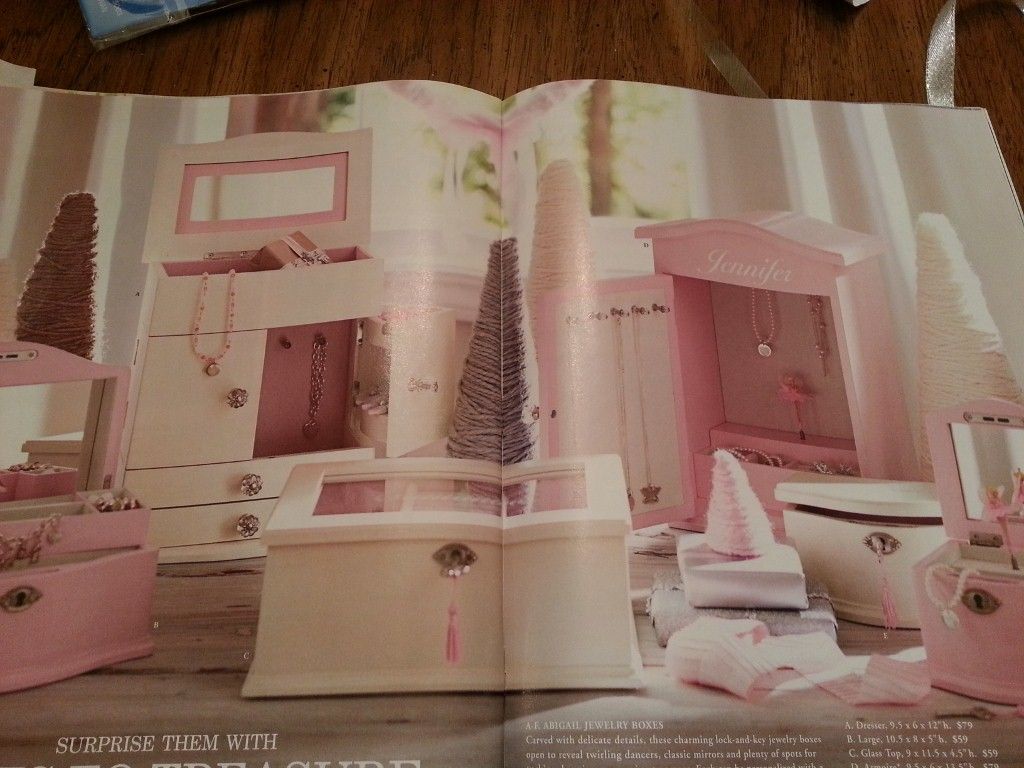
They are just so darn cute and I have been wanting to try my hand at creating my own. Since I shared my yarn wreath tutorial a few days ago,I thought it would be nice to follow up with this yarn tree tutorial.
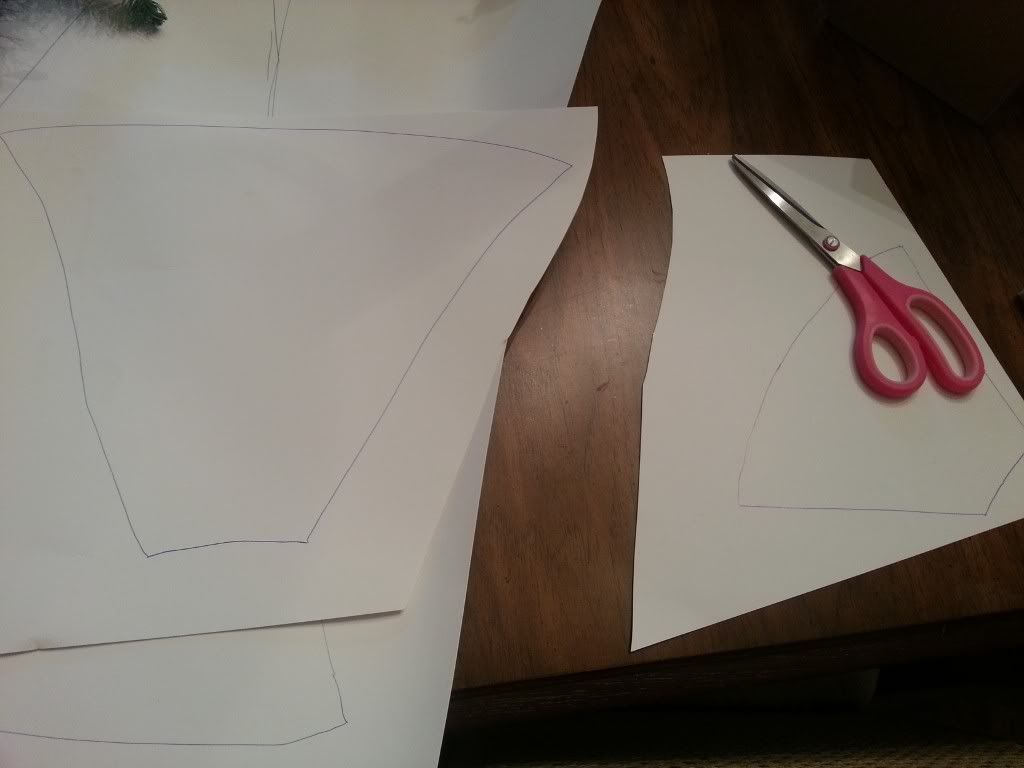
In most of the tutorials I've come across, the trees were made using a styrofoam cone from a craft store. I didn't have any here at home and I wasn't about to go buy some since they're anywhere from $4-$6 each. I knew I wanted to make 5 so that alone would have put me at $30....I don't think so! I'm too cheap for all that mess. I did however, have .50 cent poster board from the dollar store, so I used two of them to make my own tree shapes. I simply free handed a flattened cone shape onto the board using a pen. I made the top flat instead of pointy because I wanted the tops of the trees slightly flat so I could add a tree topper to each.
These are the materials you will need:
yarn
scissors
hot glue gun w/ glue sticks
pen
poster board
cotton balls
adhesive embellishments (optional)
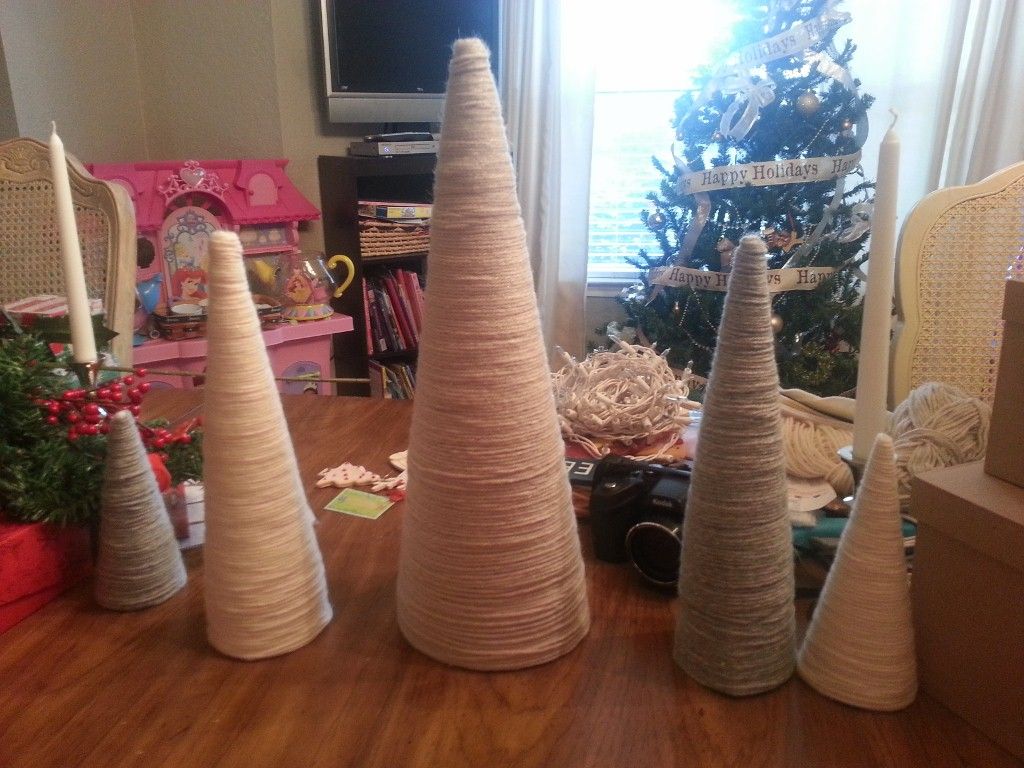
I wanted one extra large tree, two mediums, and two smalls. I measured them after I drew them to give you a better idea of their size and dimensions:

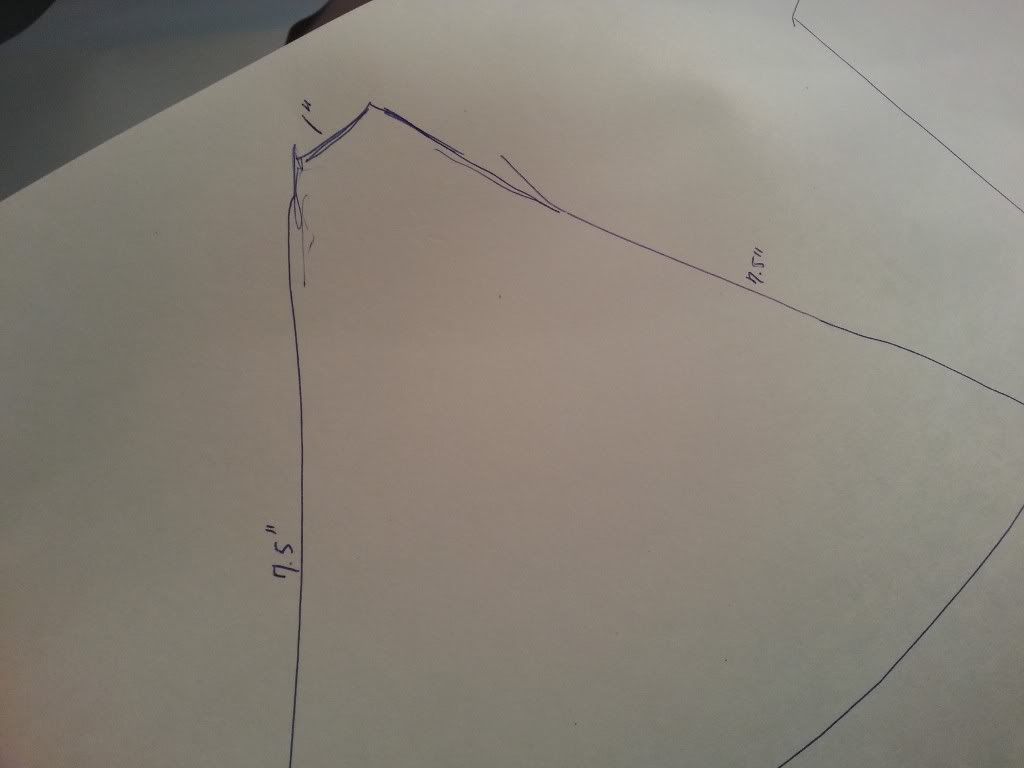
(sorry I didn't get a picture of the last size. I think it was 3"x17")
Next I cut each out:
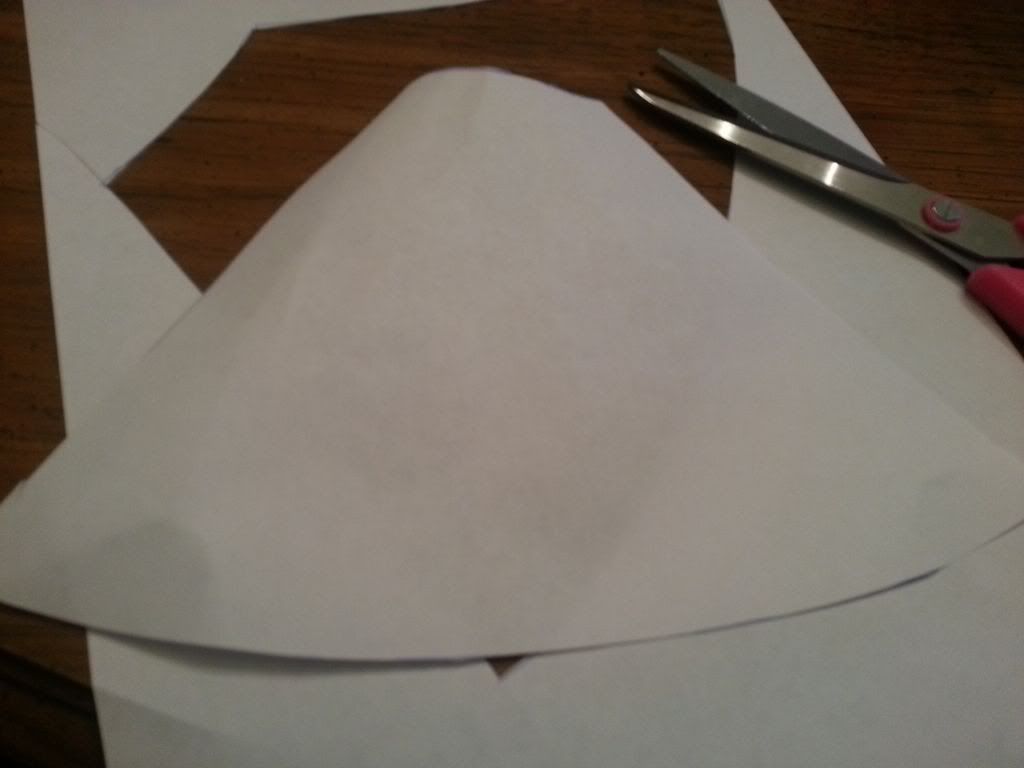
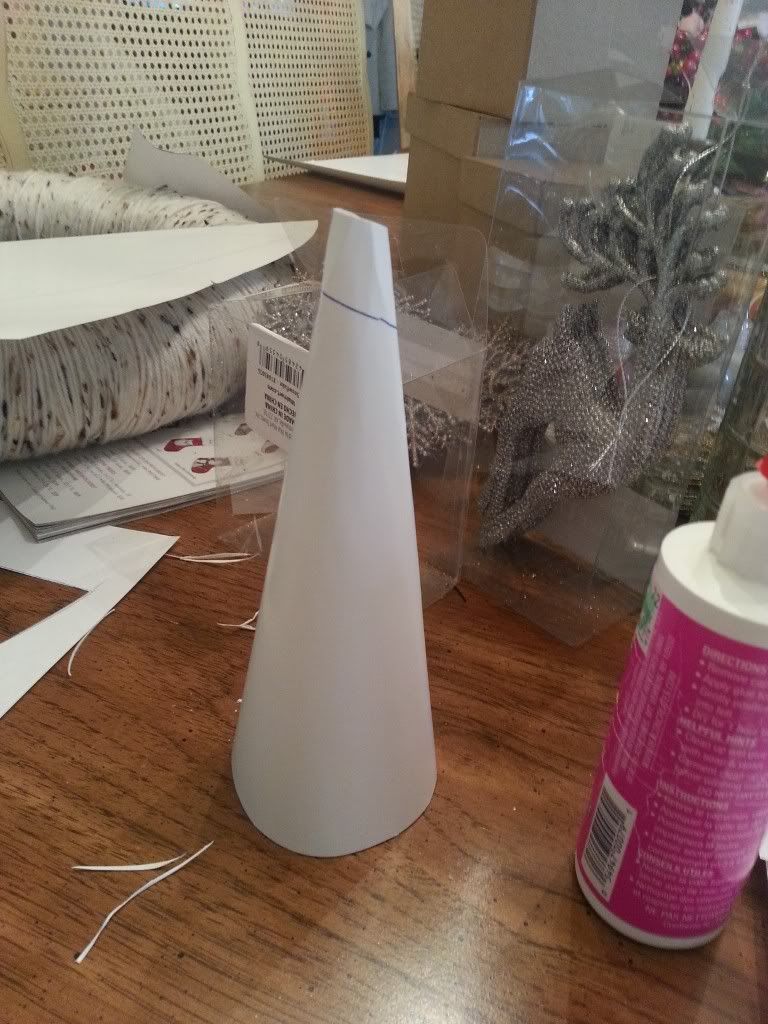
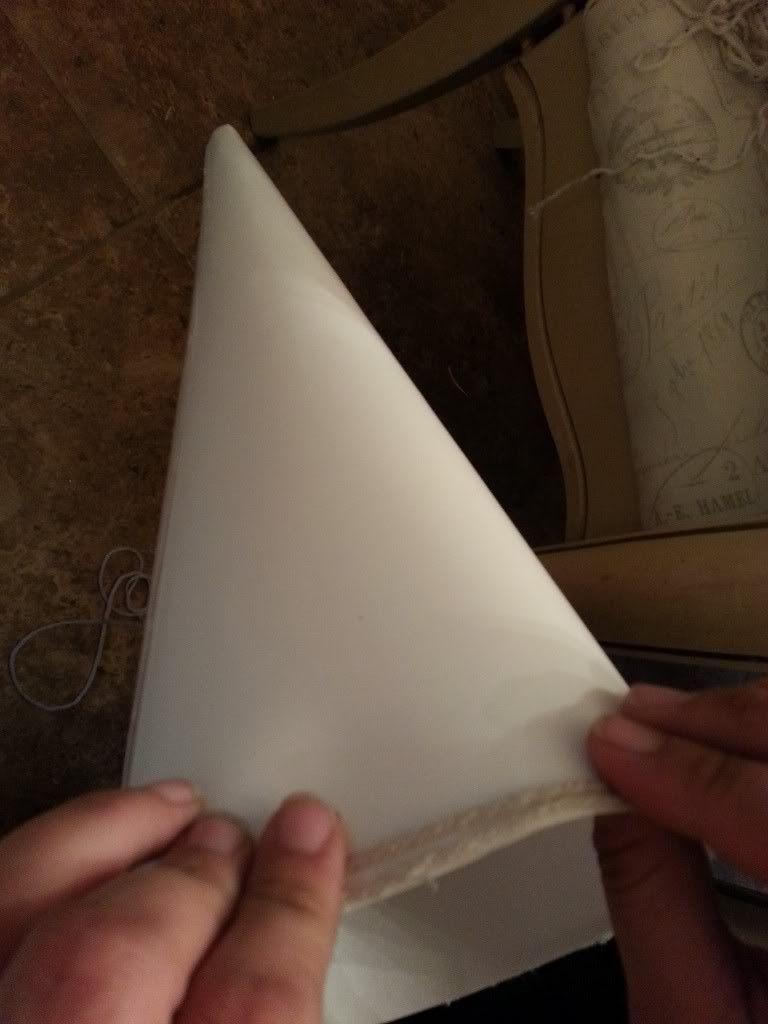
rolled it into a cone shape:

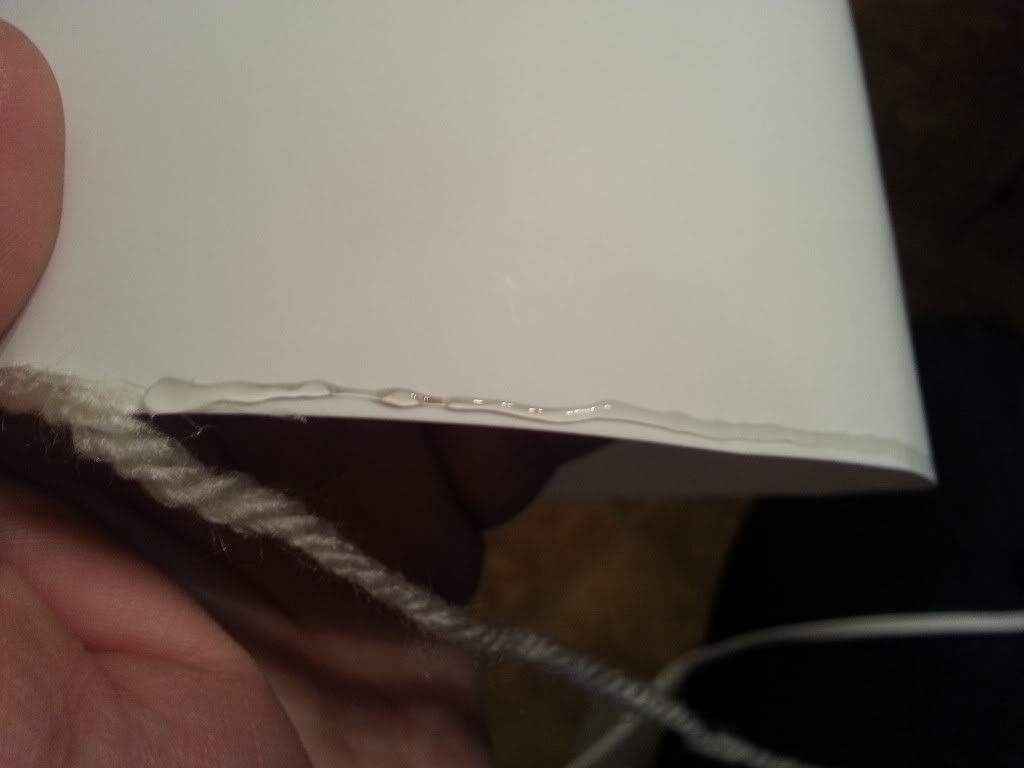
ran a line of hot glue down the seam:
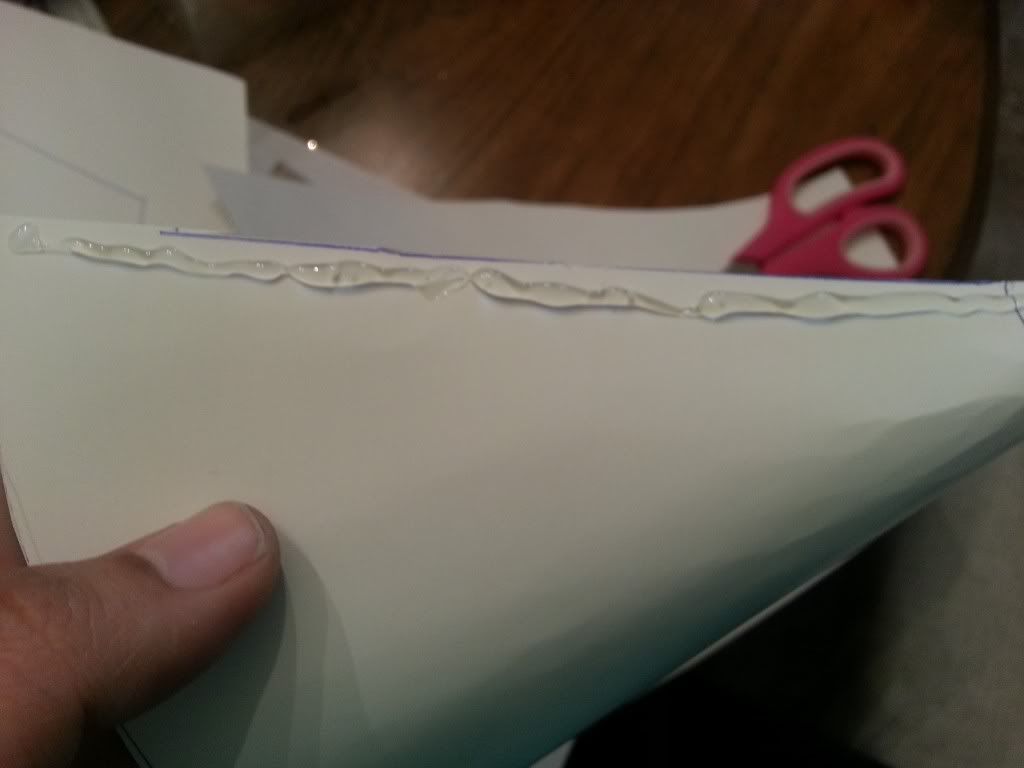
closed it, and held it together for a few seconds until it was safe to let go, then I trimmed the bottom until it was even all around so the trees would stand straight:

Voila! I had five cone shapes and saved myself $29.
I had already picked up two skeins of Vanna White (yup the one from Wheel of Fortune) yarn on sale 2/$6 at Michaels.
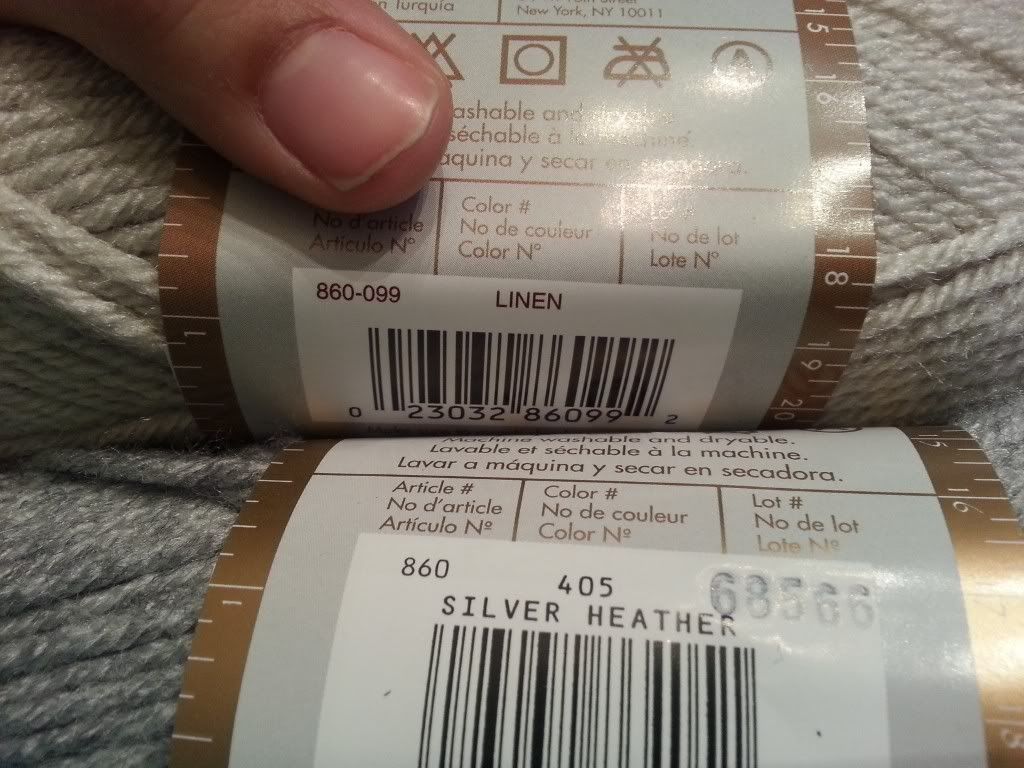
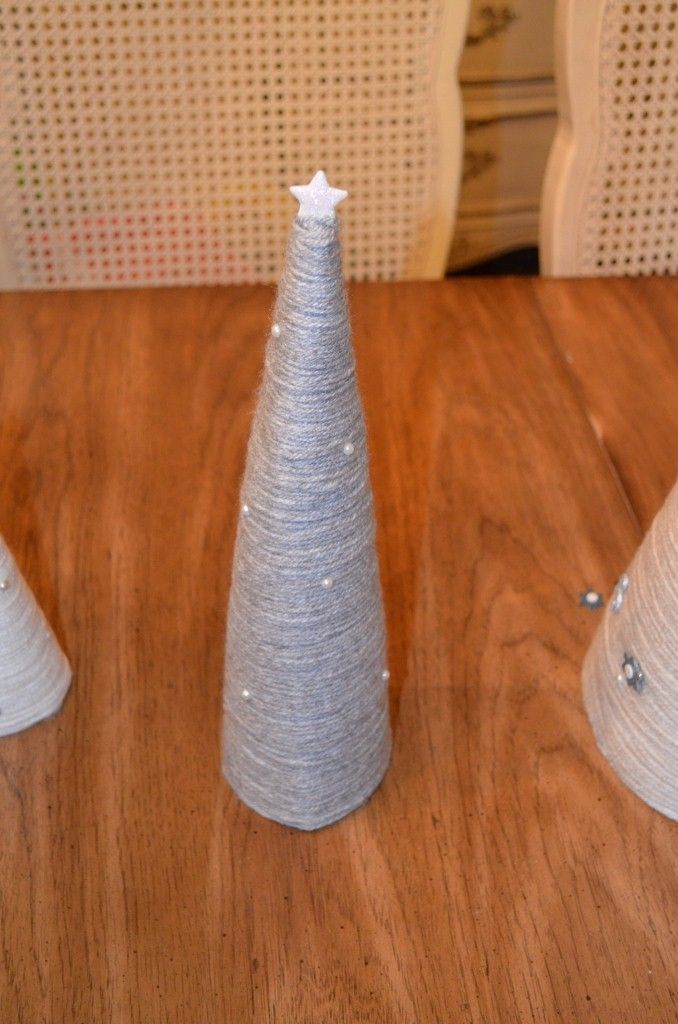
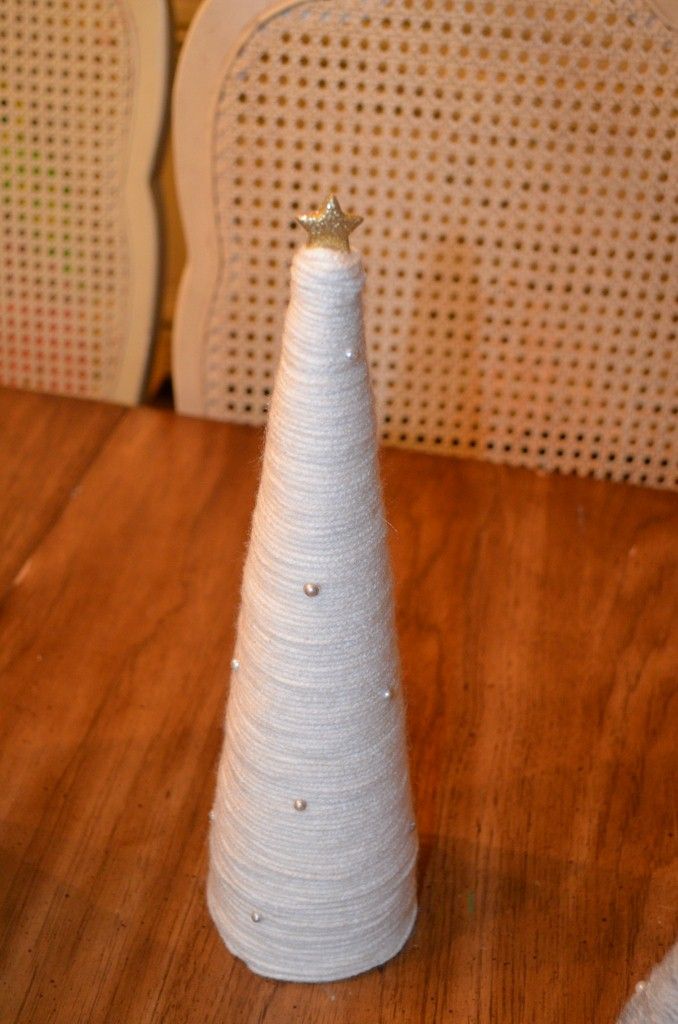
I used the Linen and Silver Heather colors along with the cream colored yarn I already had leftover from making my yarn wreaths.
This is how I wrapped each tree:
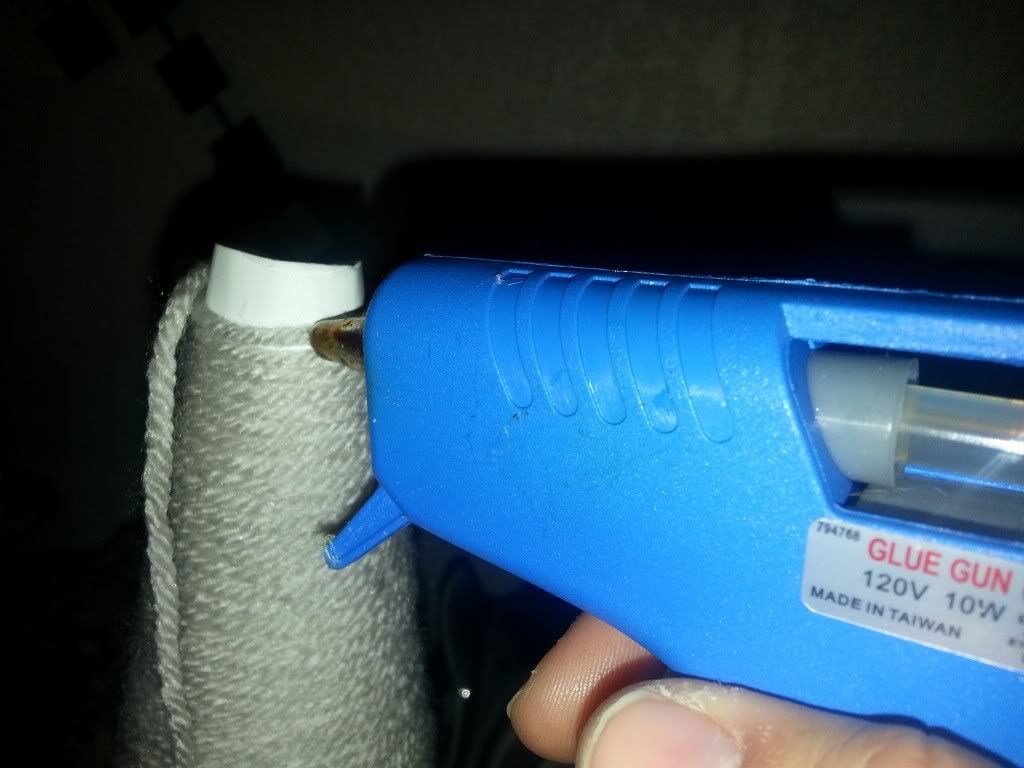
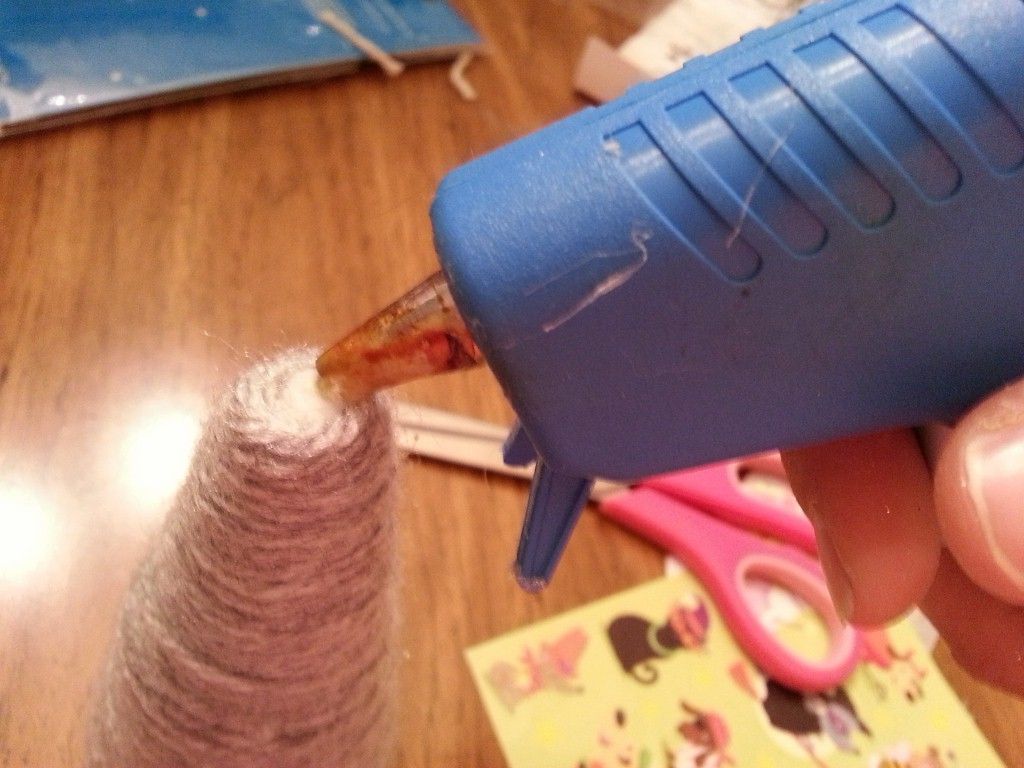
Start off by running a line of hot glue at the bottom of your cone:
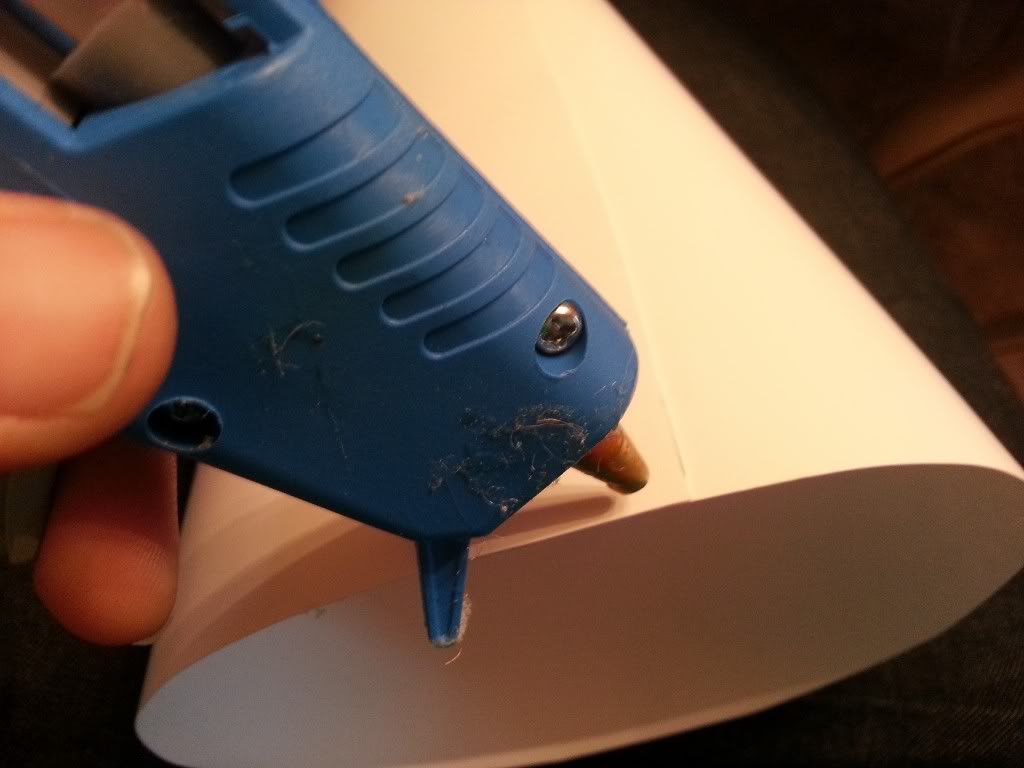
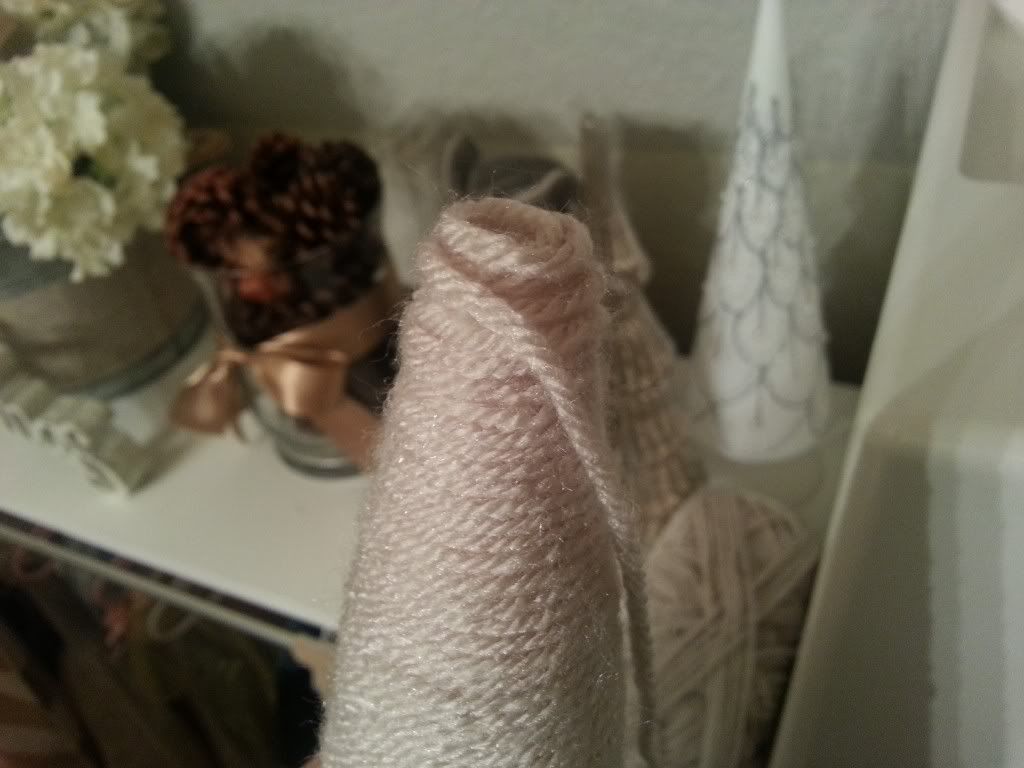
then lay down the end of your yarn. Continue doing this until the bottom edge of the cone is covered, then simply wrap your yarn around and around until you reach the top.
Remember you're just wrapping, not gluing at all the entire way up the tree. At the top, add hot glue to the very last open space near the tip and cover it up with yarn.
Now grab your cotton ball and stuff it into the top:
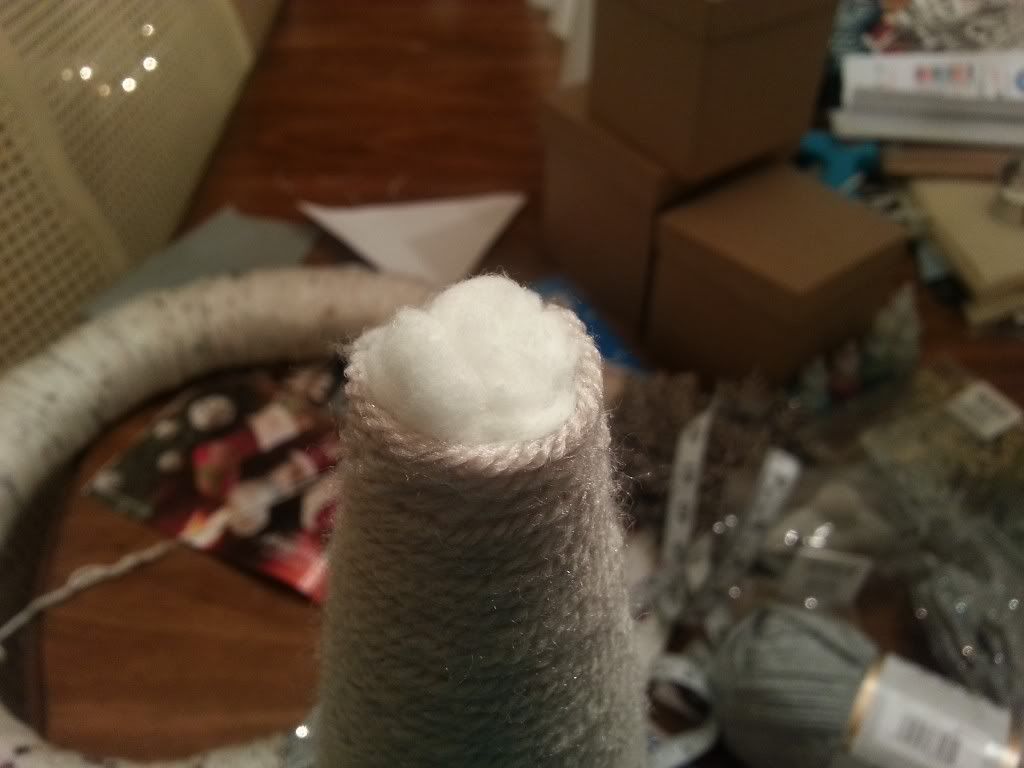
Then add hot glue and continue wrapping your yarn around until it covers the cotton:
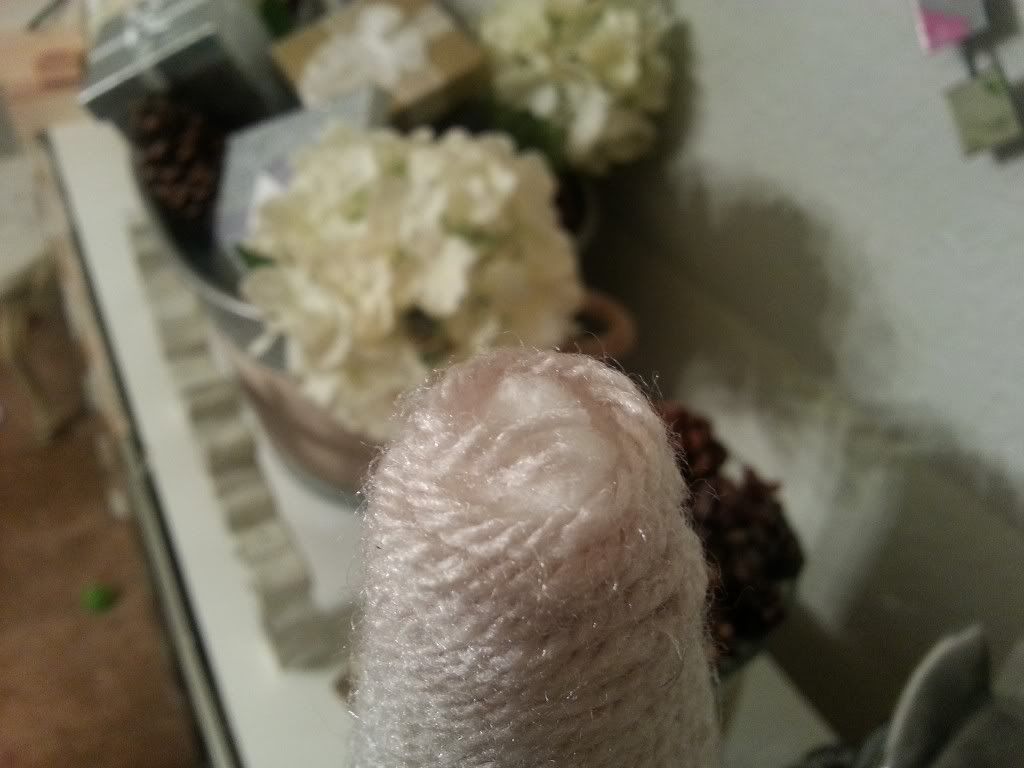
(If your trees come to a point, the cotton balls won't be necessary.)
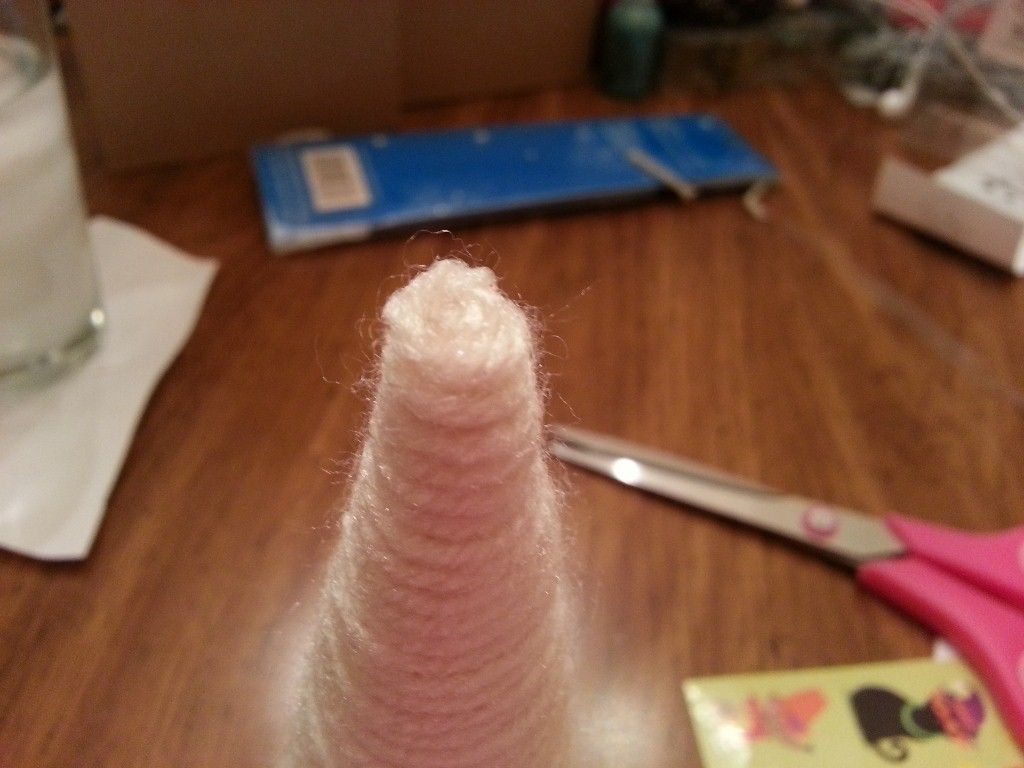
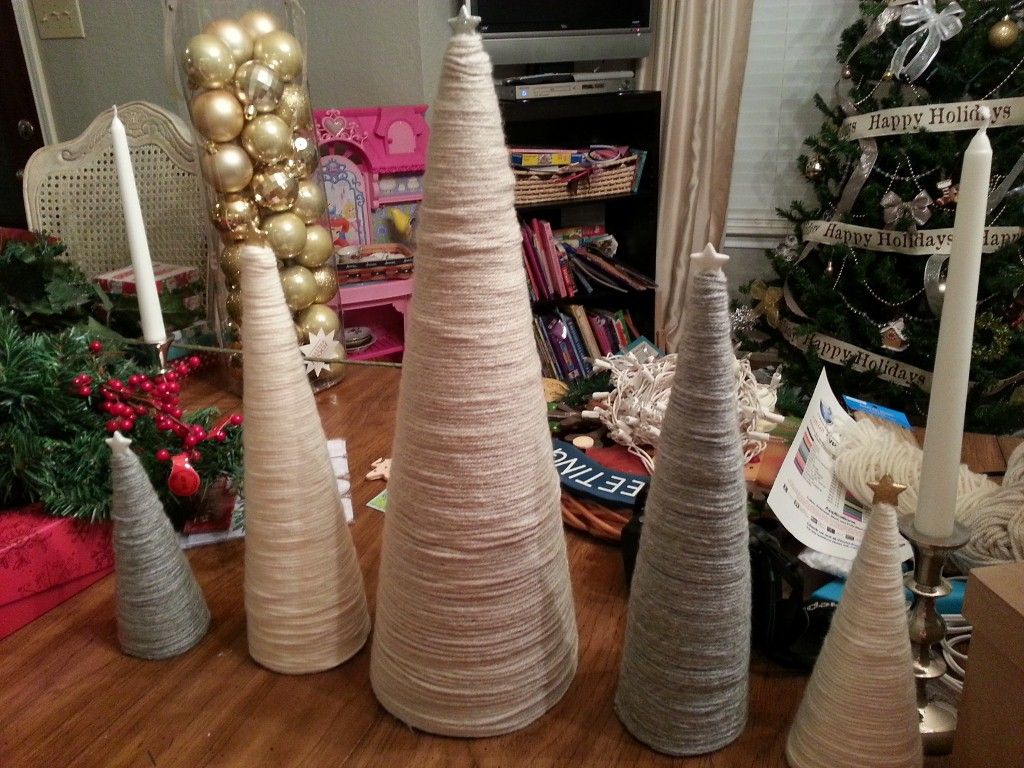
Depending on the thickness of the yarn you're using, your cone may be completely covered or you may have to repeat the process, this time rolling yarn from top to bottom. This is what my tree looked like after only one layer:
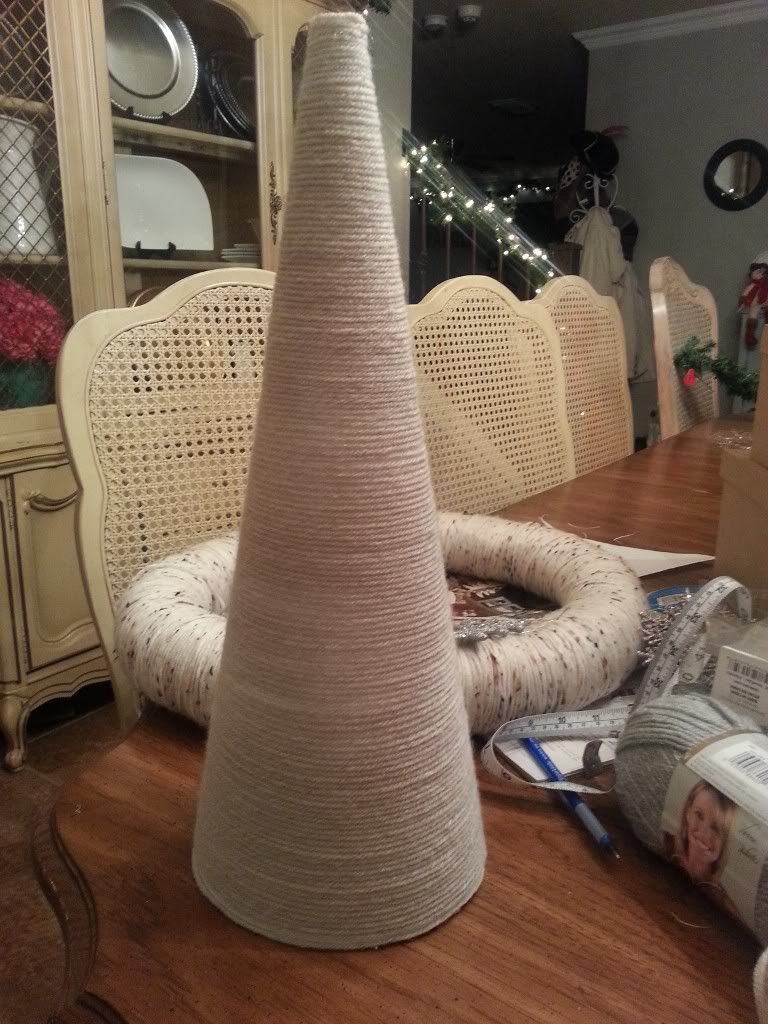
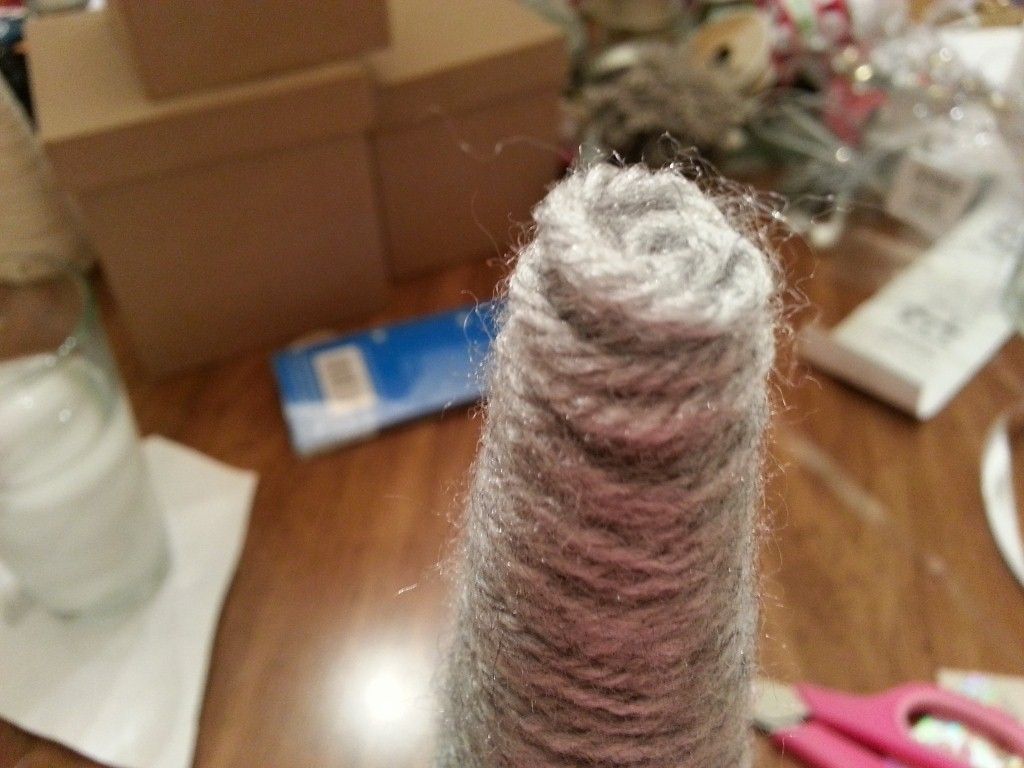
Even though I was using a semi-chunky yarn, I wanted my trees to look nice and thick so I added a ring of hot glue at the top, stuck a layer of yarn over it and wrapped my way all the way back to the bottom. At the bottom, I ran a line of hot glue around the bottom edge, covered the glue with a line of yarn, and snipped off the end. Voila, you have made your very own yarn tree!
Most people leave their trees plain, but I had these adorable glittery stickers that I picked up at Michael's a few days ago so I decided to use them to embellish my tree.
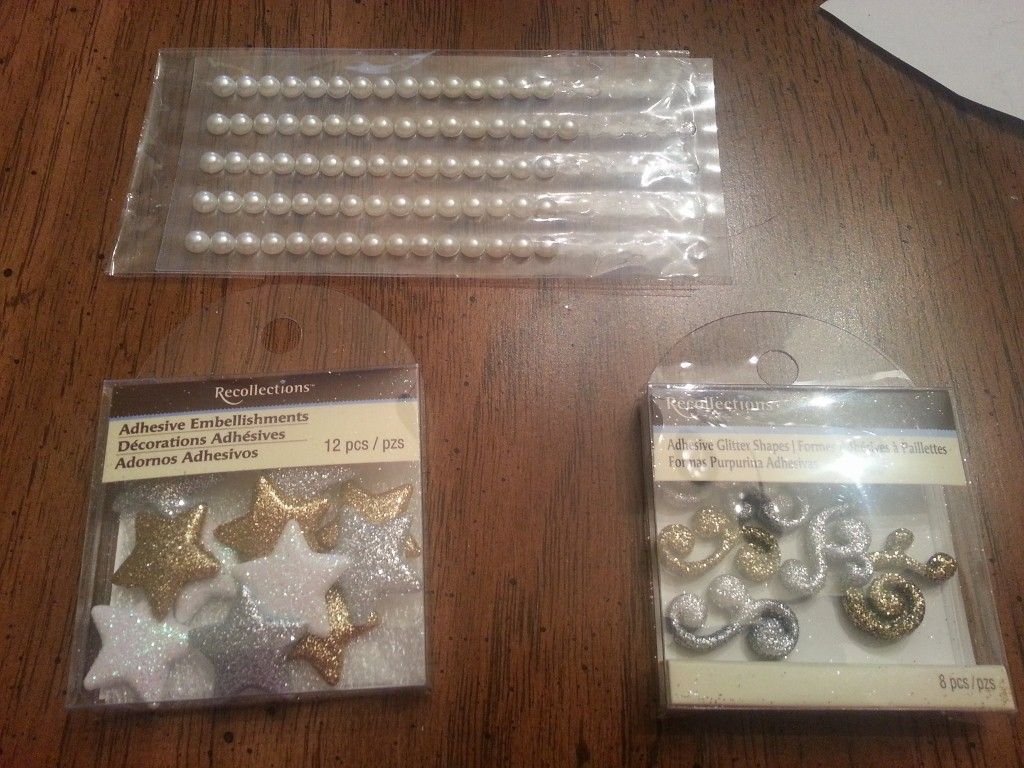
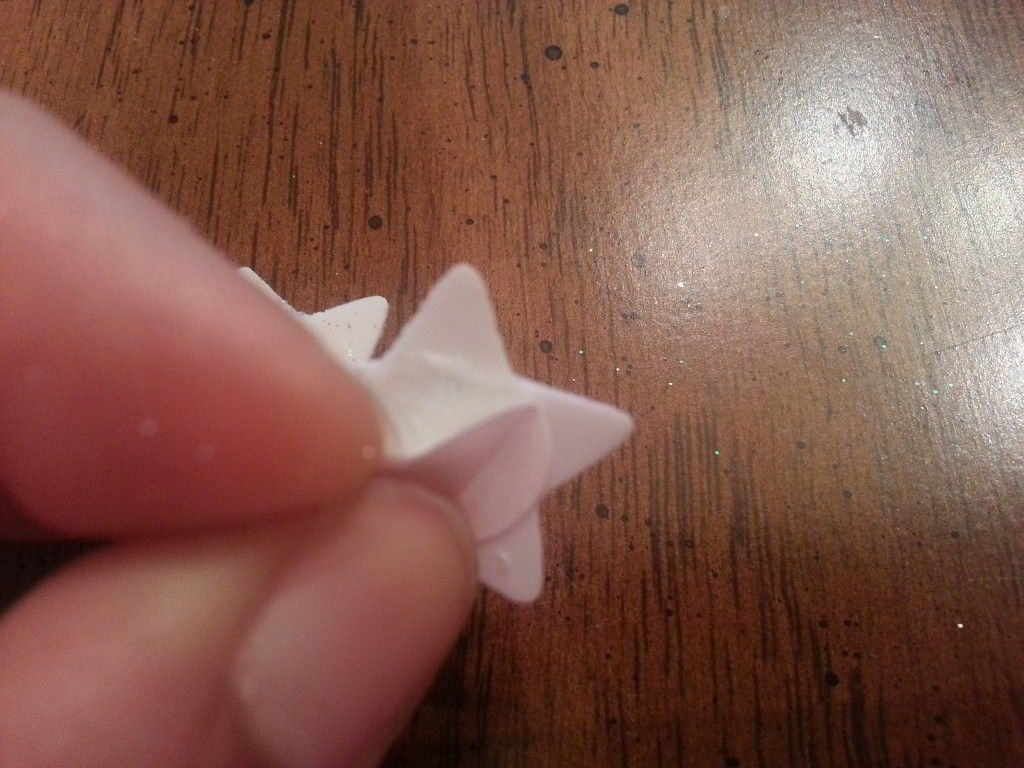
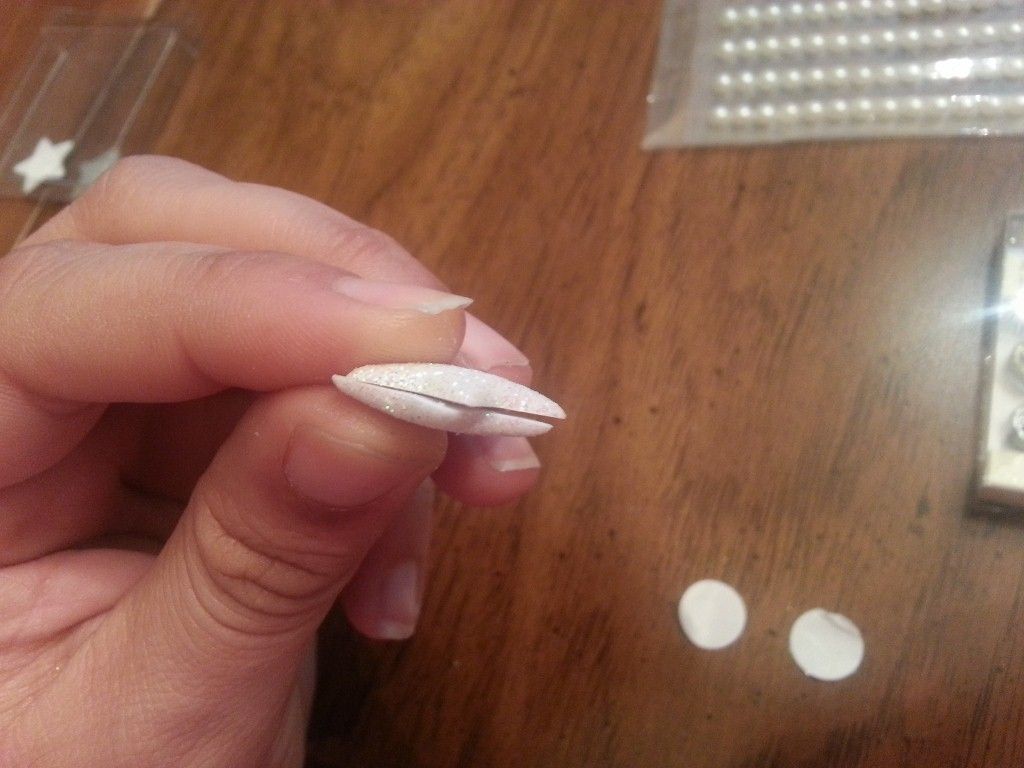
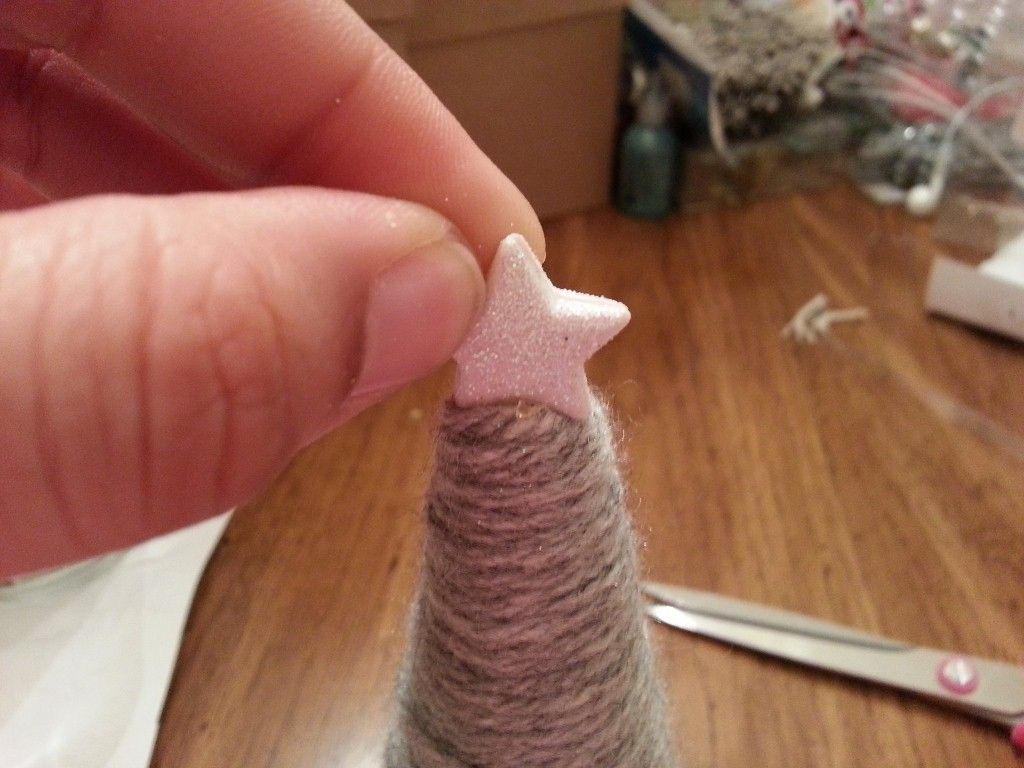
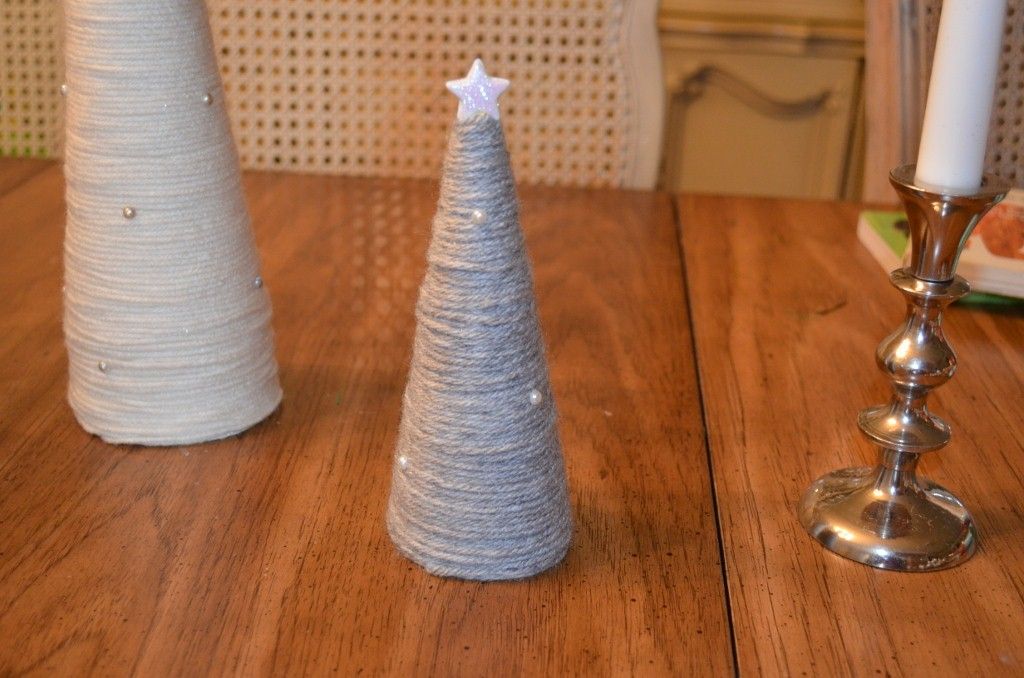
I used the stars for the tree toppers and simply stuck two of the same color together to have a complete star for each tree.


I could have stopped there but nah, that wasn't enough.
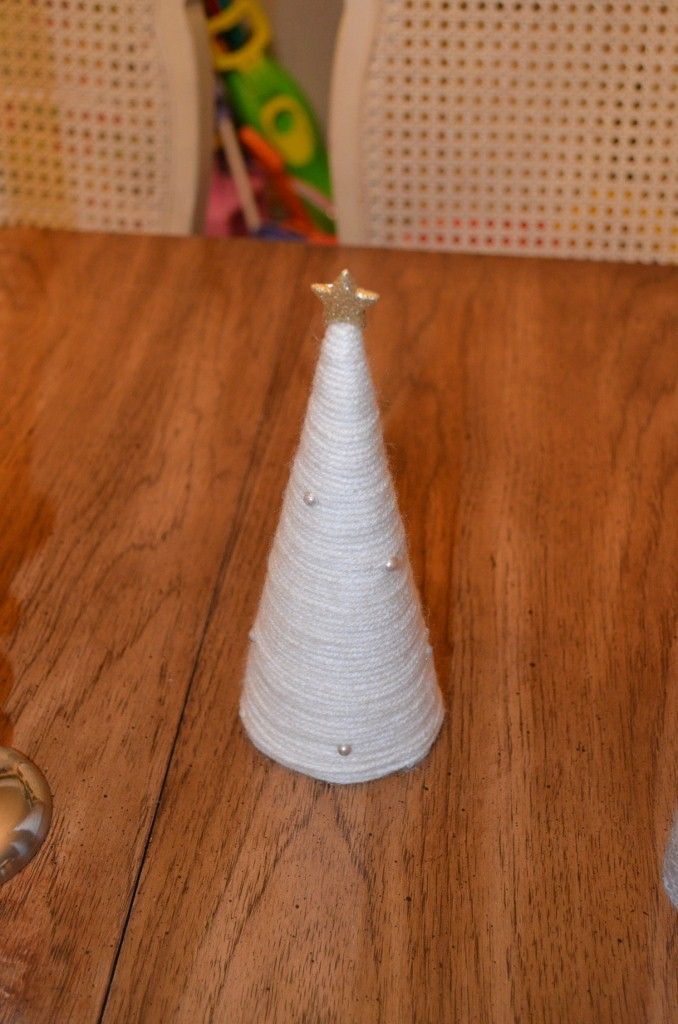
I added the same pearls I used on my yarn wreath along with a lot of the other tiny stickers I had from Michael's. I kept the smaller trees a little more plain by just adding pearls.
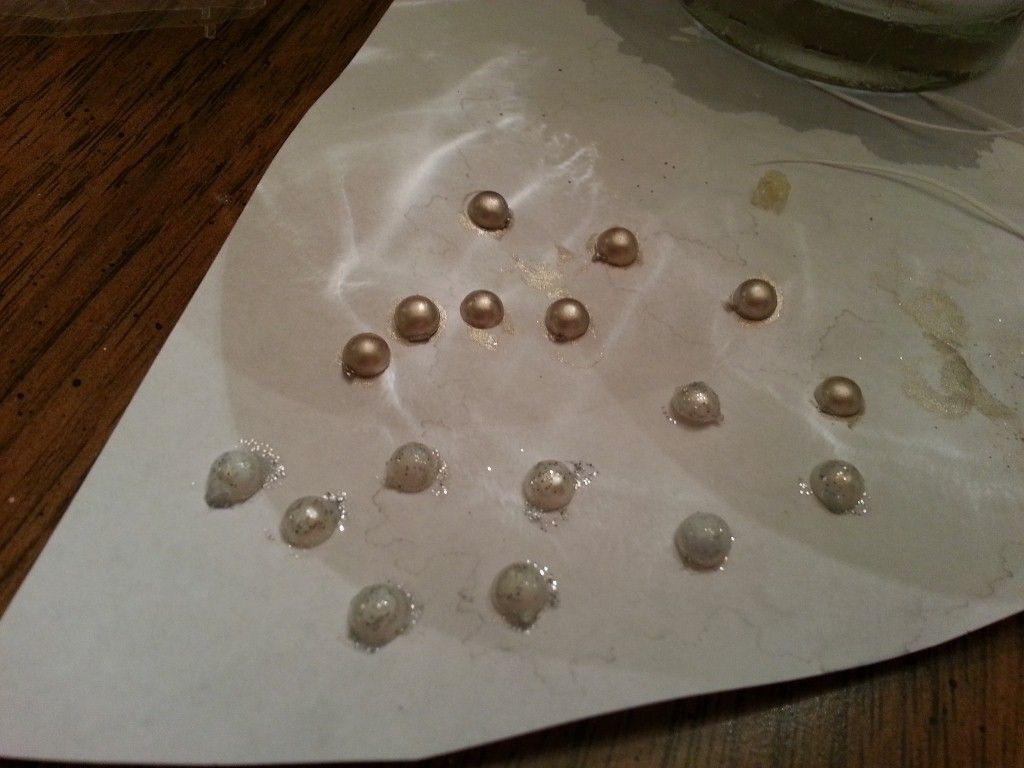
I knew my pearls wouldn't show up too well on my cream colored yarn trees, so I rummaged through all of the craft paints I keep in my craft organizer and came up with a sparkly silver and a nice dark gold.

I used a tiny paint brush to paint some color onto a couple of pearls, waiting a few minutes for them to dry, then glued them to the tree.
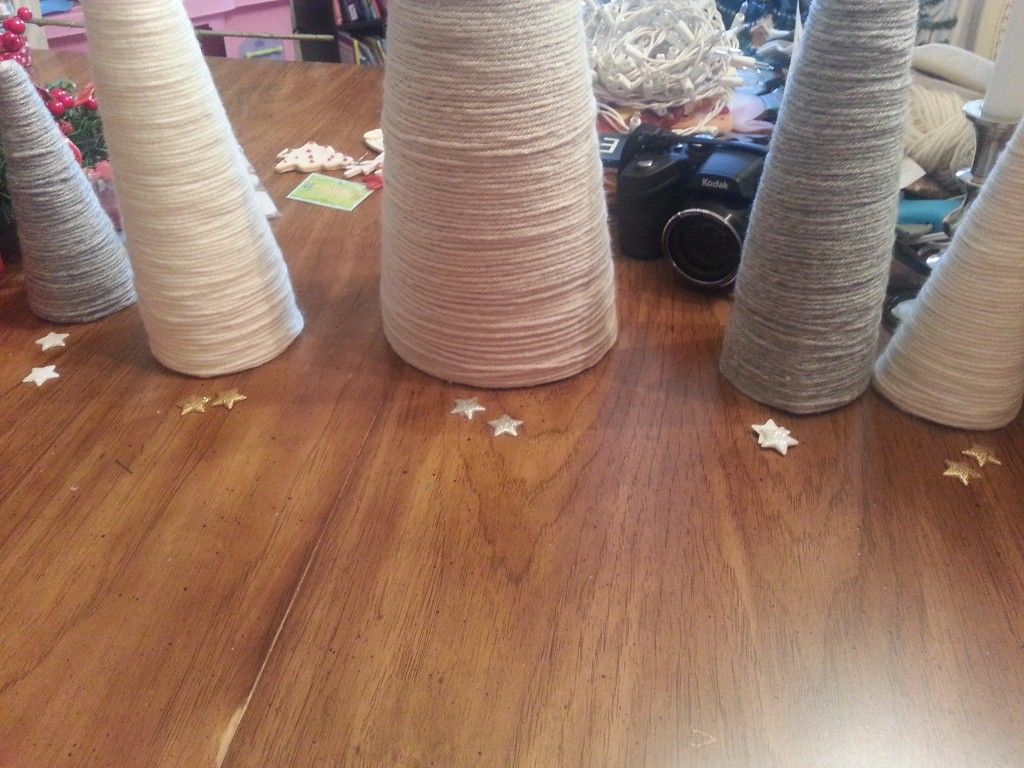
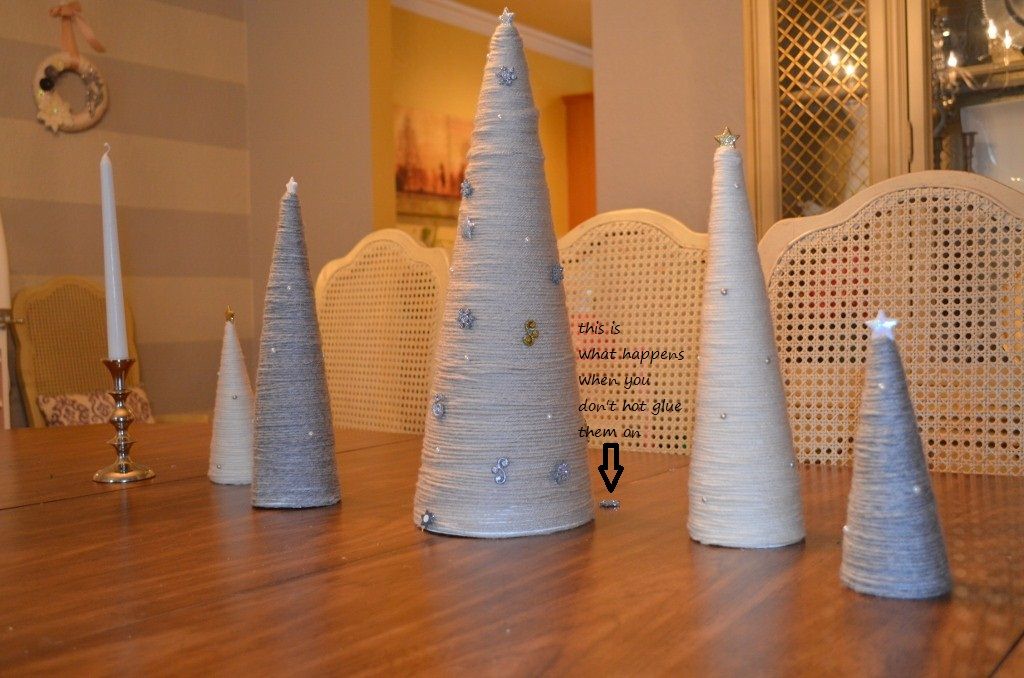
I could have just adhered all of the embellishments on since they have some adhesive on their backs, but I didn't want any of the embellishments falling off the tree so all of them were glued on using hot glue. Then, as I was cleaning up, I found this little pack of snowflakes that I had overlooked. Since I had already unplugged my hot glue gun, I just went ahead and stuck them on without glue. Big mistake:

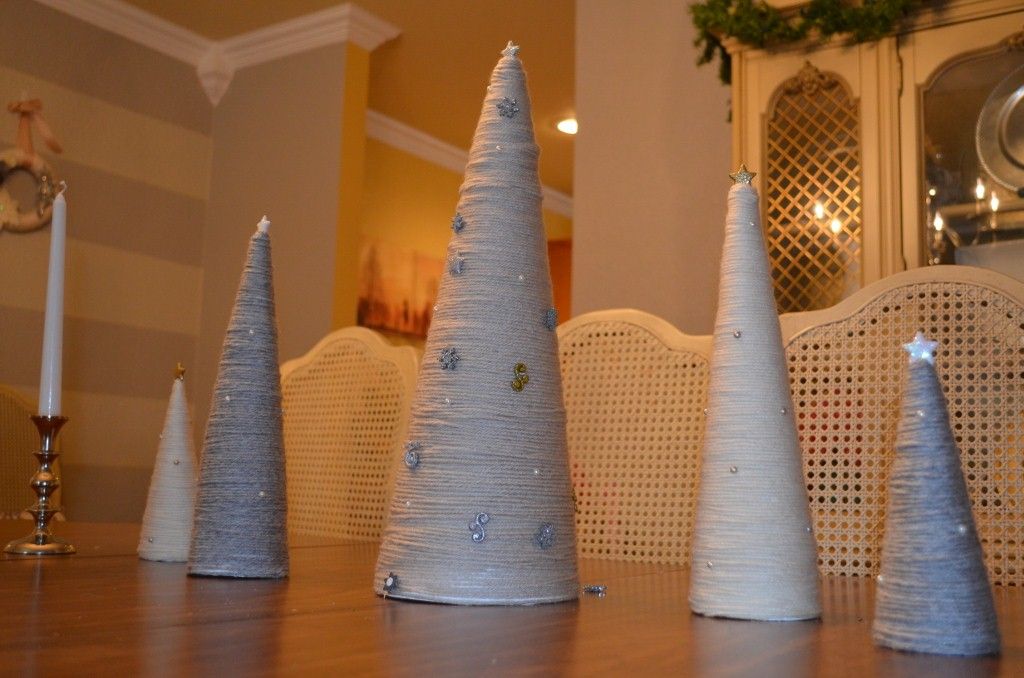
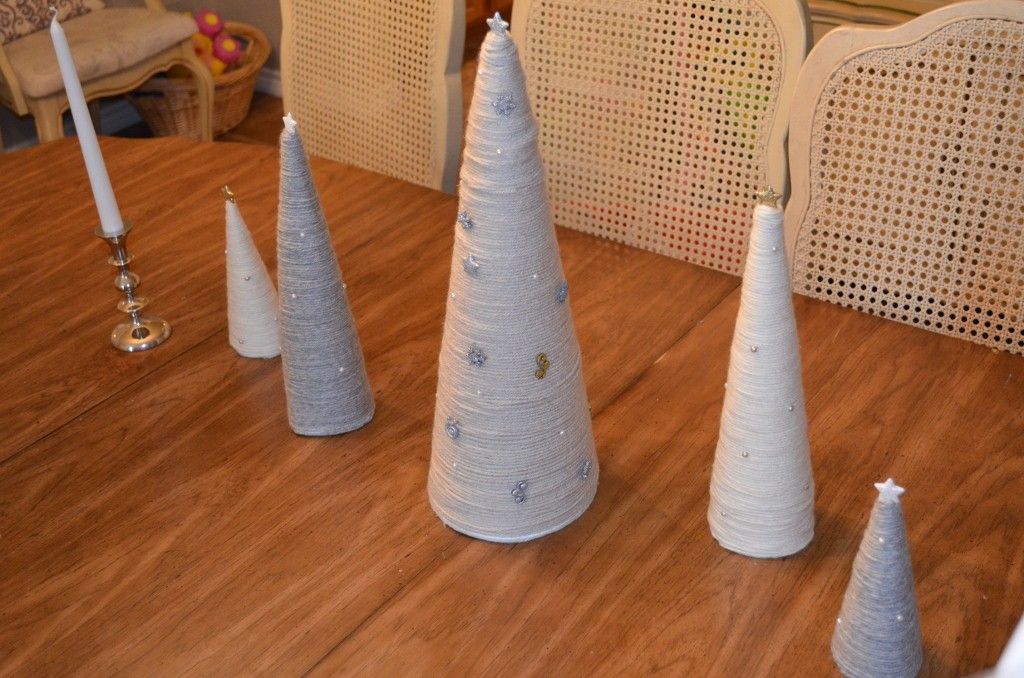
I went back and glued them on, here are the completed trees:

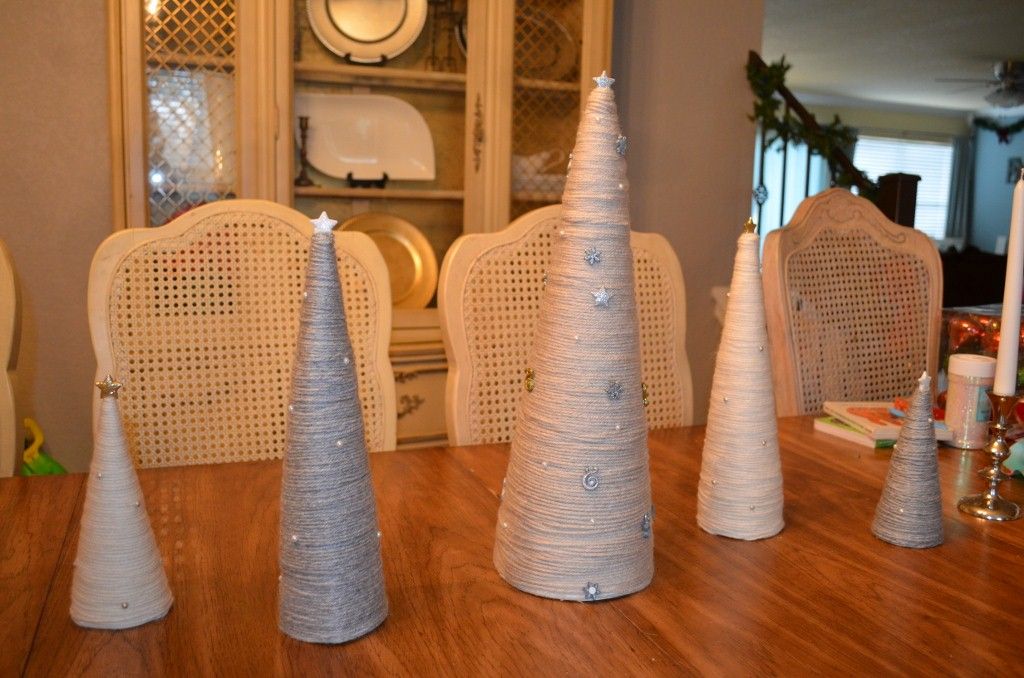

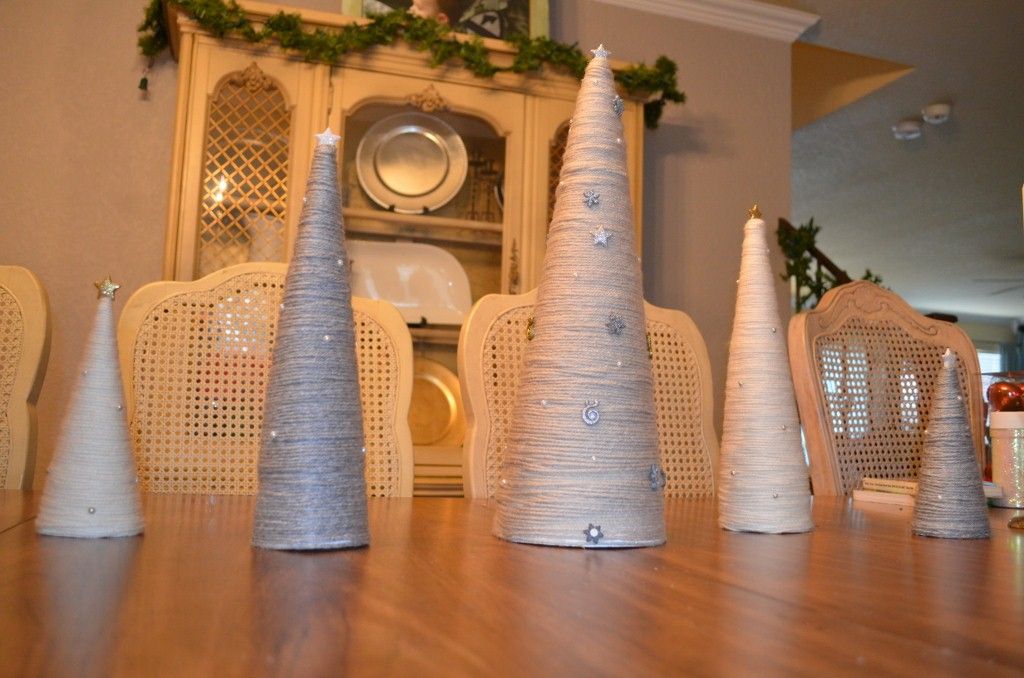

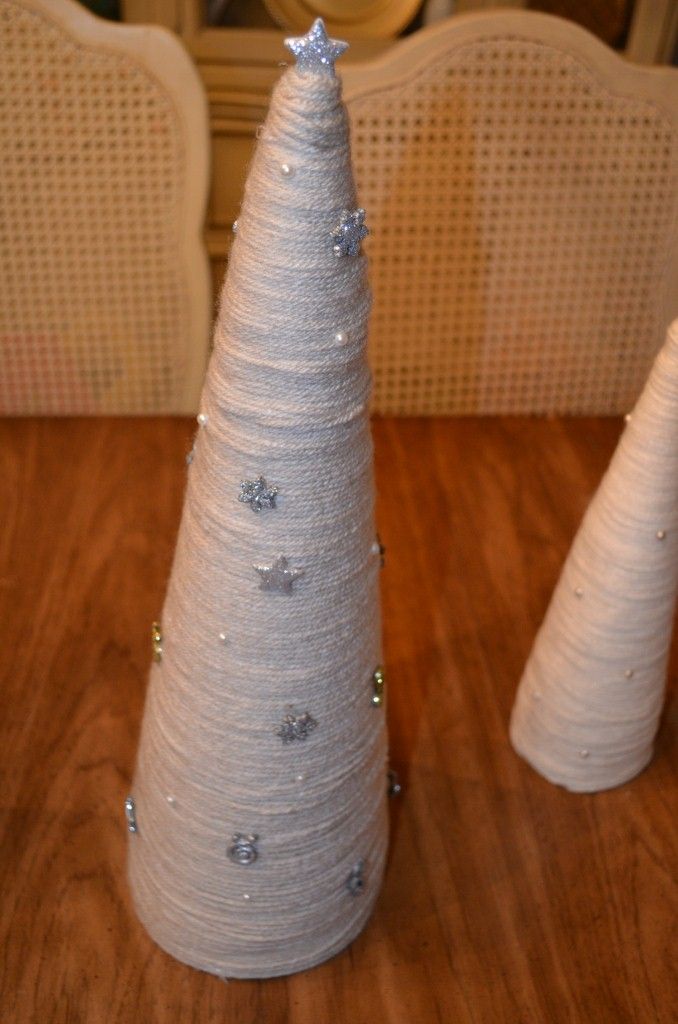
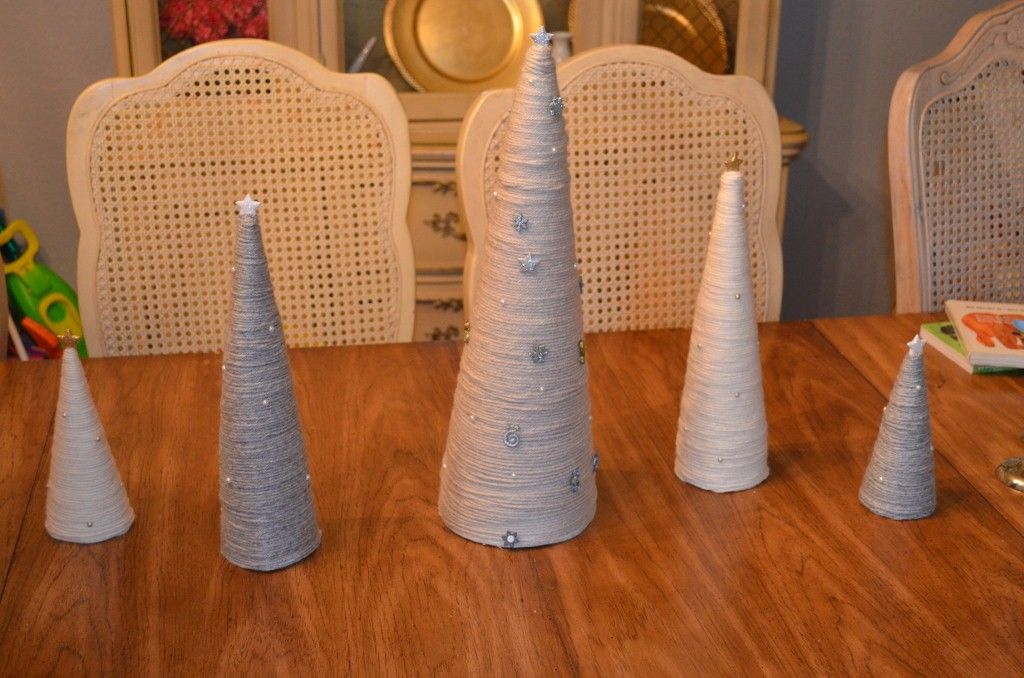
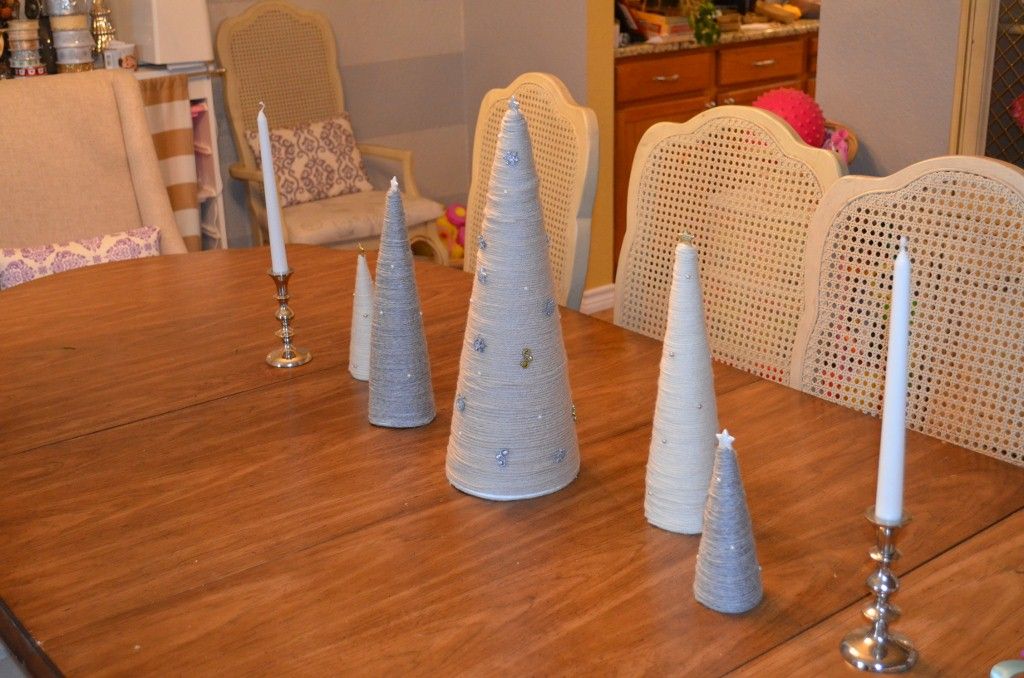
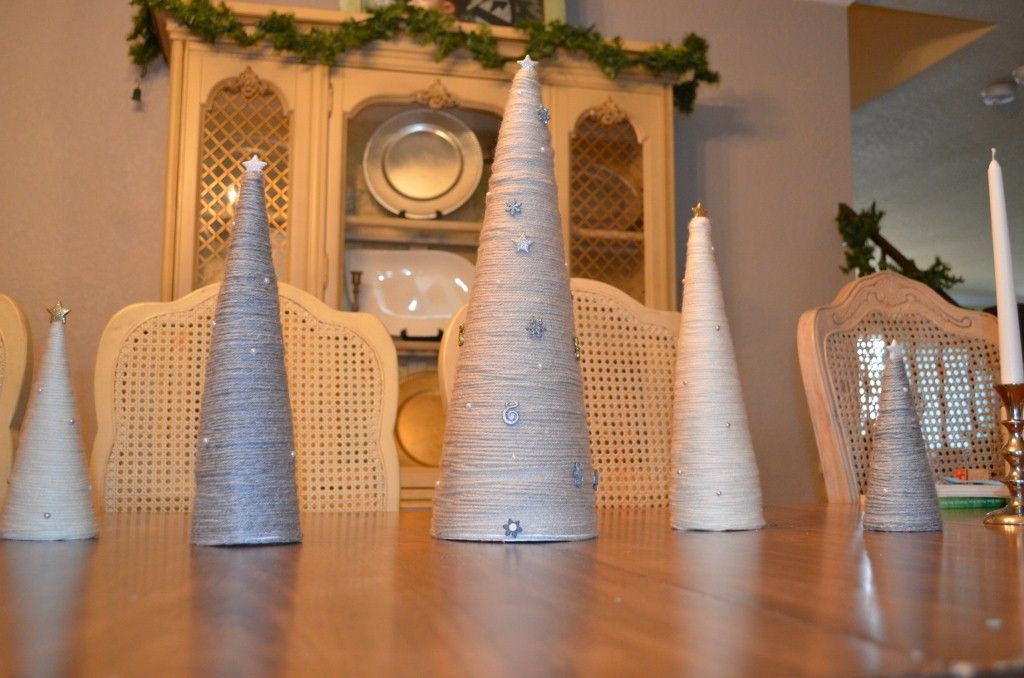
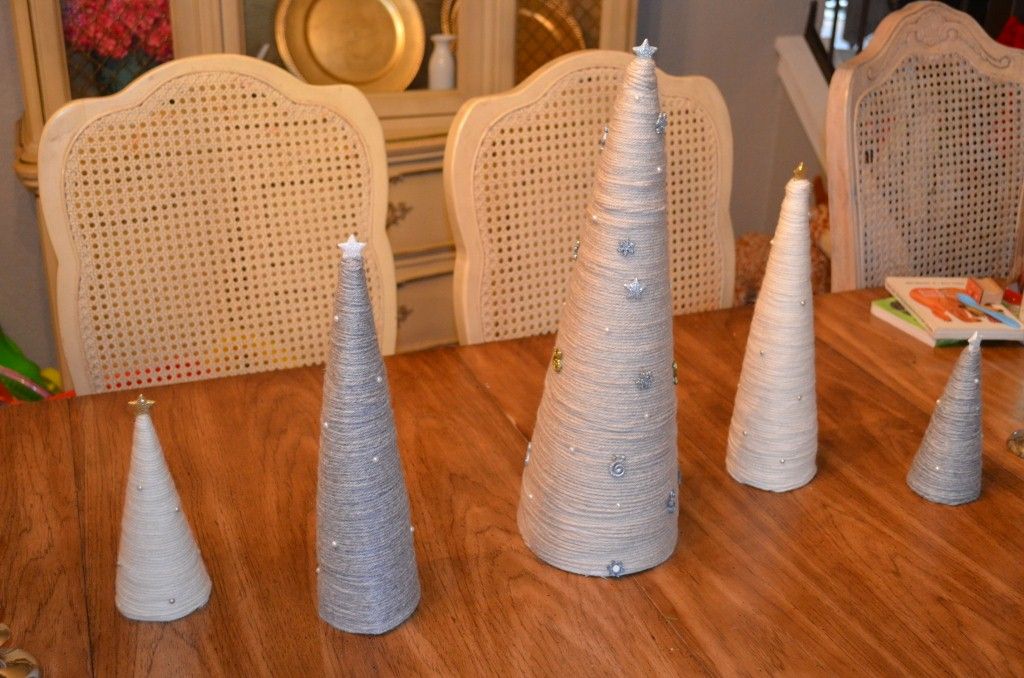
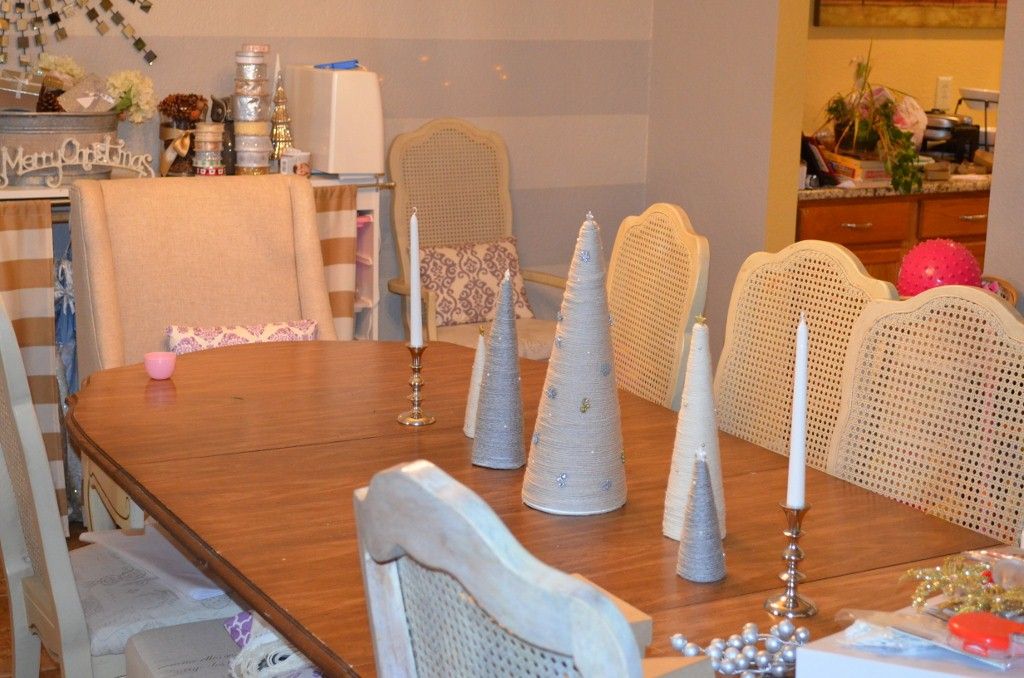
I think they are so adorable. The yarn reminds me of knit scarves, sweaters, hats, etc... and I just get a warm fuzzy feeling inside. I miss knitting scarves. I used to knit like crazy when we lived in IL, but down here in TX, thick scarves are not necessary. Oh well, at least I have my darling little trees. The table still looks a little plain, but I'm working on sewing a Christmas runner for it and I may add some fresh greens around the trees if I get a chance to stop by the nursery.
In other news, I finally bought a better camera yesterday. That's why I went so picture crazy on the finished trees :) I was trying out my new camera. I had previously been using a cute Kodak that my mom gave me but it ran on batteries and they drained really quickly, plus the pictures were always grainy at night, since there is no natural light, but that's when I work on the majority of my crafts. You can see how much darker the pictures are at the beginning of the tutorial even though some of them were shot in the morning. Anyway so I bought a Nikon d3200 then I questioned my decision and without even opening it, I went back and exchanged it for a Nikon d5100.

They're very similar cameras but the d5100 seemed to have better reviews plus a flip out screen that I thought would be convenient for videos and photos. I'm hoping to take a photography class or two sometime soon so that I can improve the quality of images I post on the blog.
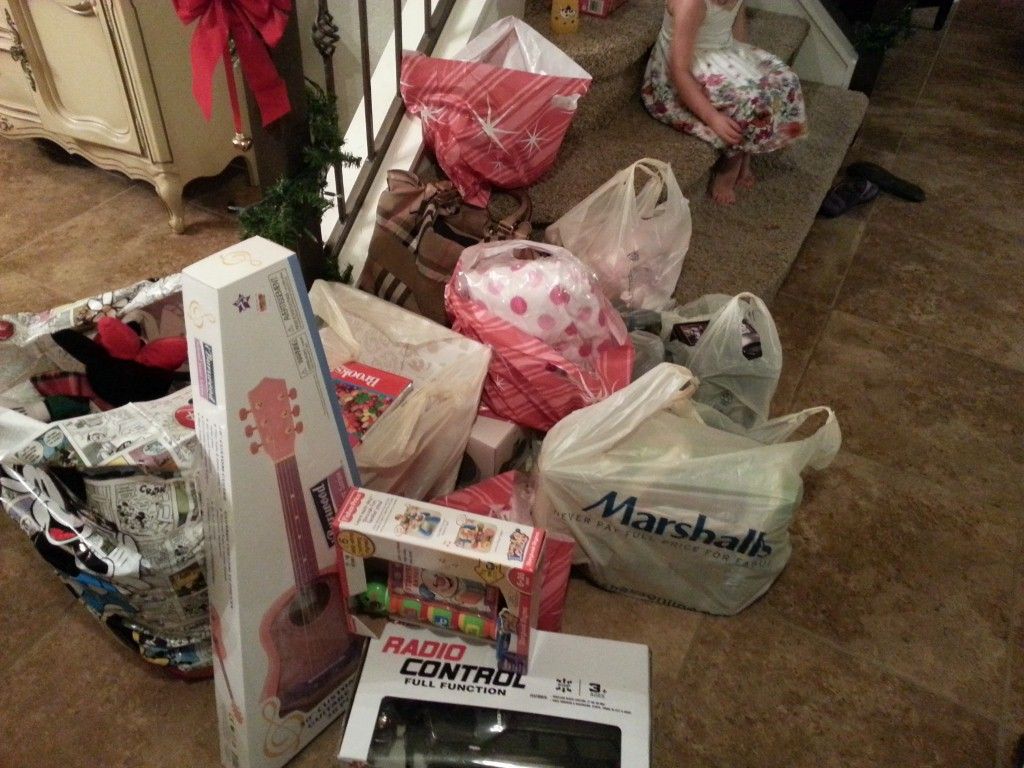
There's been so much going on while we prepare for Christmas, including a ton of Christmas shopping so my house is looking like this:

and there are tons of bags full of gifts waiting to be wrapped just dropped next to the stairs:
Plus more stuff waiting to be used for other projects:
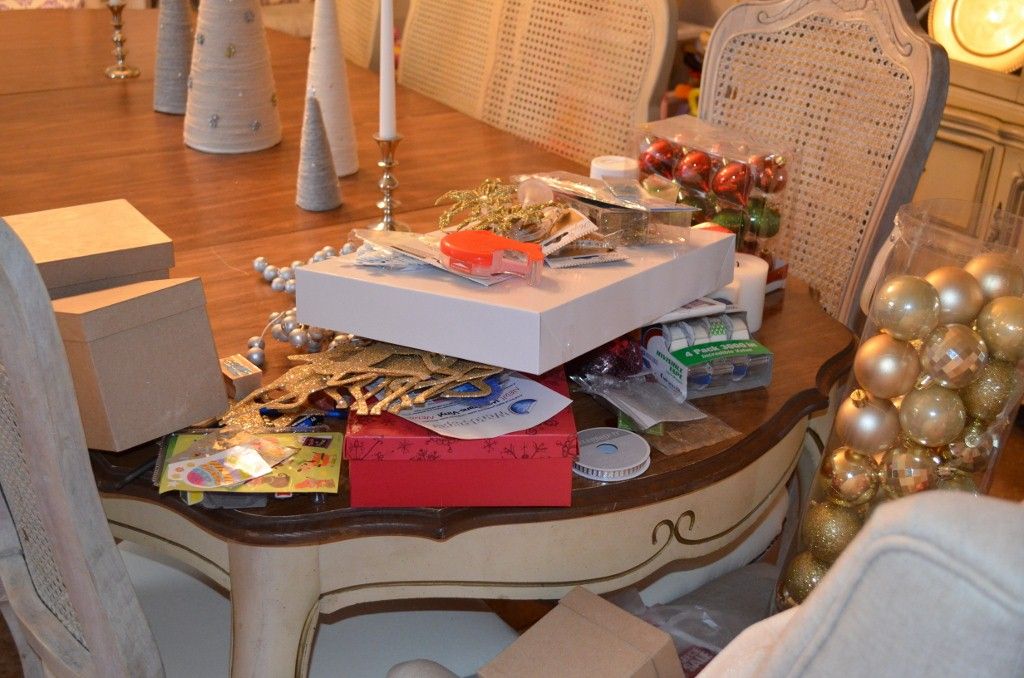
Eeeek! Pretend you didn't see any of that.
It's okay, it'll all be worth it in the end when we're all together on Christmas watching A Christmas Story and opening our gifts. I love the holidays! Next up will hopefully be an ornament wreath tutorial and a new way to display Christmas cards....if I don't mess them both up :) so check back soon!
Linking Up:
Centsational Girl
Crafty Texas Girls
Alderberry Hill
The Dedicated House
Nesting Place
Saavy Southern Style
Adventures of a DIY Mom
Home Stories A to Z
A Diamond In The Stuff
Tessacotton
Someday Crafts
Someday Crafts
French Country Cottage
Chic on a Shoestring
Linking Up:
Centsational Girl
Crafty Texas Girls
Alderberry Hill
The Dedicated House
Nesting Place
Saavy Southern Style
Adventures of a DIY Mom
Home Stories A to Z
A Diamond In The Stuff
Tessacotton
Someday Crafts
Someday Crafts
French Country Cottage
Chic on a Shoestring
Love your yarn trees! And, your striped wall looks similar to what I am doing in my bathroom! Love!
ReplyDeleteThank you! I am ga ga for stripes at the moment. After I finished that wall I had to stop myself from painting my entire upstairs hallway in stripes.
DeleteThe yarn trees are SO cute! Also, good luck with your new camera!
ReplyDeletethank you! I really need to set aside some time to shoot a couple hundred pictures and play with the settings.
DeleteYour yarn trees are so pretty. Love the way you decorated them. Stopping by from Savvy Southern Style.
ReplyDeletethank you, will definitely check it out :)
ReplyDelete