
A few days ago I shared photos and info from my sister's wedding reception. I mentioned that I would be typing up a tutorial for the burlap cutlery holders I sewed for the party. Then I showed you how I also used them for our Thanksgiving table. So finally, here's how I made them:
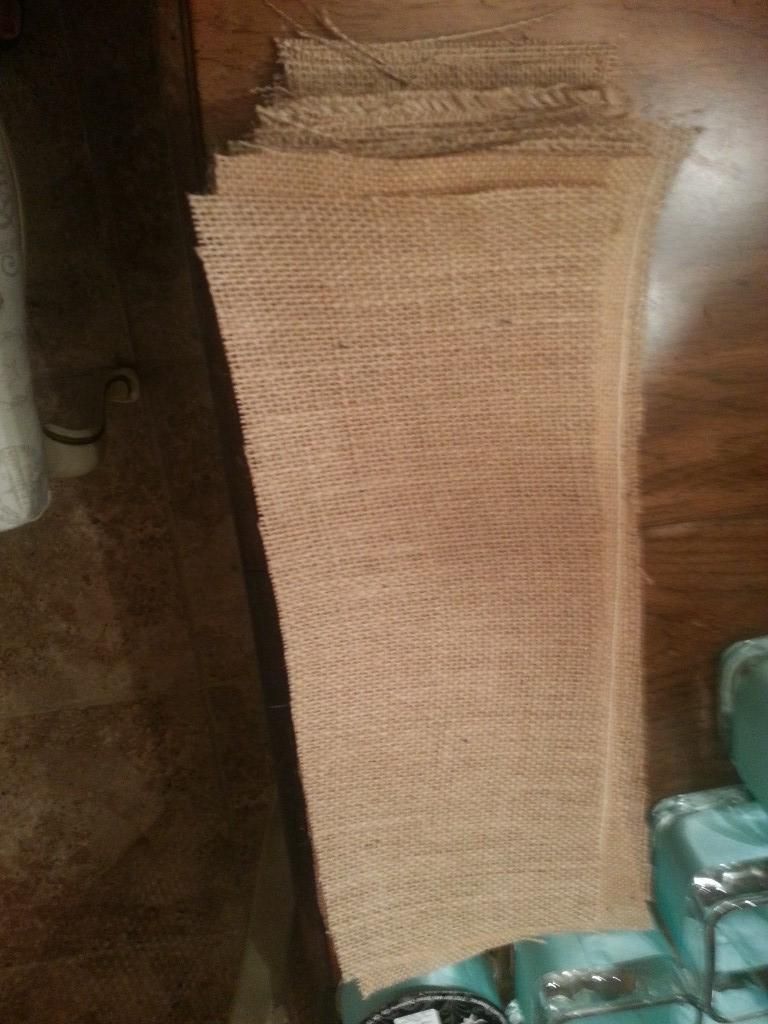
Before purchasing your burlap, determine how many holders you plan on making. I made 50, but obviously if you were just going to make them for Thanksgiving or Christmas, you would make a lot less, say 12. I already had 3 yards of burlap, so I knew I would have plenty of material.
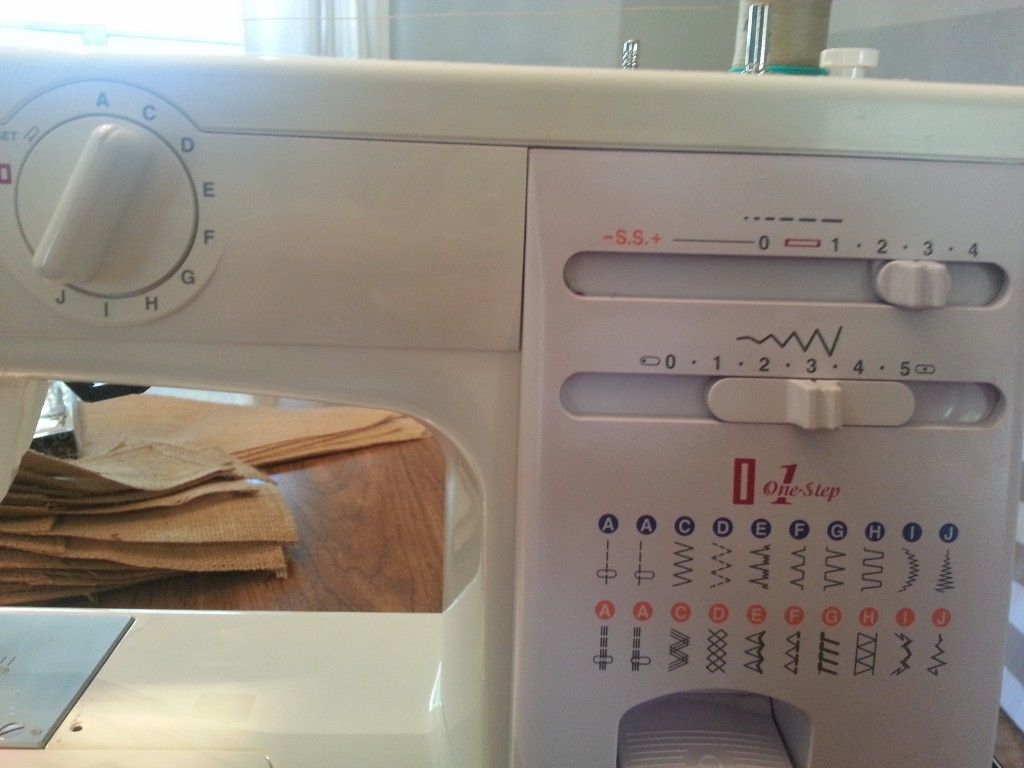
Here are the sewing machine settings I used:

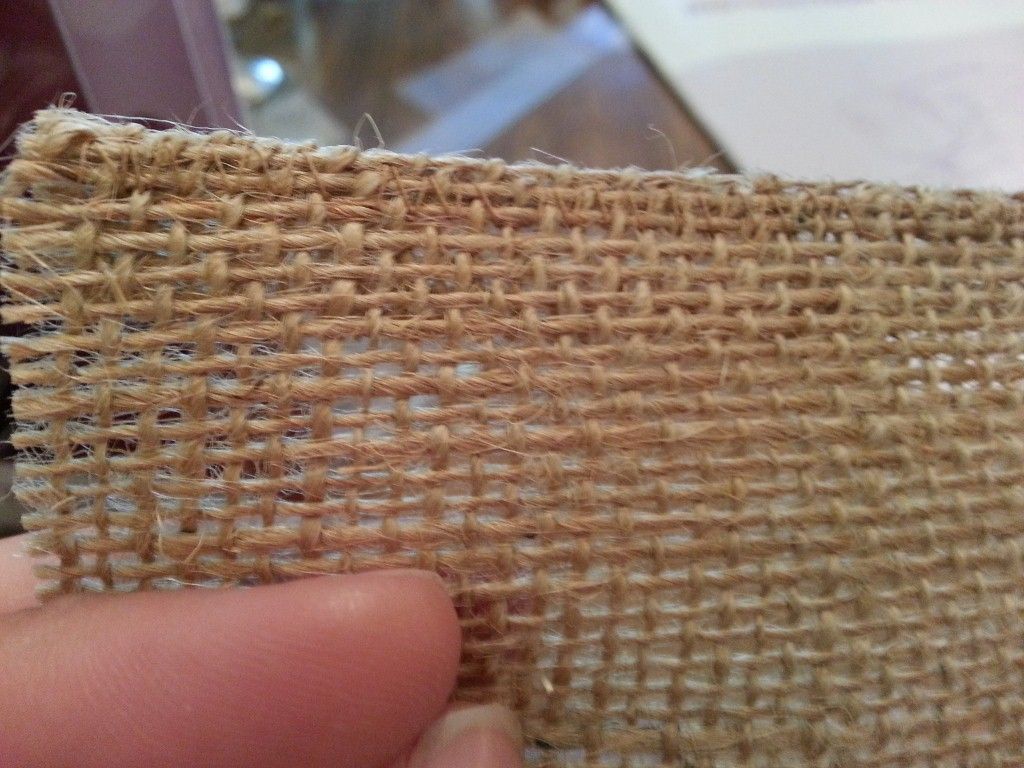
My friend and I cut the burlap into pieces with dimensions 4"x10"
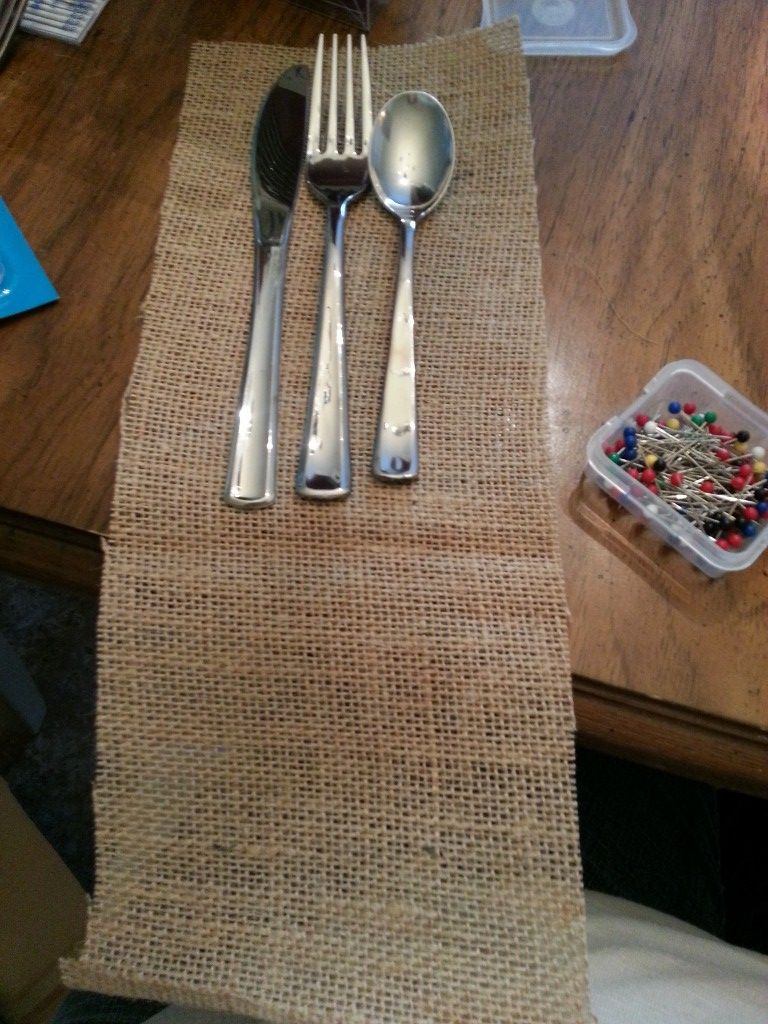
The holders themselves will be about 3.5"x9" long, but you want at least an extra half inch for seam allowances.

(I cut them along with the triangles for the banners. I will be uploading the super easy tutorial for those this week as well.)
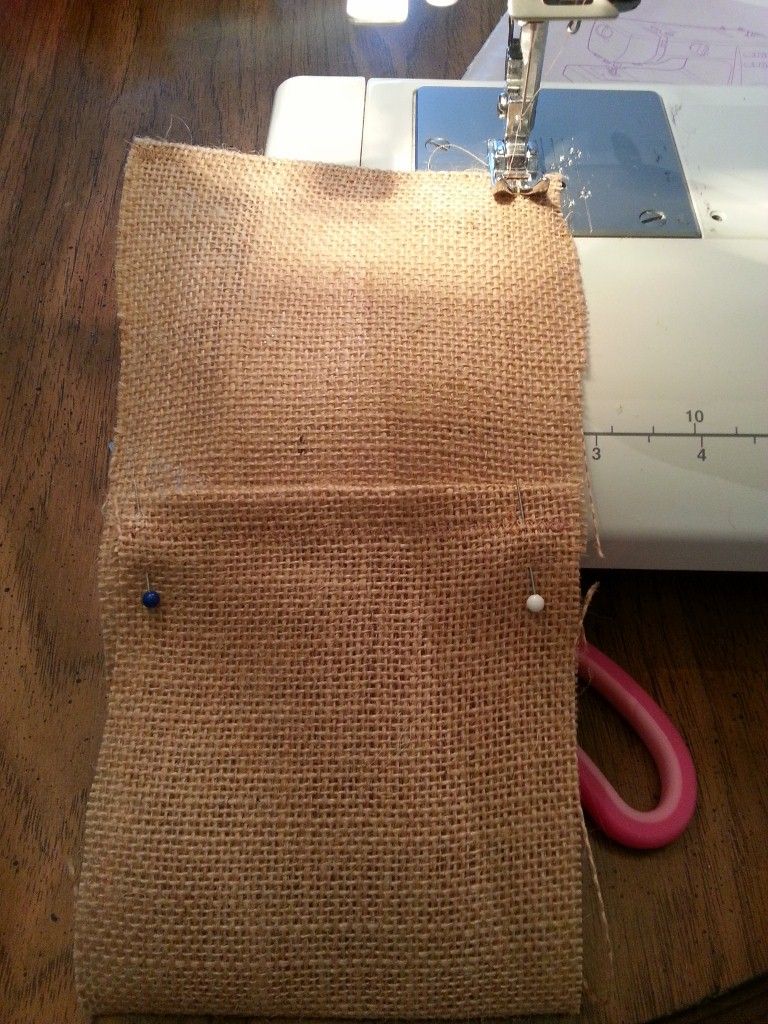
Once you've cut the rectangles out, fold the top back about a quarter of an inch:
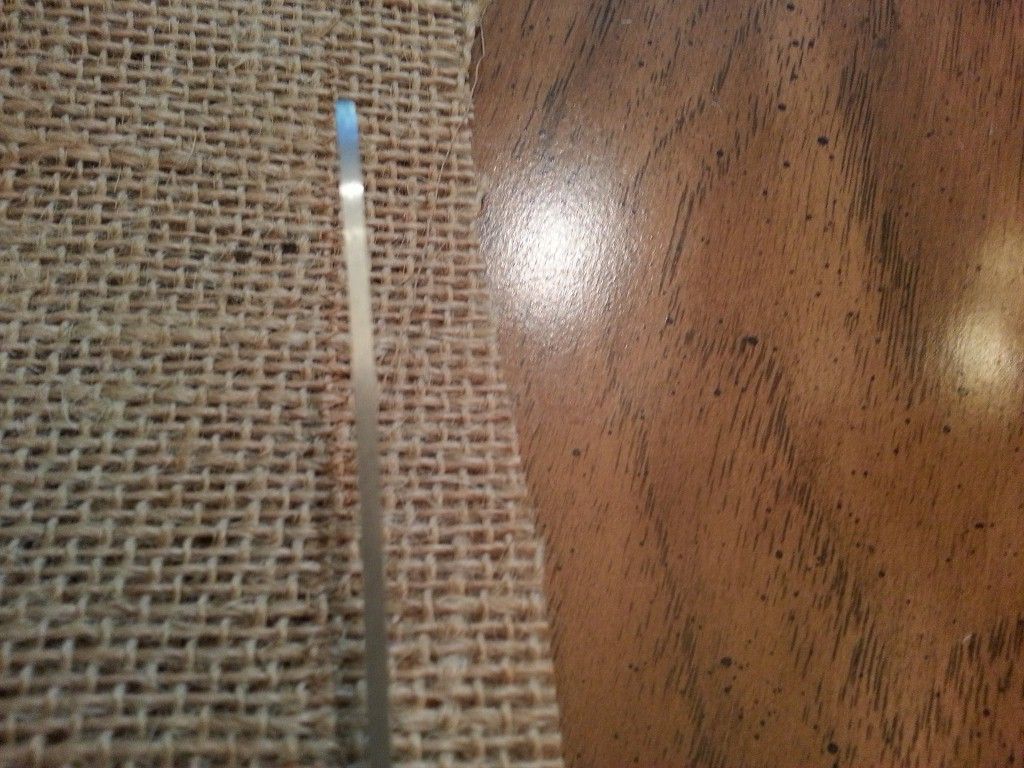
pin and sew using a zig zag stitch:
Can you see the zigzag? I used a brown thread that matched the burlap pretty well.
Here's how your top will look once it's sewed:

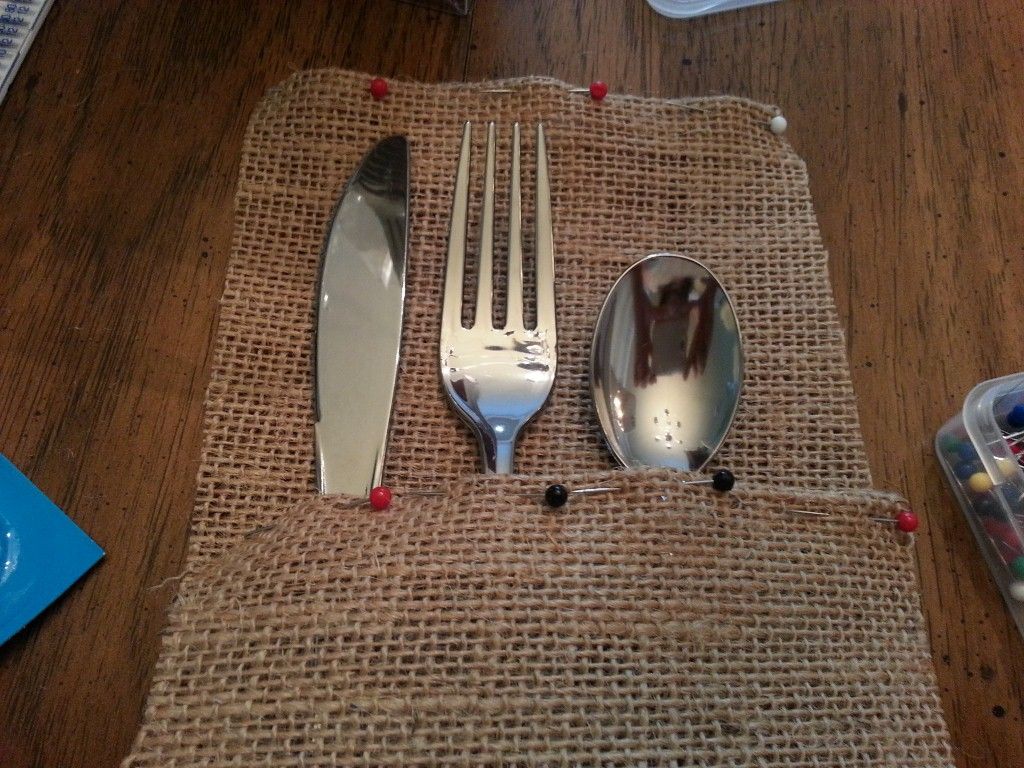
Now you have to lay your flatware on top of the piece of burlap to see where exactly you want to fold it up so that it creates a pocket. I wanted my pocket to cover about 3/4 of the flatware so I folded it up about 3 inches.
Next, fold the bottom end of the pocket back a quarter of an inch and again, pin and sew using a zig zag stitch.
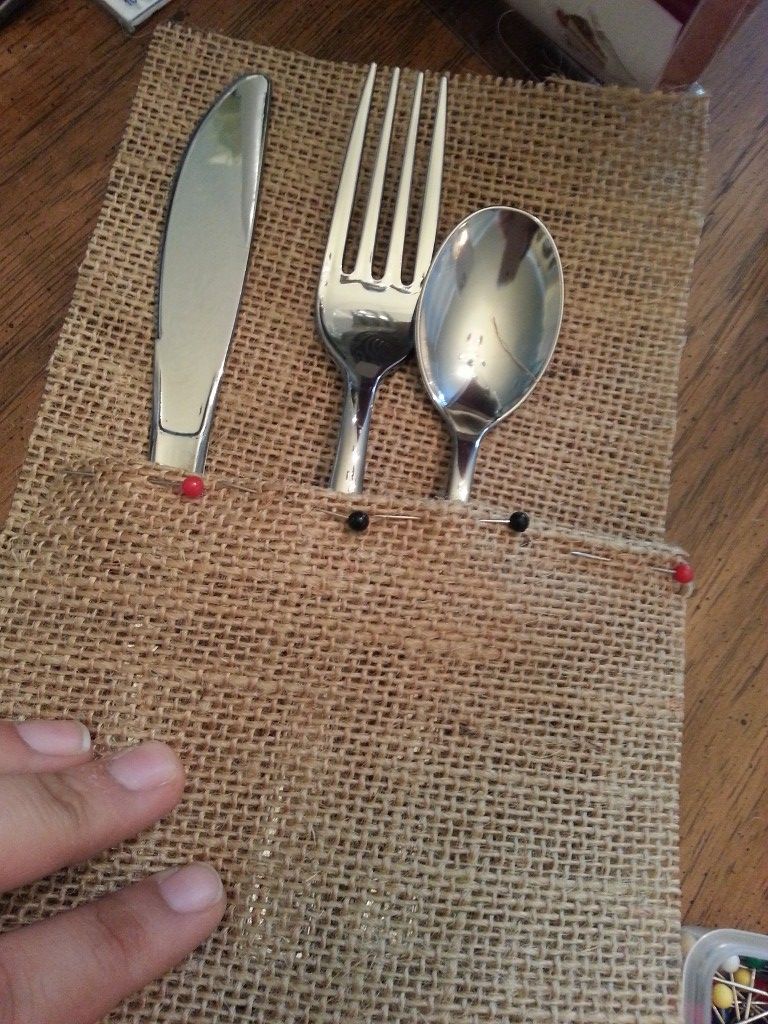
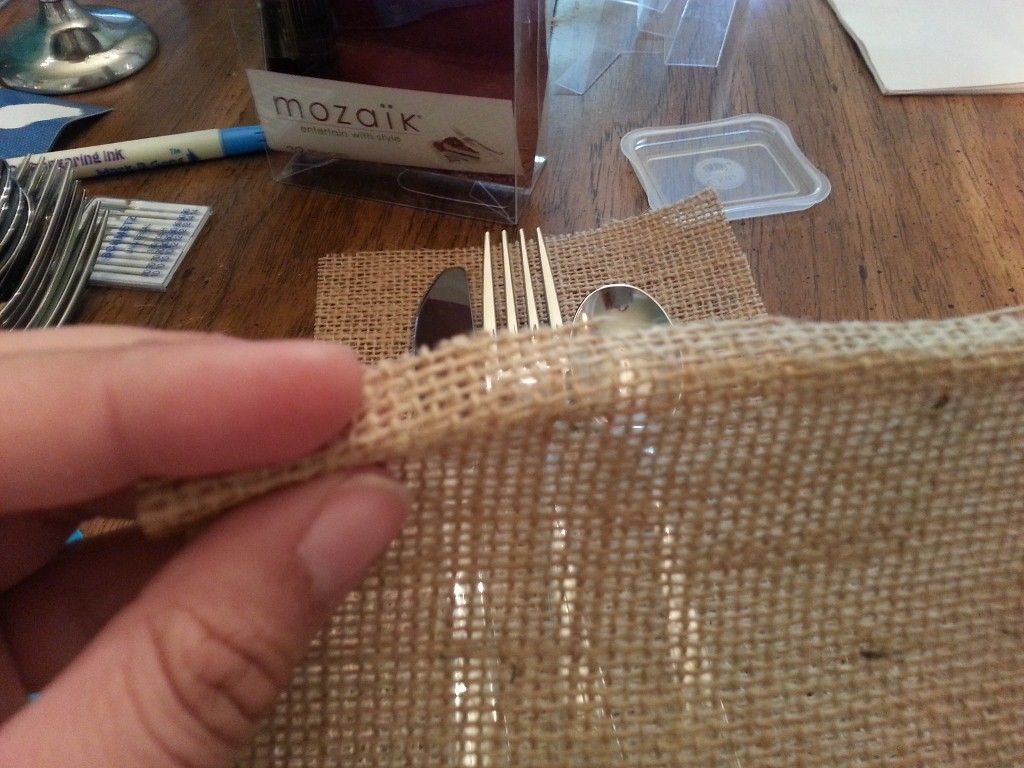
Once you have an idea of how wide your holder needs to be, pin it all the way down each side.
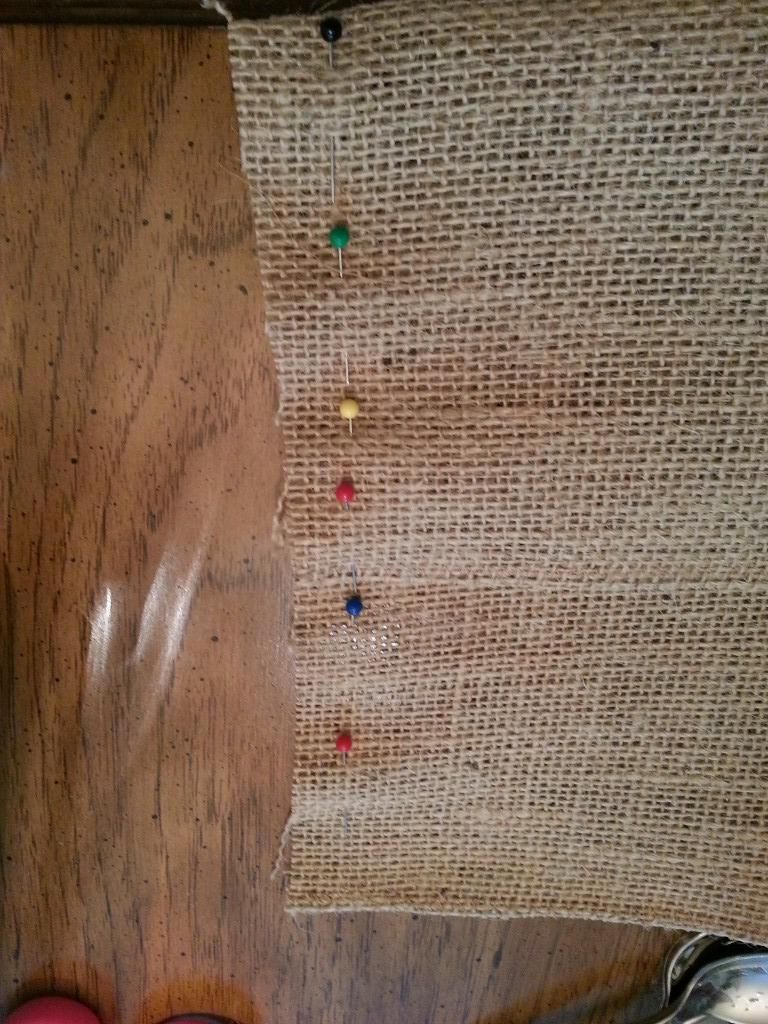
Then sew straight down, keeping close to your pins:
Cut off all strings and any edges that may have frayed as well as the excess material from each side, again, keeping close to the zig zag stitch, without cutting into it:

Taadaaaa! A super simple cutlery holder:
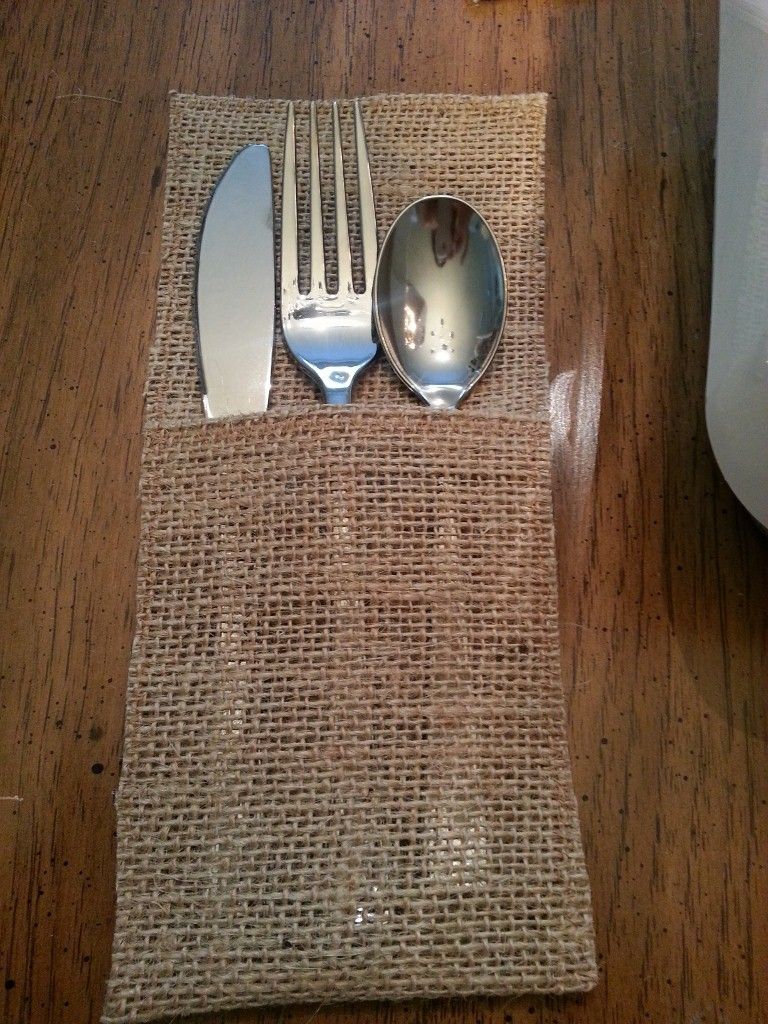
I sewed these instead of hot gluing them because burlap is porous and I've read that burlap and hot glue=one big mess.
As you can see, it's super fast and easy to do, just make sure that you use a thicker needle and thread. I had a lot of issues sewing these because I had switched to new bobbins. They were thicker and rounder and for whatever reason the thread kept snagging. I pulled all the thread out of an old bobbin, threaded it with my brown thread and voila, no more issues. I don't know what the deal is with those other ones.
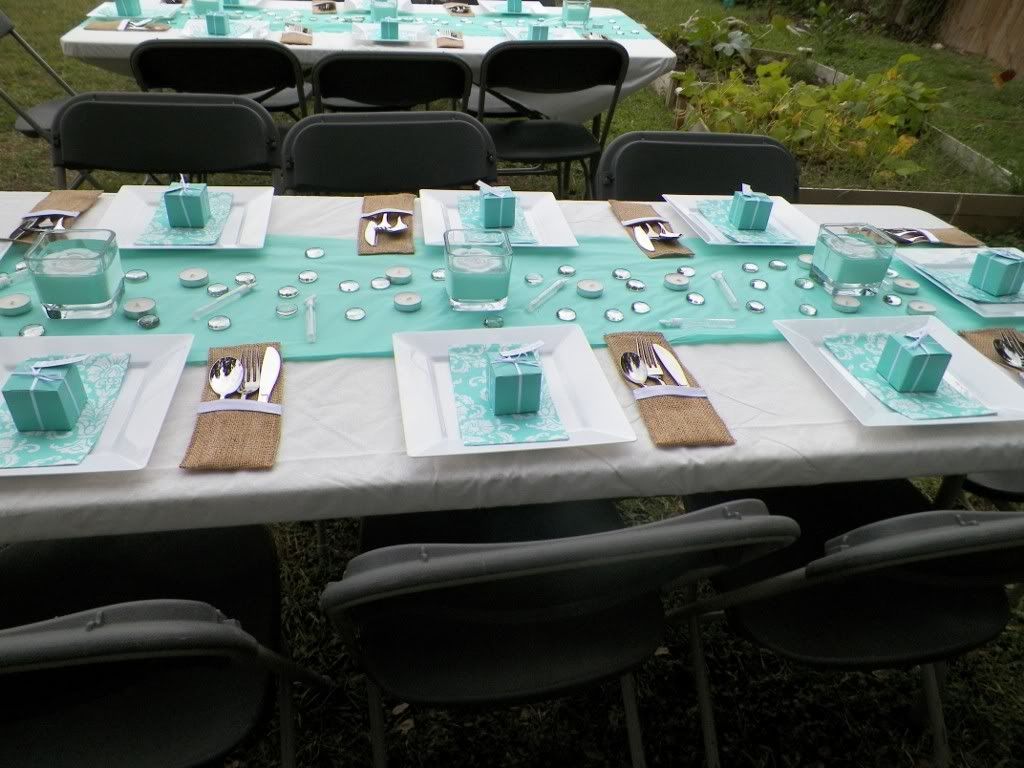
The holders themselves are very plain, but you can embellish them however you'd like. I've seen some on etsy that have burlap flowers, lace, etc:
 source
 source
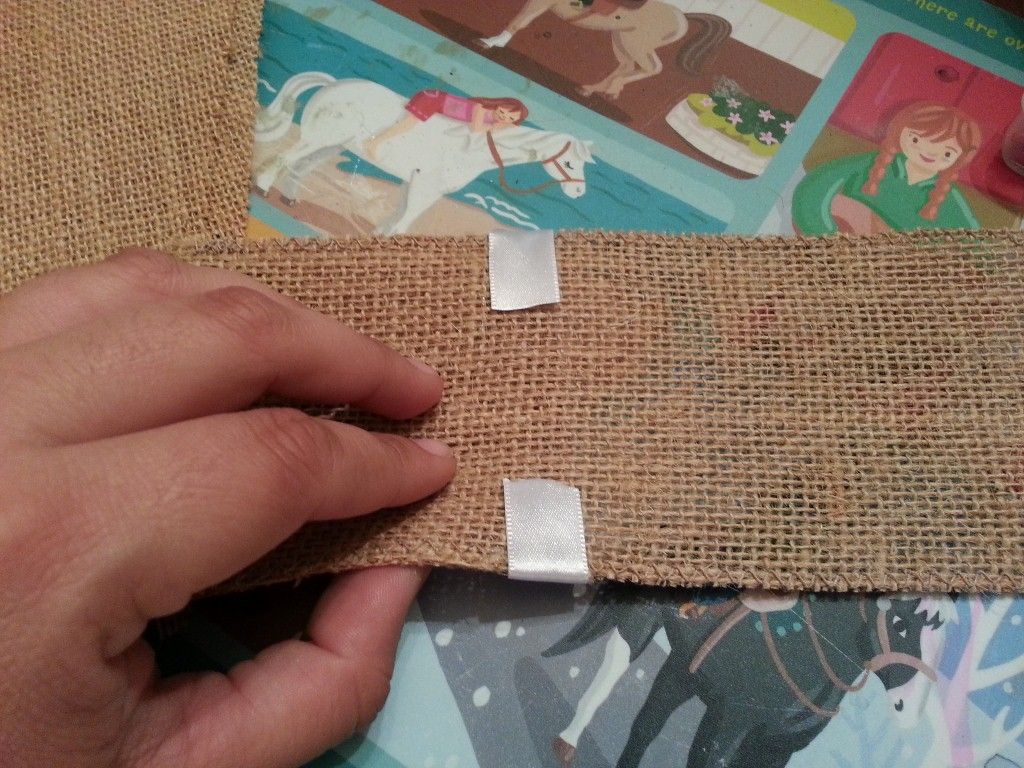
I kept it simple by hot gluing a white ribbon around the center. White was a safe choice since these were made for a wedding, but I also wanted to be able to use them for Thanksgiving, Christmas, Easter, etc...

This is how they looked at the reception:

and at Thanksgiving:

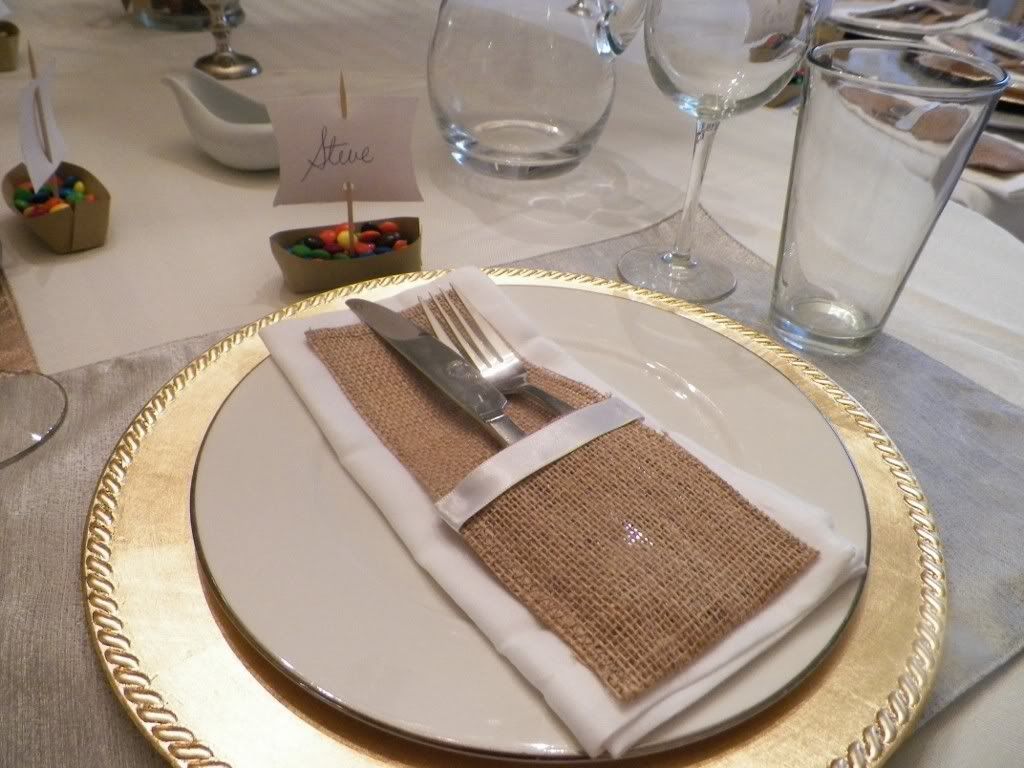
They are very versatile. I have so many of them that I think I may decorate some for Christmas and leave the rest as is for all other occasions.
I hope you found the tutorial helpful and that you give them a try if you're interested. I promise, they're ridiculously easy to make.
Ps, if you are planning a wedding and love burlap as much as I do, check out this site. It has so many ideas!
Ps, if you are planning a wedding and love burlap as much as I do, check out this site. It has so many ideas!
Great !!! This is so phenomenal!!!That is very impressive! Cutleries are gorgeous and the makeover is totally amazing. I love it. You really did a super job with the Cutlery! I use to do buy online Cutlery as its time saving.
ReplyDeleteThat is great post! Cutleries are beautiful and the makeover is completely wonderful. I love it. You actually did an excellent job with the Cutlery! I use to buy online Cutlery as its time saving.
ReplyDeletereally awesome i liked it as a craft we can create our own cutlery for to use in guest time and special times really cool and i thought only when we Buy Cutlery Holders Online we will get unique cutlery but see even we can create nice by our own good
ReplyDeletethis is very useful information. with this information we can make cutlery holders at home by this we can save money.
ReplyDelete