
Hello everyone, I located the pictures I took of the chair covering process and thought I would share them with you all. In my opinion, this is one of the easiest and cheapest DIY projects that makes a BIG difference.
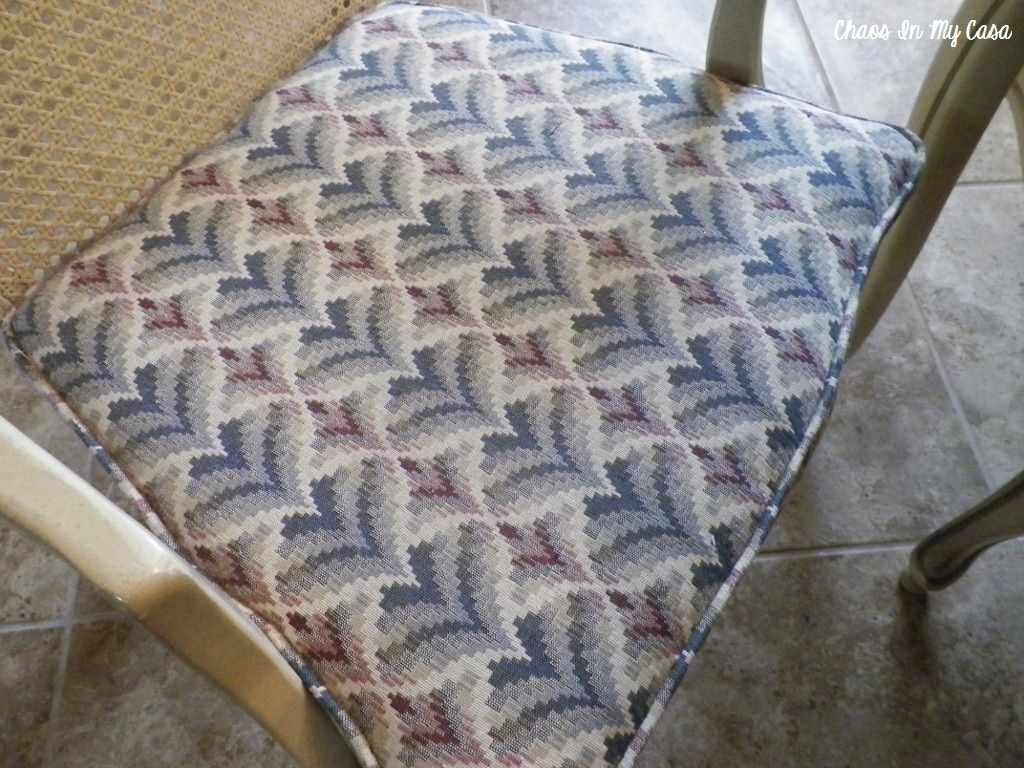
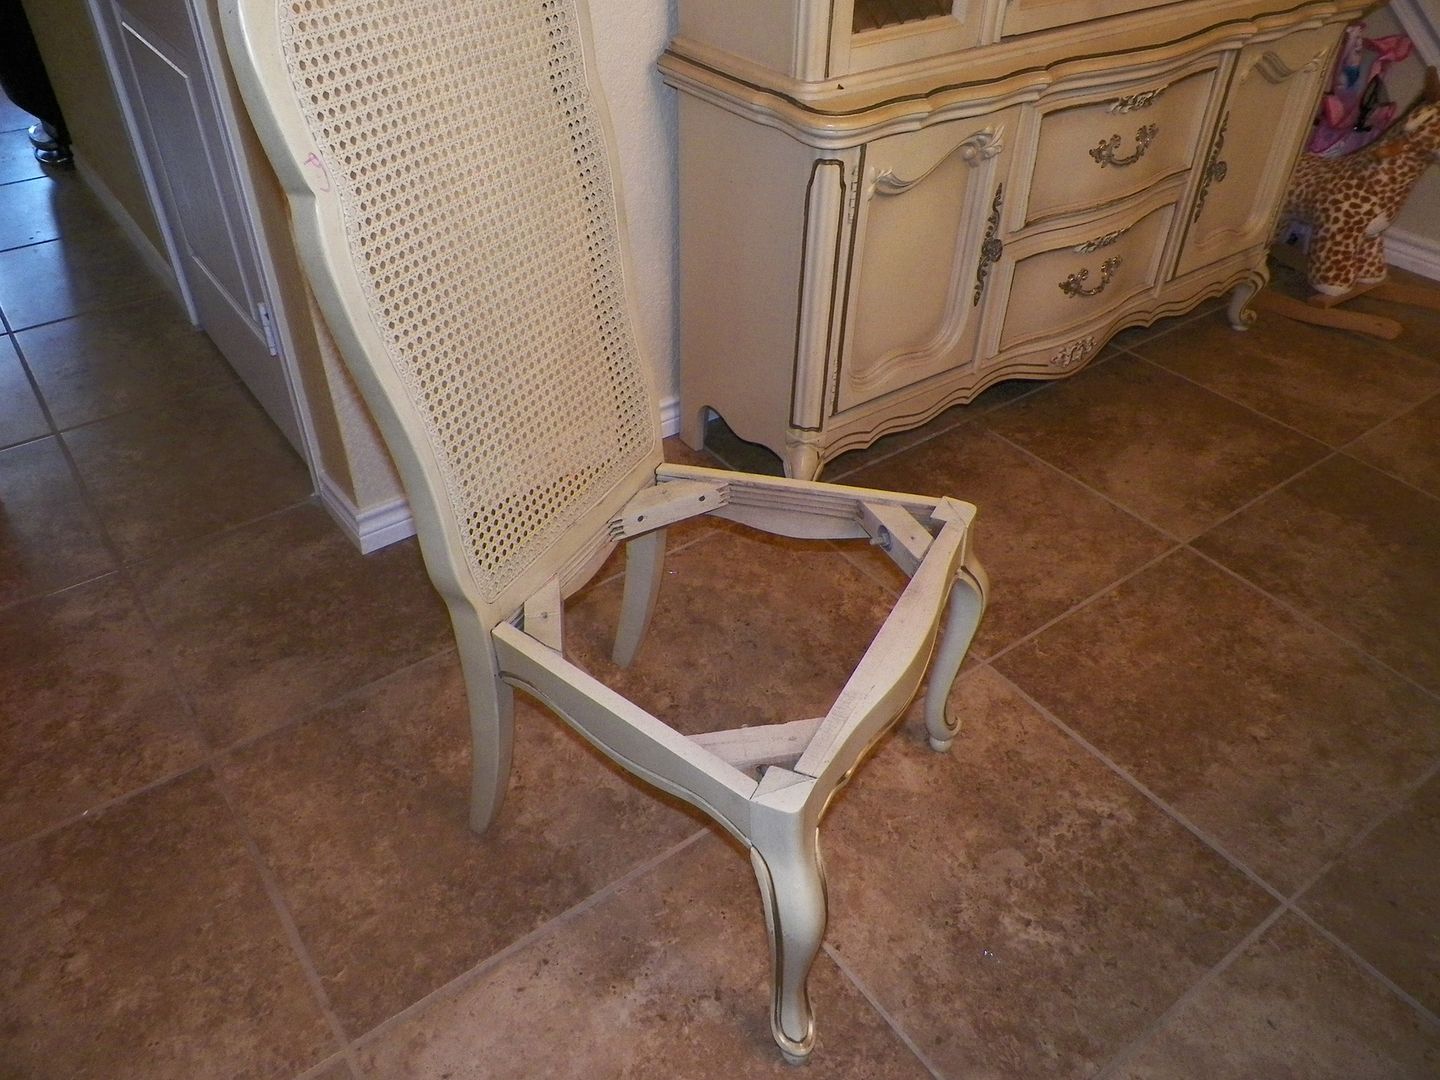
To see how I took my dining chairs from this:
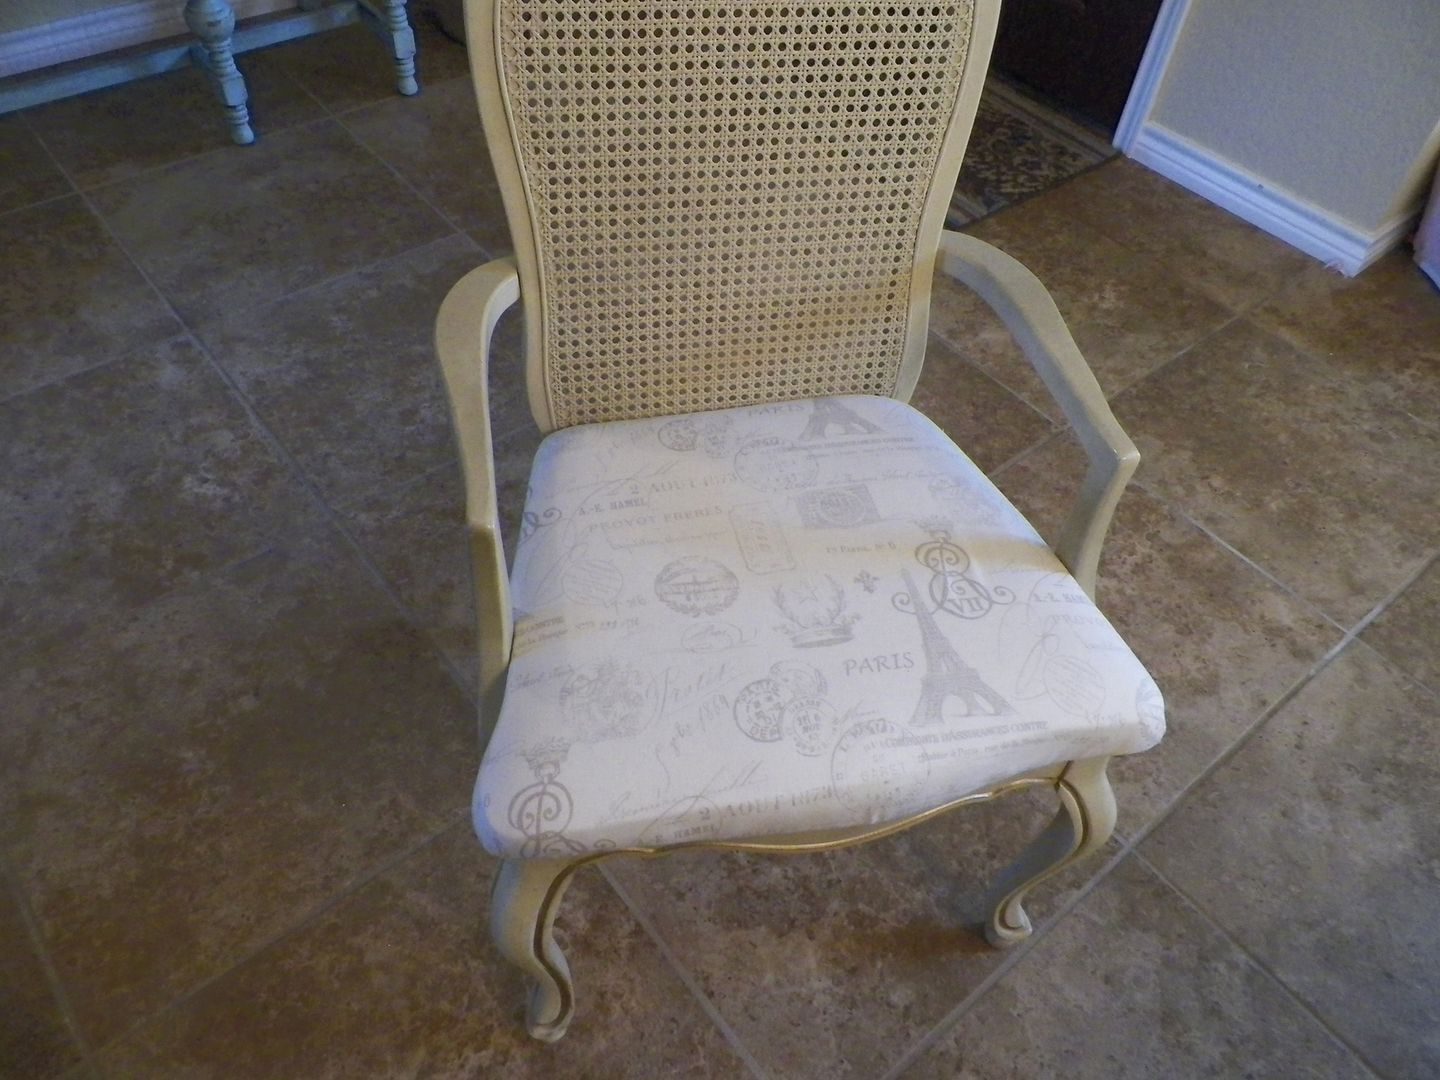
to this:

just keep reading:
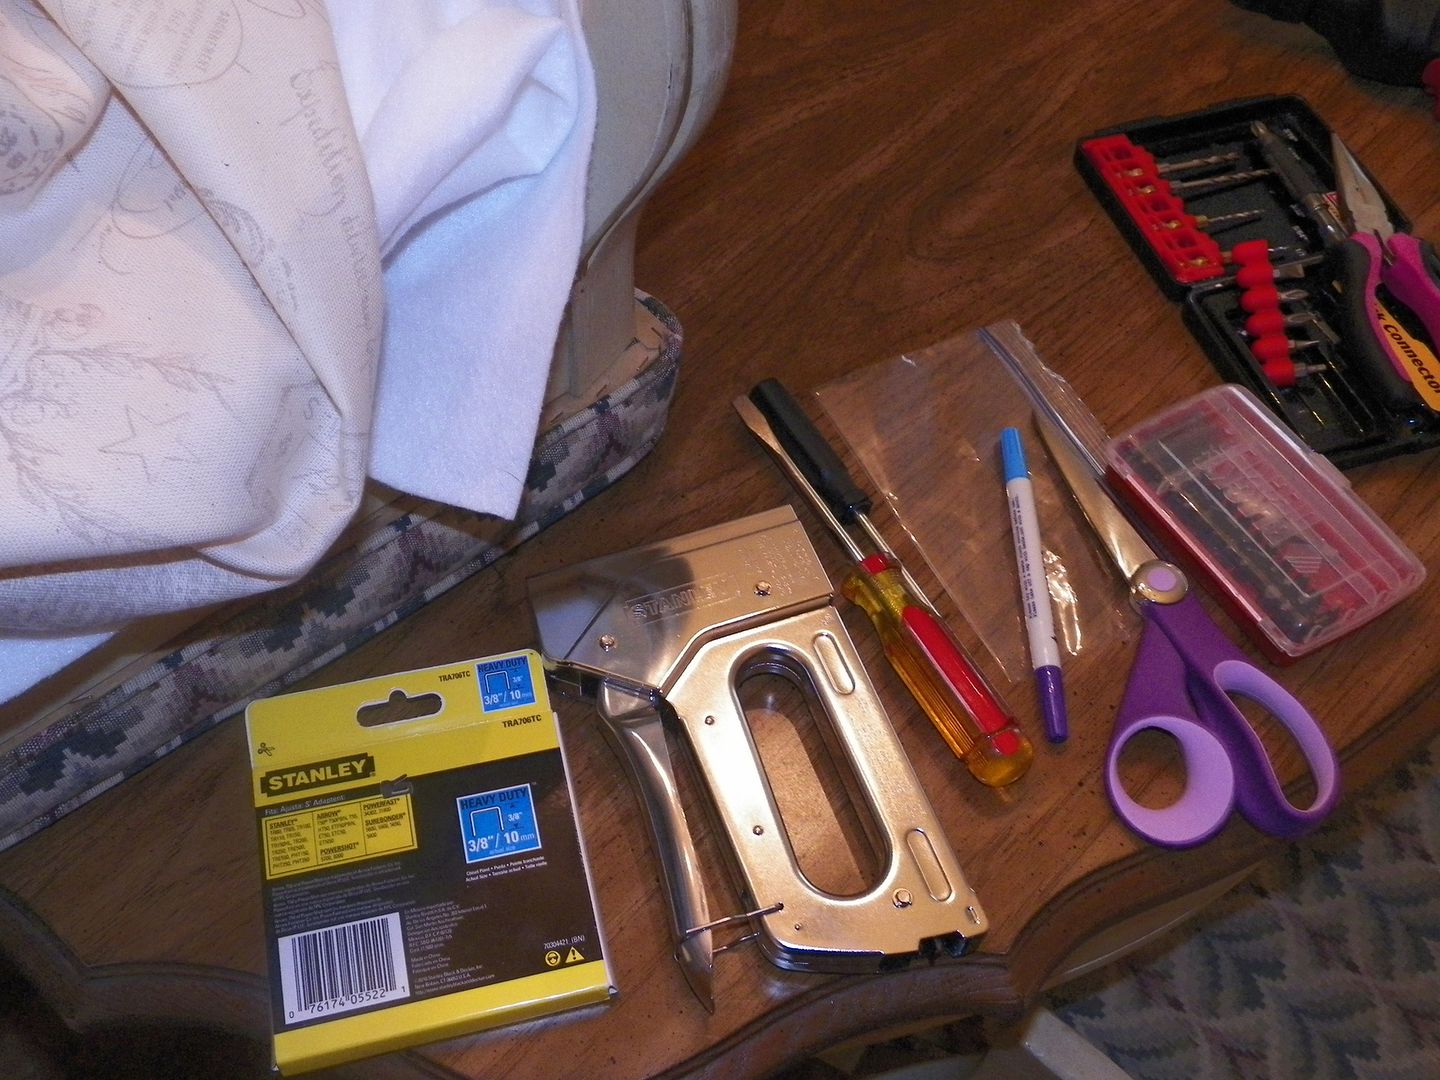
Tools: ruler or measuring tape, staple gun, staples, pliers, scissors, screw drivers (flat and phillips).
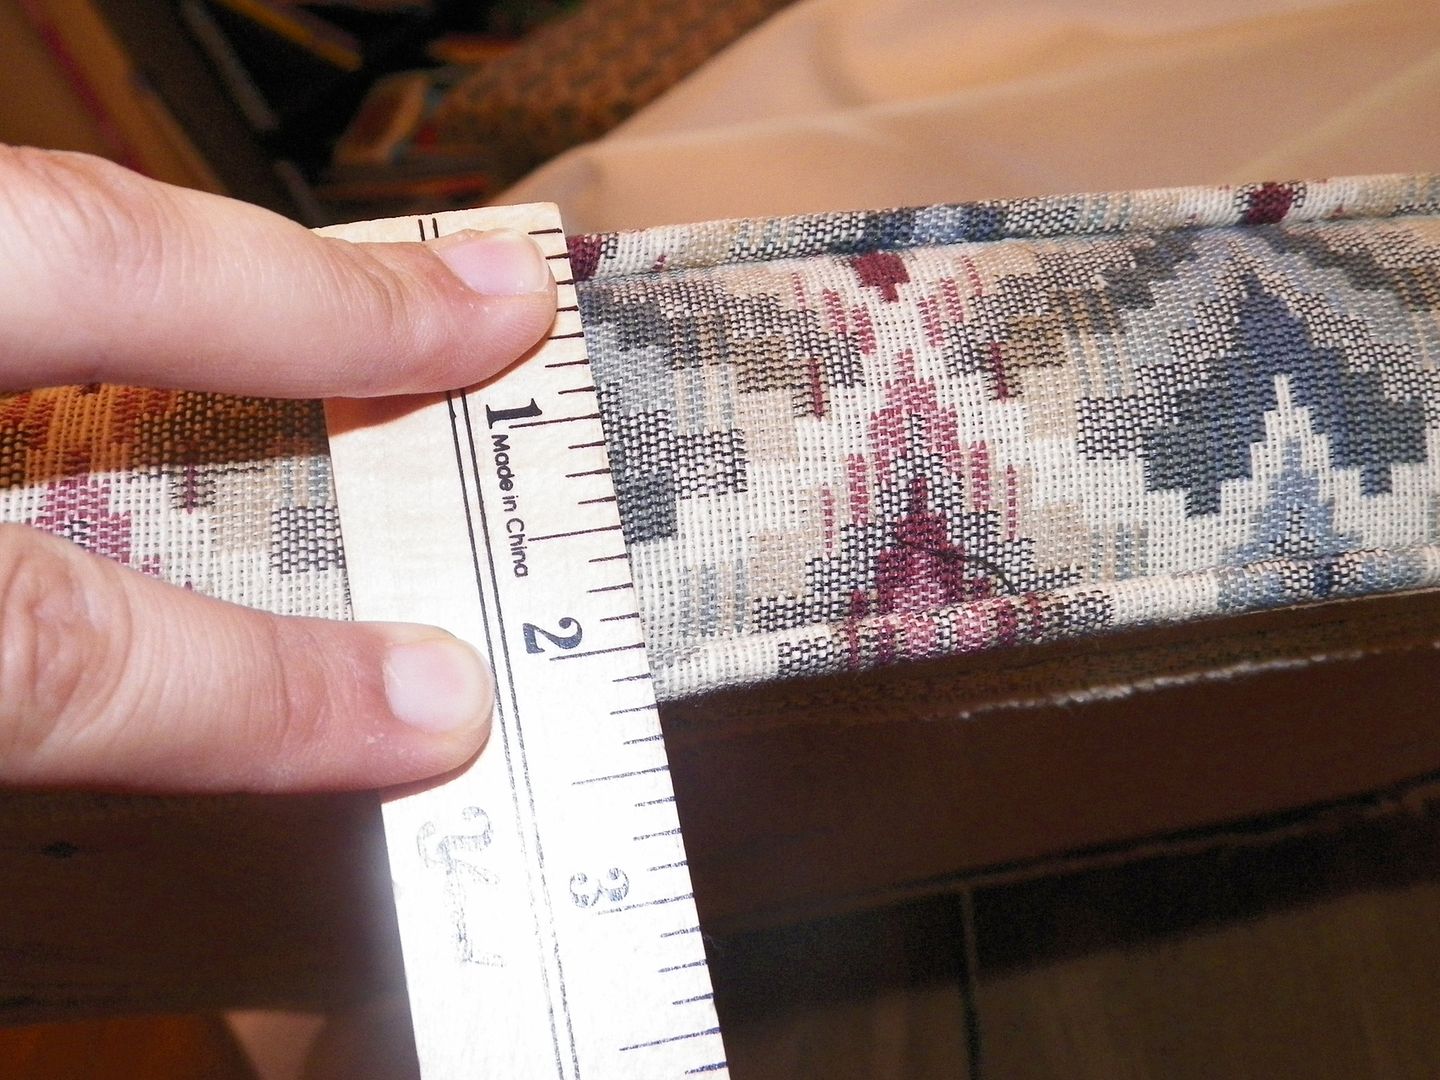
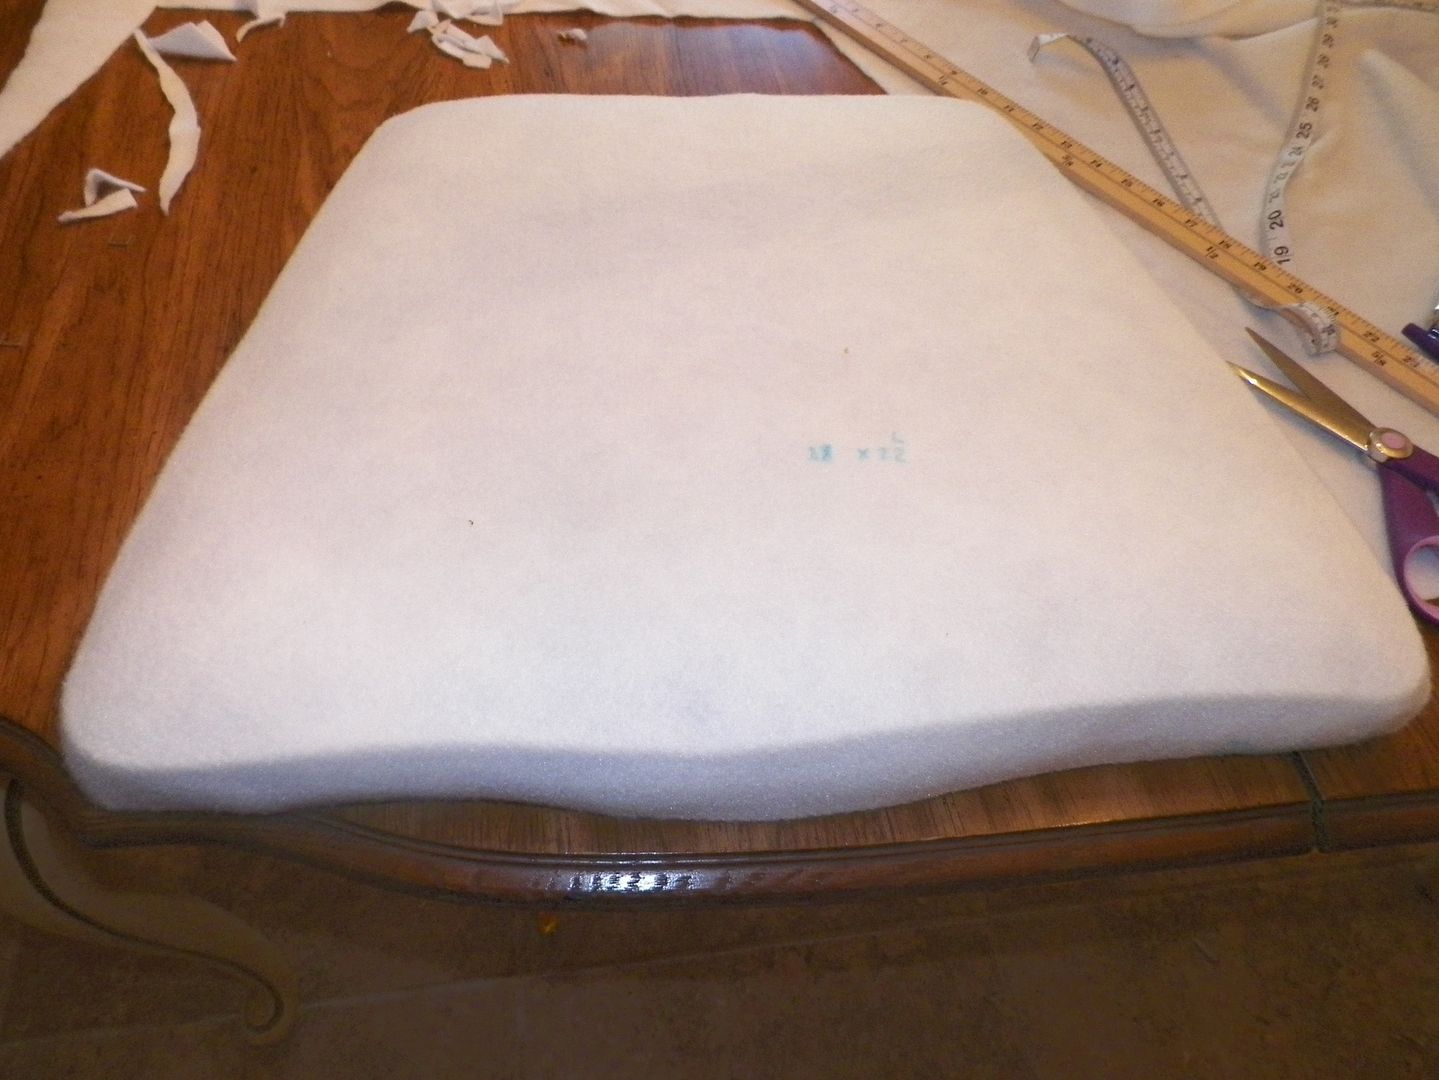
1.) Measure the length, width, and depth of your chairs. Mine had curves so I measured the longest width and length. Multiply three times the depth and add that to the length and width measurements, this will give you the fabric size you will need for each seat. L + (3xD) & W +(3xD). Confused? Here's my example. My chairs measured 20x17x2. Since my Depth (D) was 2", I multiplied 2x3=6. Then added the 6" to my length and width. So my chairs were 20x17, but I needed 26x23" to cover each chair.
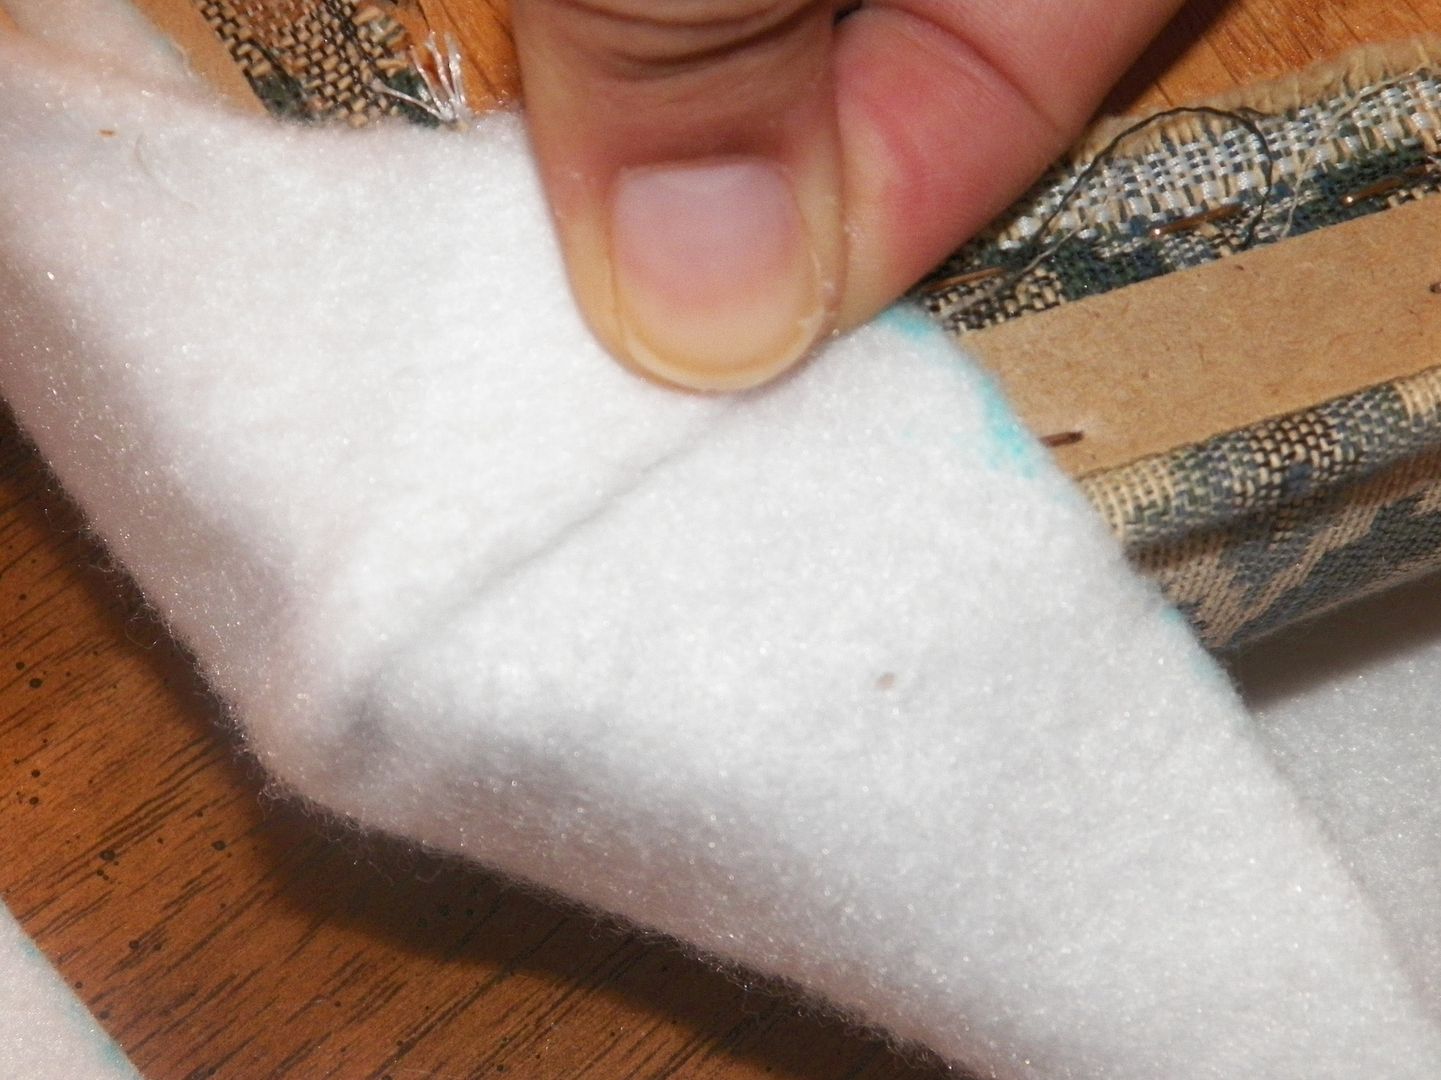
2.) Purchase & cut the fabric. Now that you know your measurements, you know how much fabric you will need depending on how many chairs you are covering. Try to find a strong, thick upholstery fabric that will hold up well. If you plan on changing the fabric often then this won't be necessary and you can use any fabric you like. The fabric I chose is really light so I covered my seats with batting first. This is an extra step that you probably won't have to follow, it just depends on the fabric you choose and the fabric you are covering. I was covering a dark fabric with a light one and didn't want the color to show through.
3.) Vacuum the chairs (optional). This is not necessary for new chairs, but I was covering chairs that are 60+ years old.
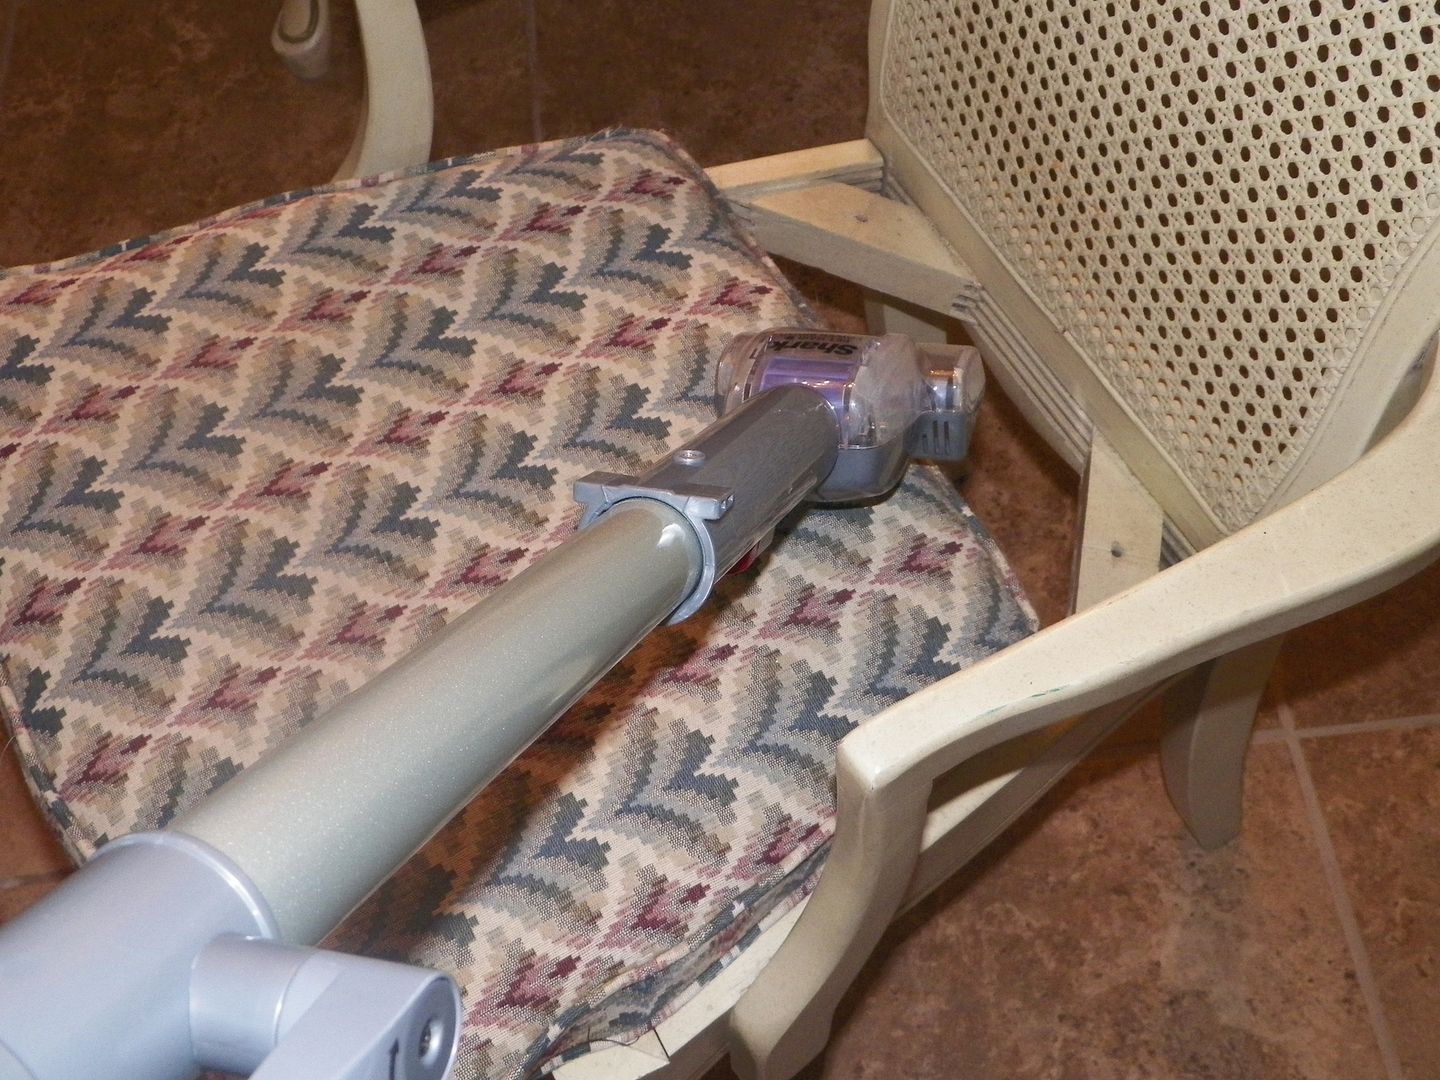
Boy am I glad I did:
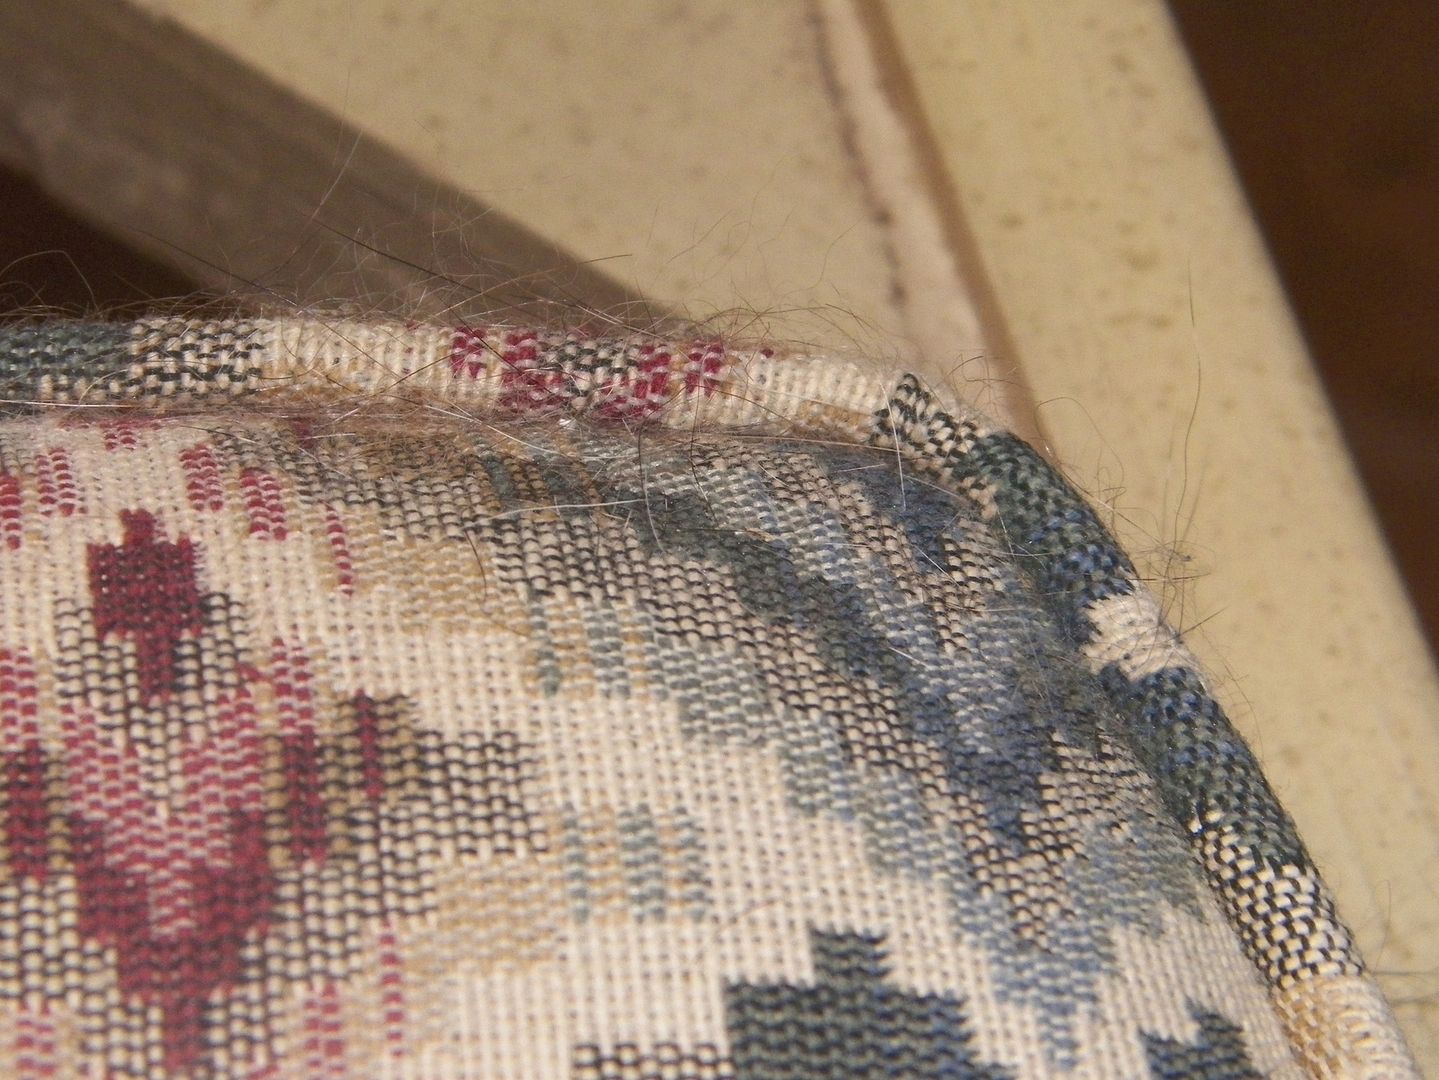
Dog hair.....eeeewwww!
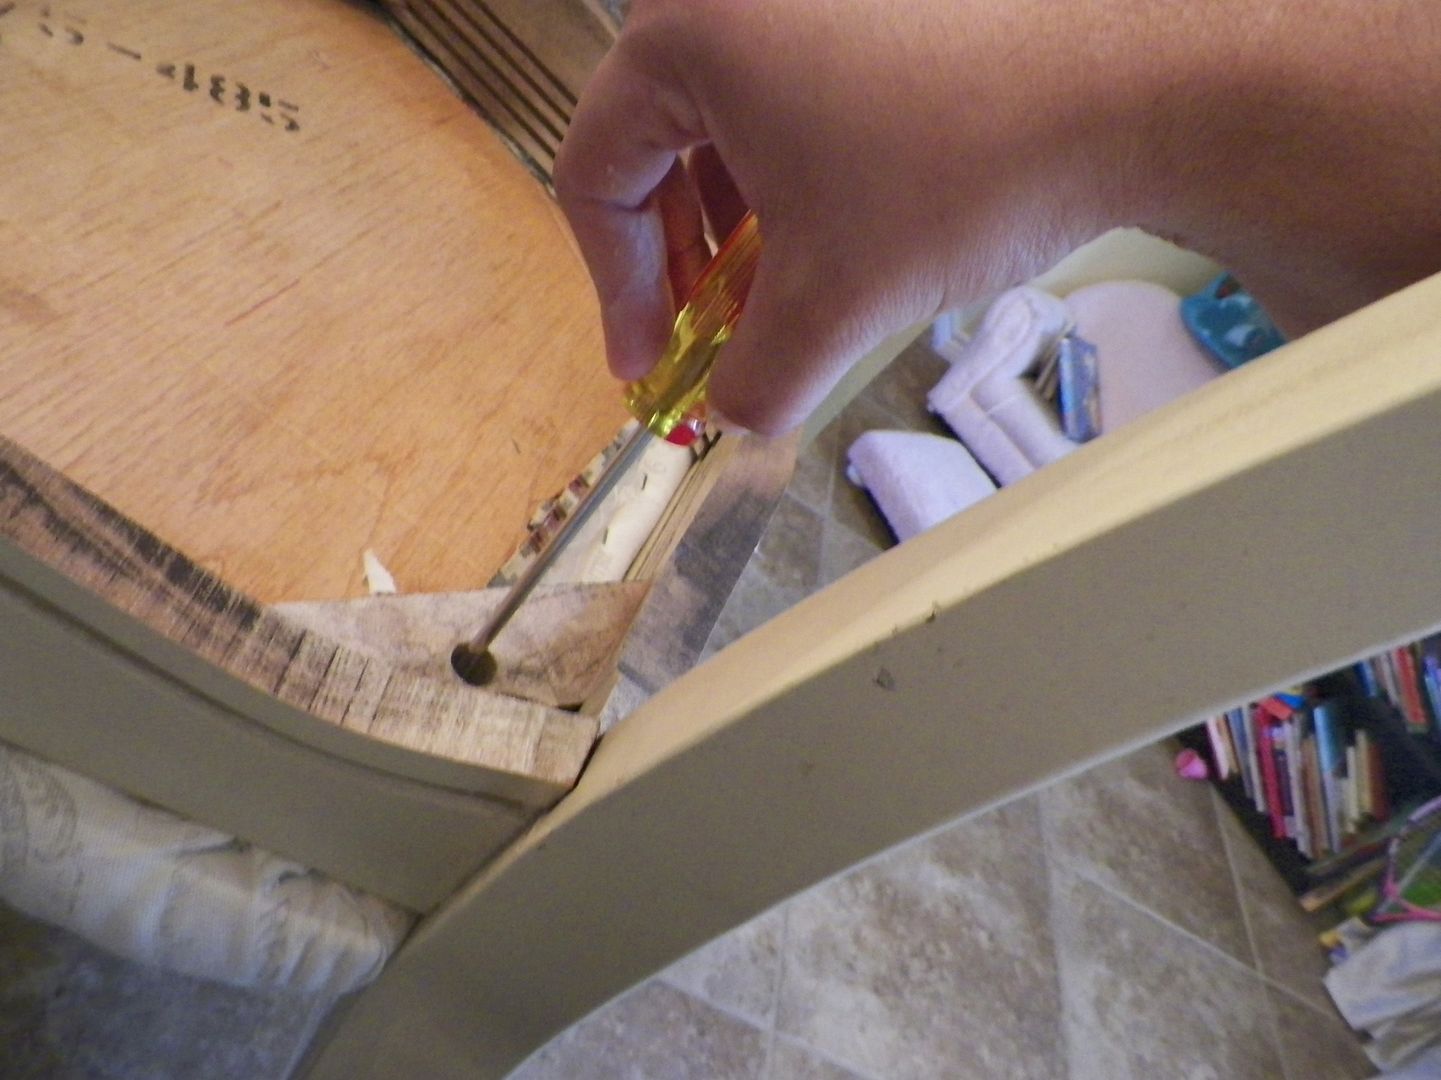
4.) Turn the chair over
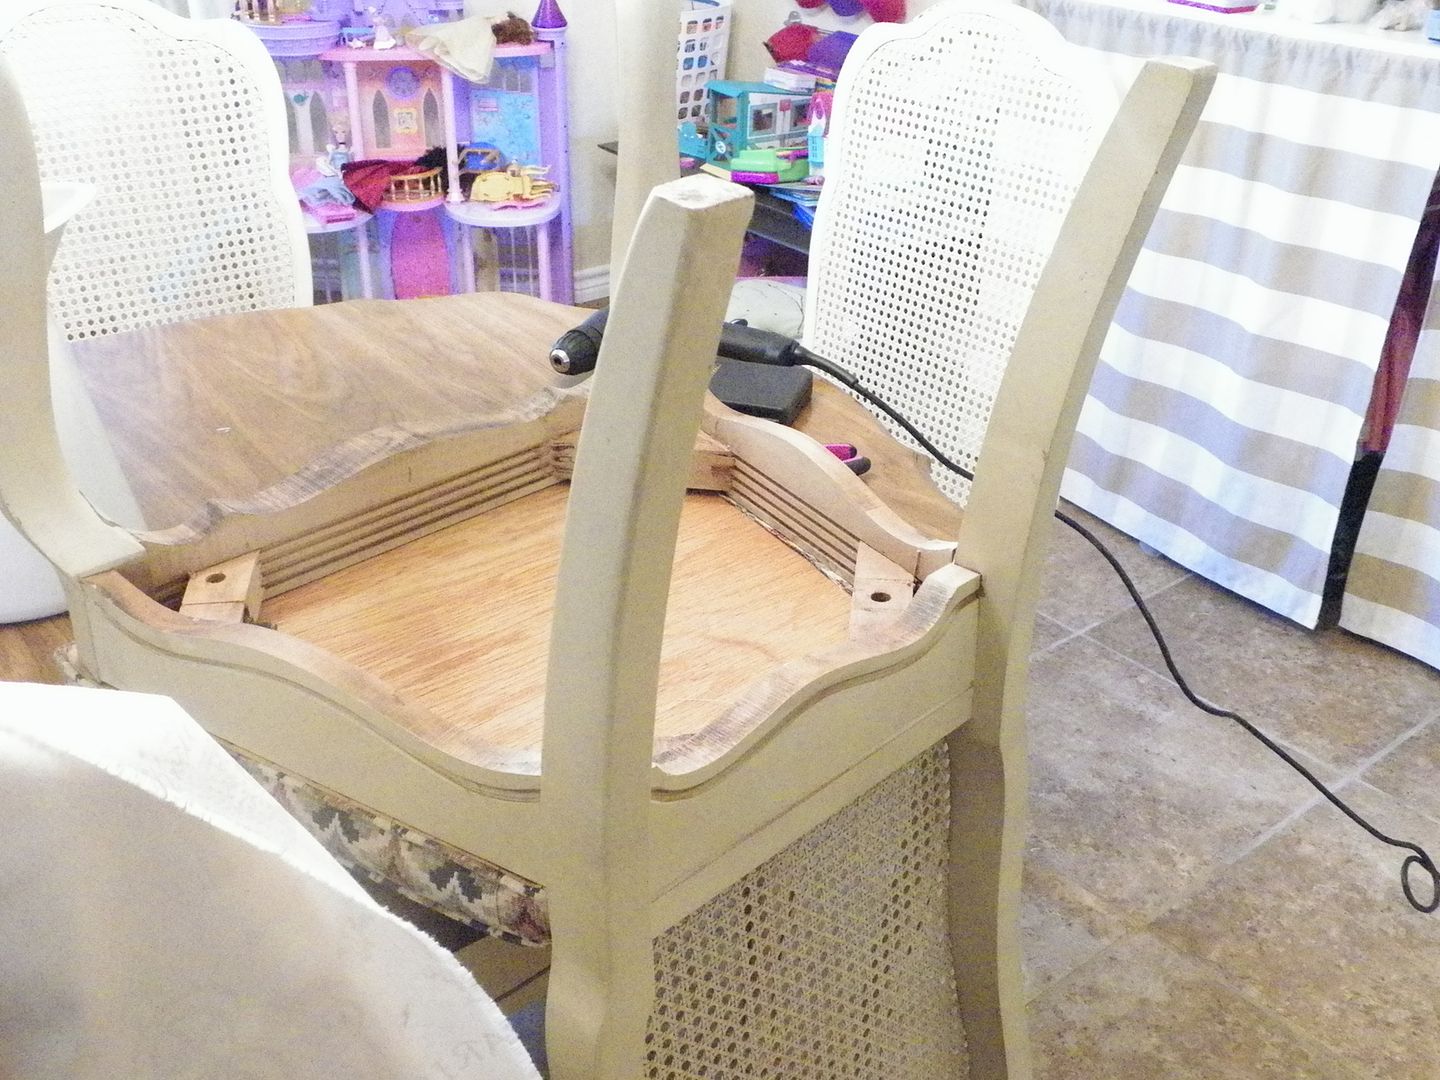
unscrew the seat using your screw driver.
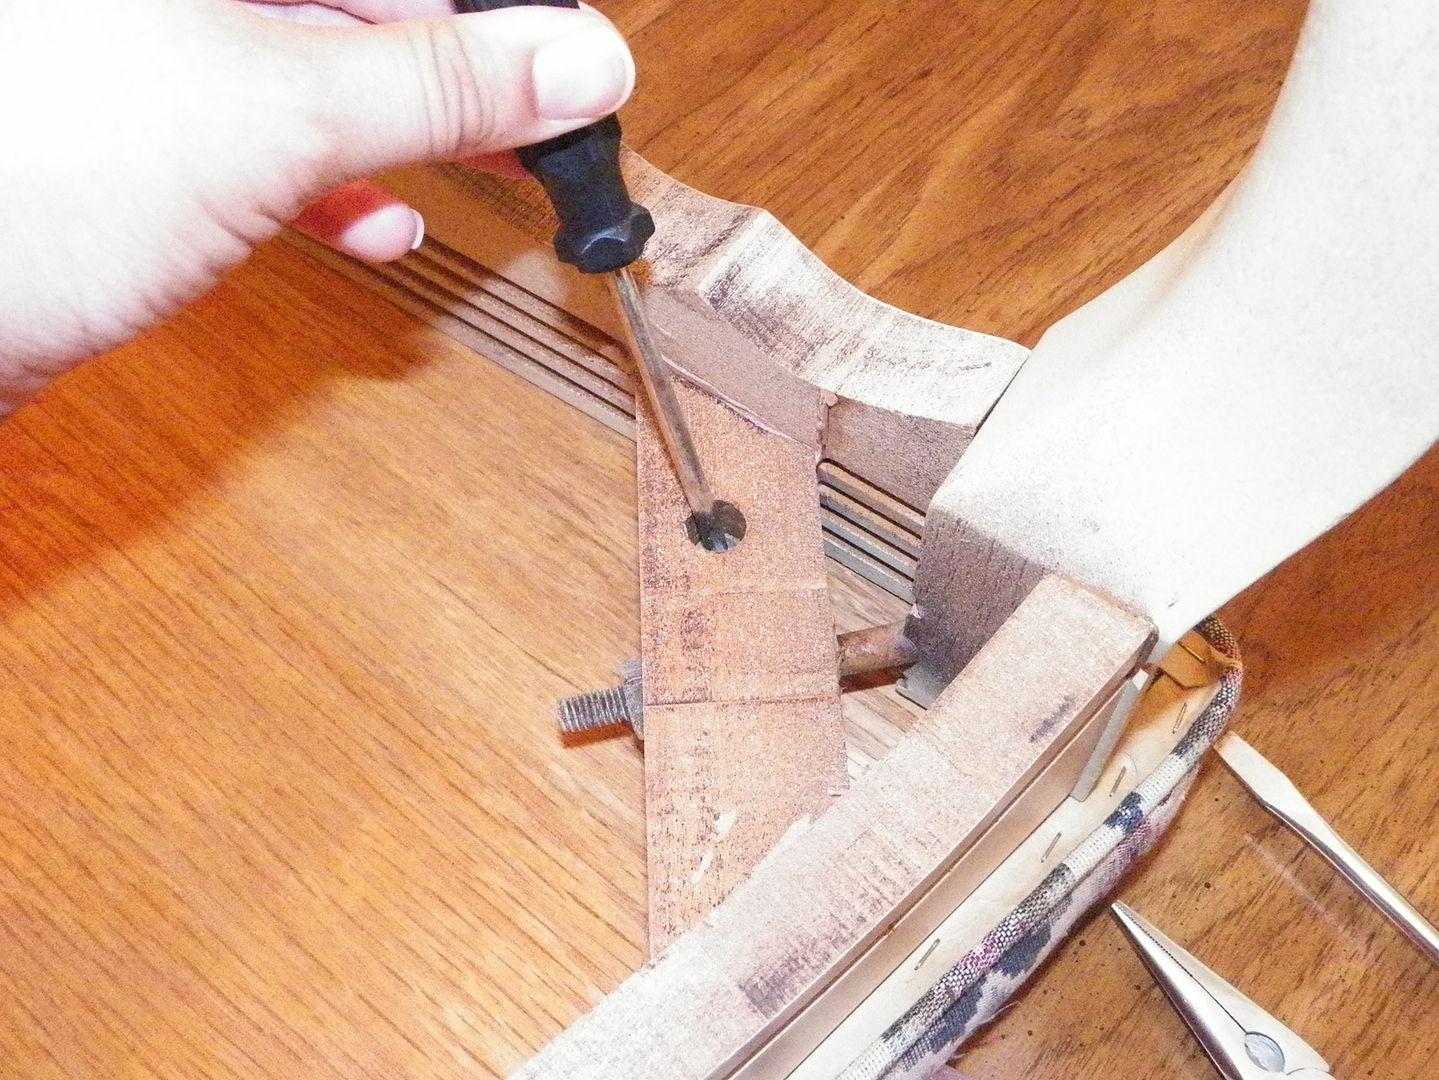
There are usually four screws, one for each side.
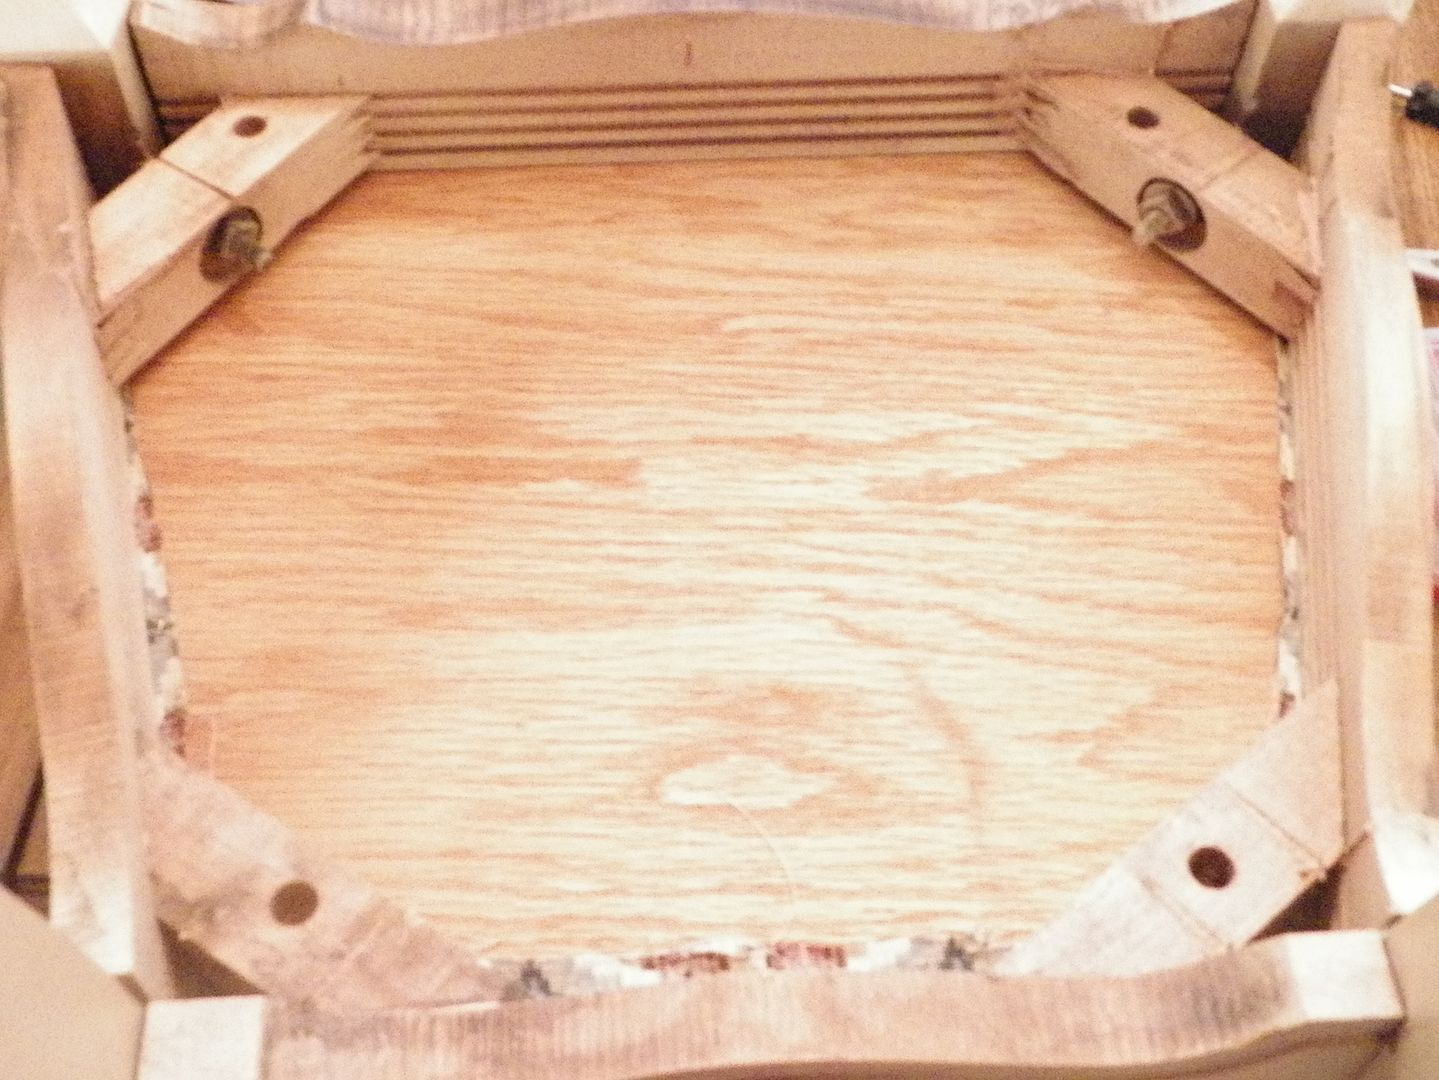
Put the chair aside, you will only be working with the cushion.
5.) remove the existing fabric (optional) only if it is smelly or in bad shape and will affect the aesthetics of the new chair.
6.) Once you've cut your fabric squares for each chair, place fabric wrong side up and center the cushion on top. Fold each end over to make sure it is centered so that there is enough fabric to cover each side.

BEFORE STAPLING: If your fabric has a print on it, make sure it is facing the right direction. In my case, if I didn't check, my Eiffel Tower would be upside down.
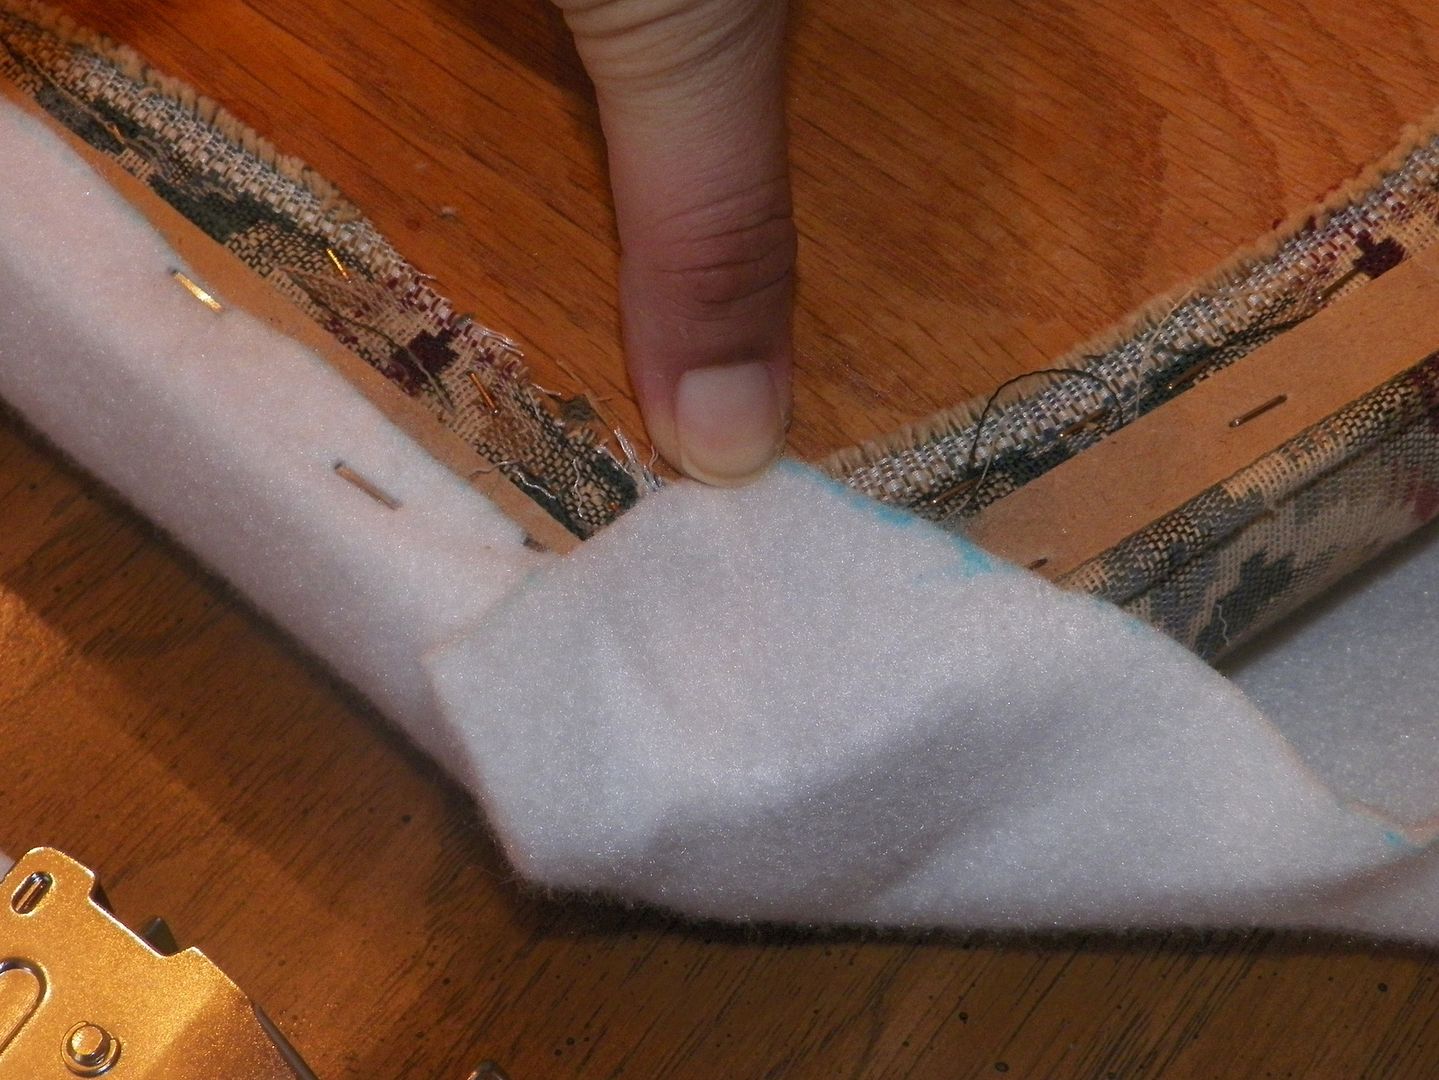
8.) fold over the fabric at the longest side of the cushion and begin stapling from the center out to each end.
Do the same to the other three sides. Leave the corners alone for now.

9.) pleat the corners by first folding down the point of the fabric towards the center of the seat, then fold each side over to create a pleat down the diagonal, staple.
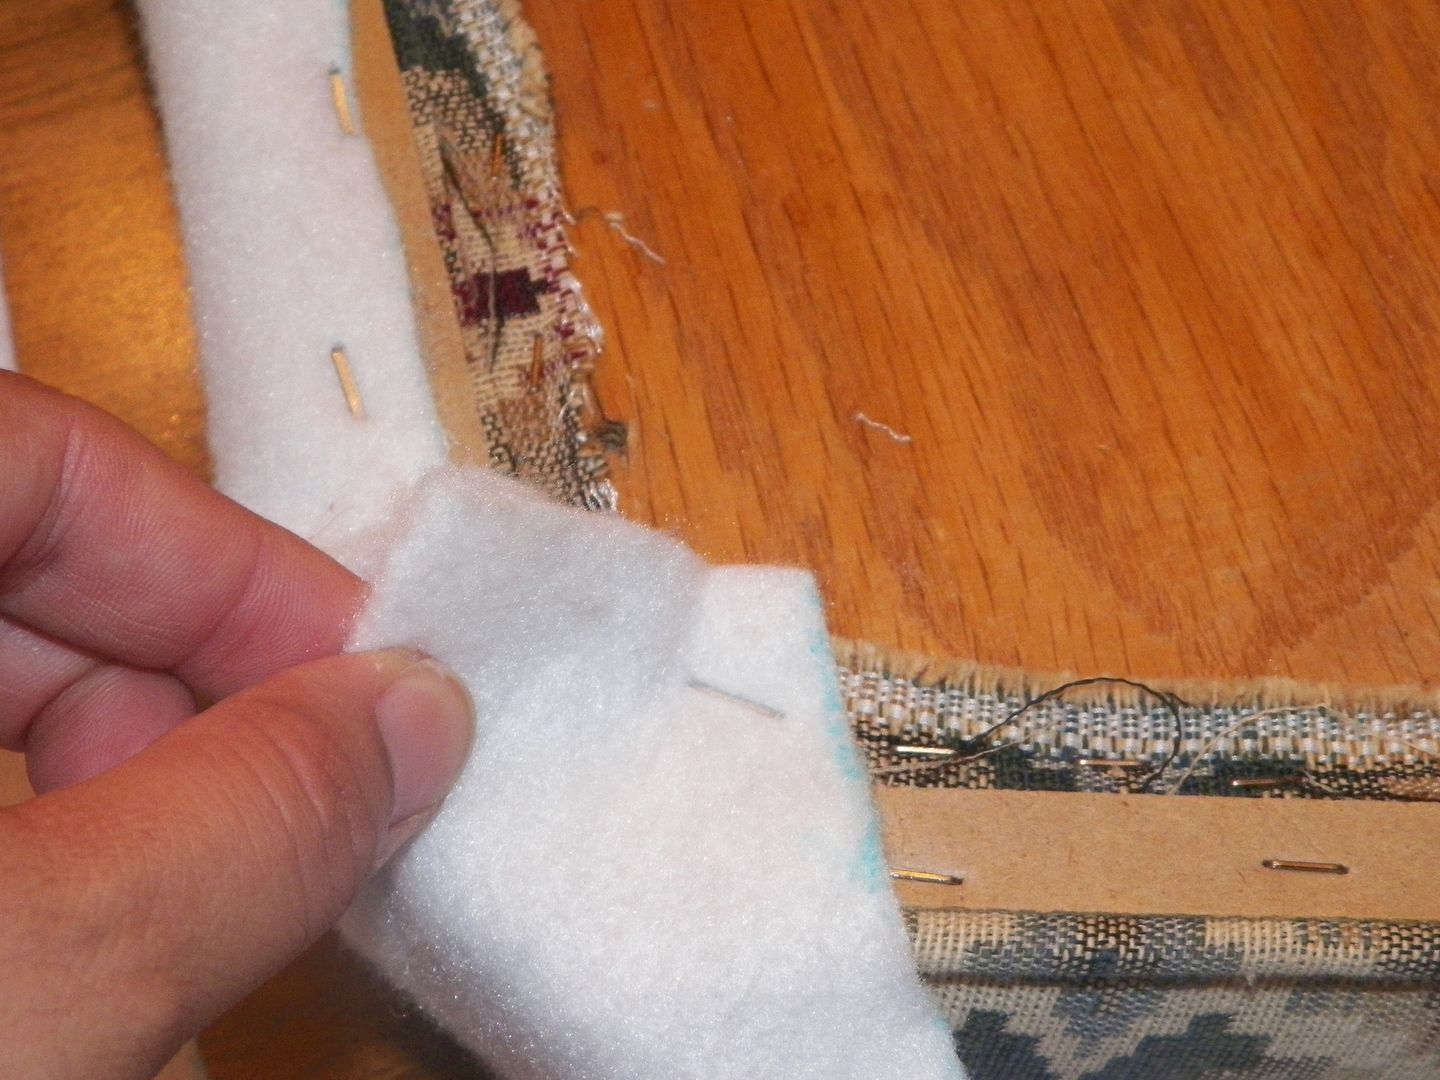
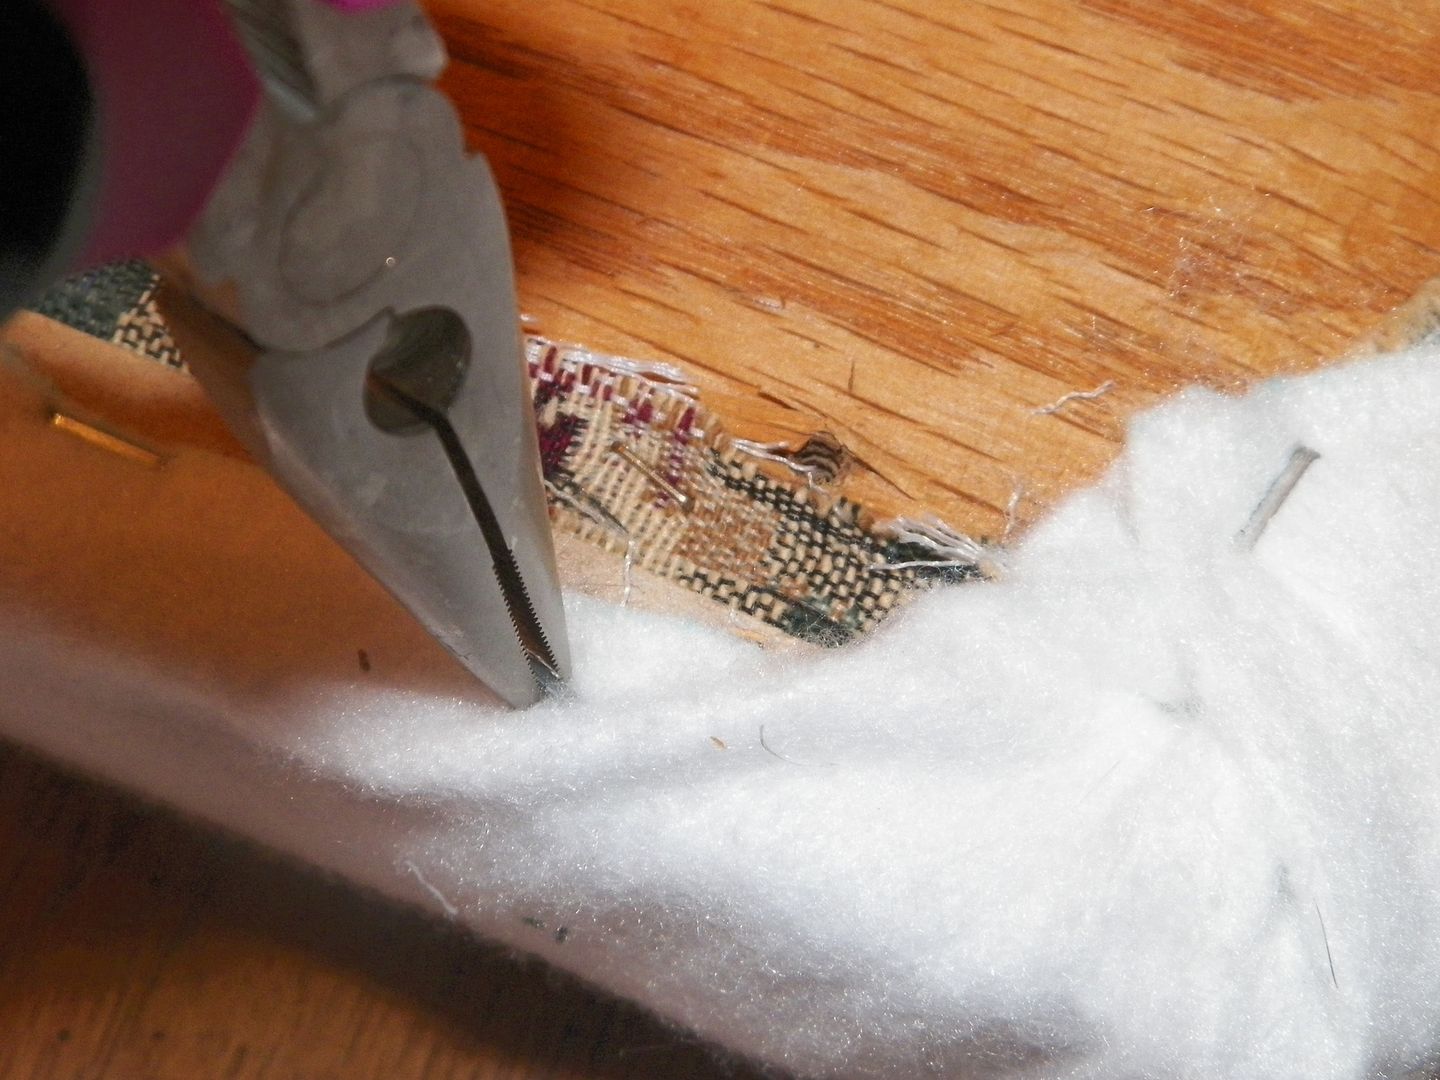
If you make a mistake and your fabric starts bunching, just pull out the staple using your pliers.
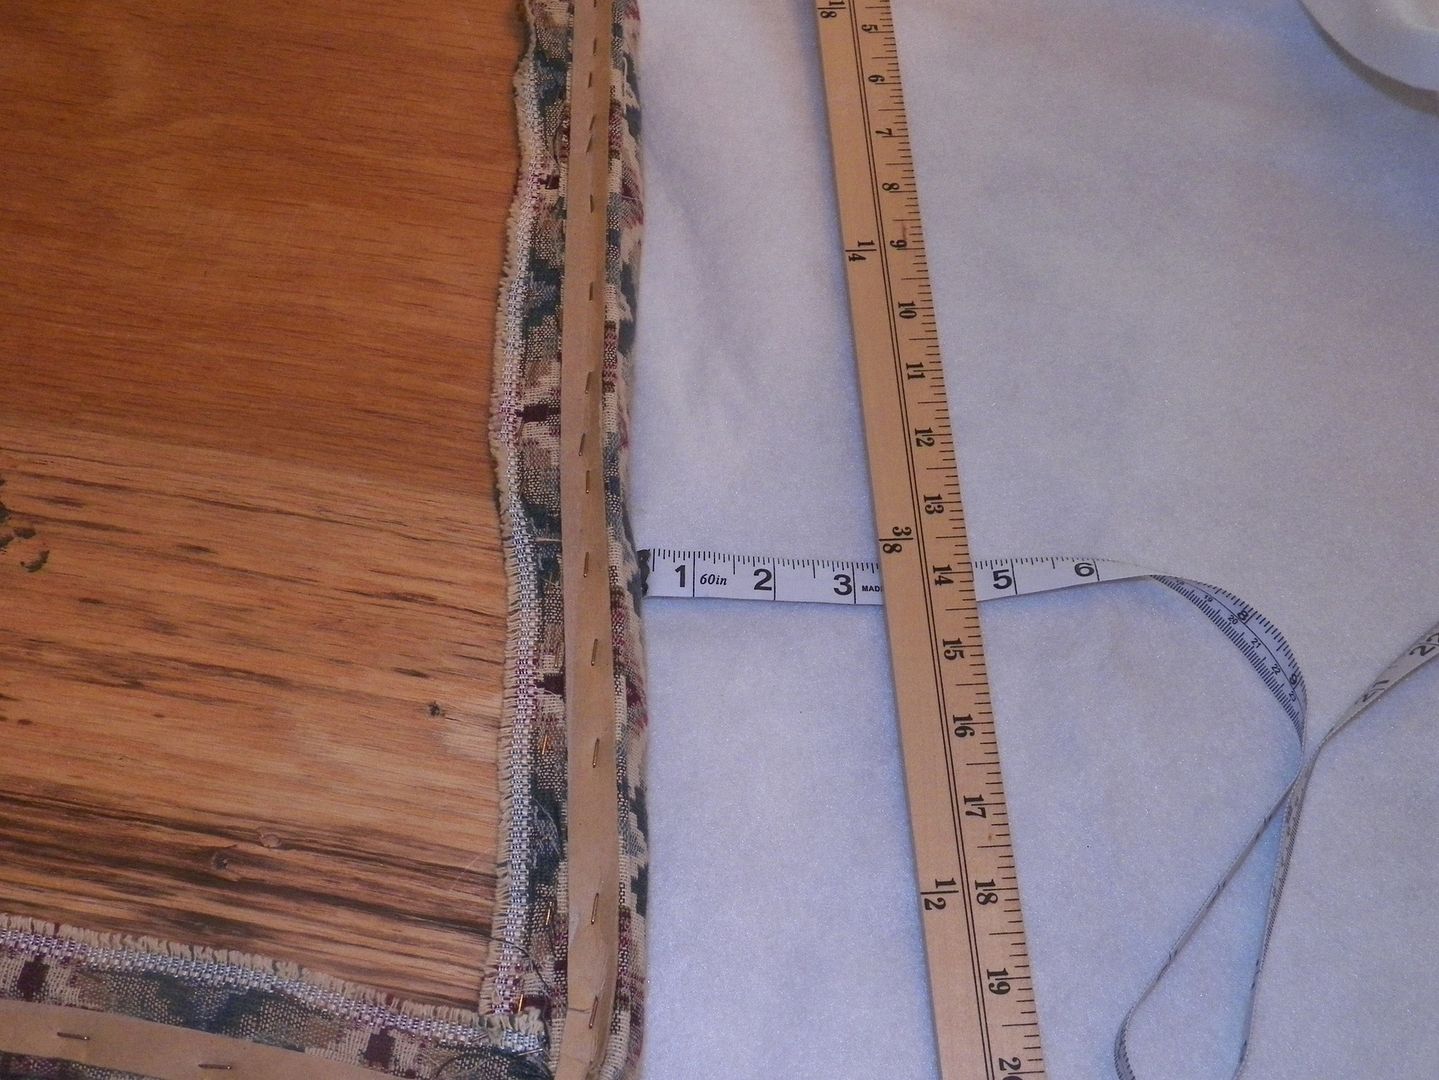
10.) Once you're done stapling, trim excess fabric
Here's mine stapled and trimmed:
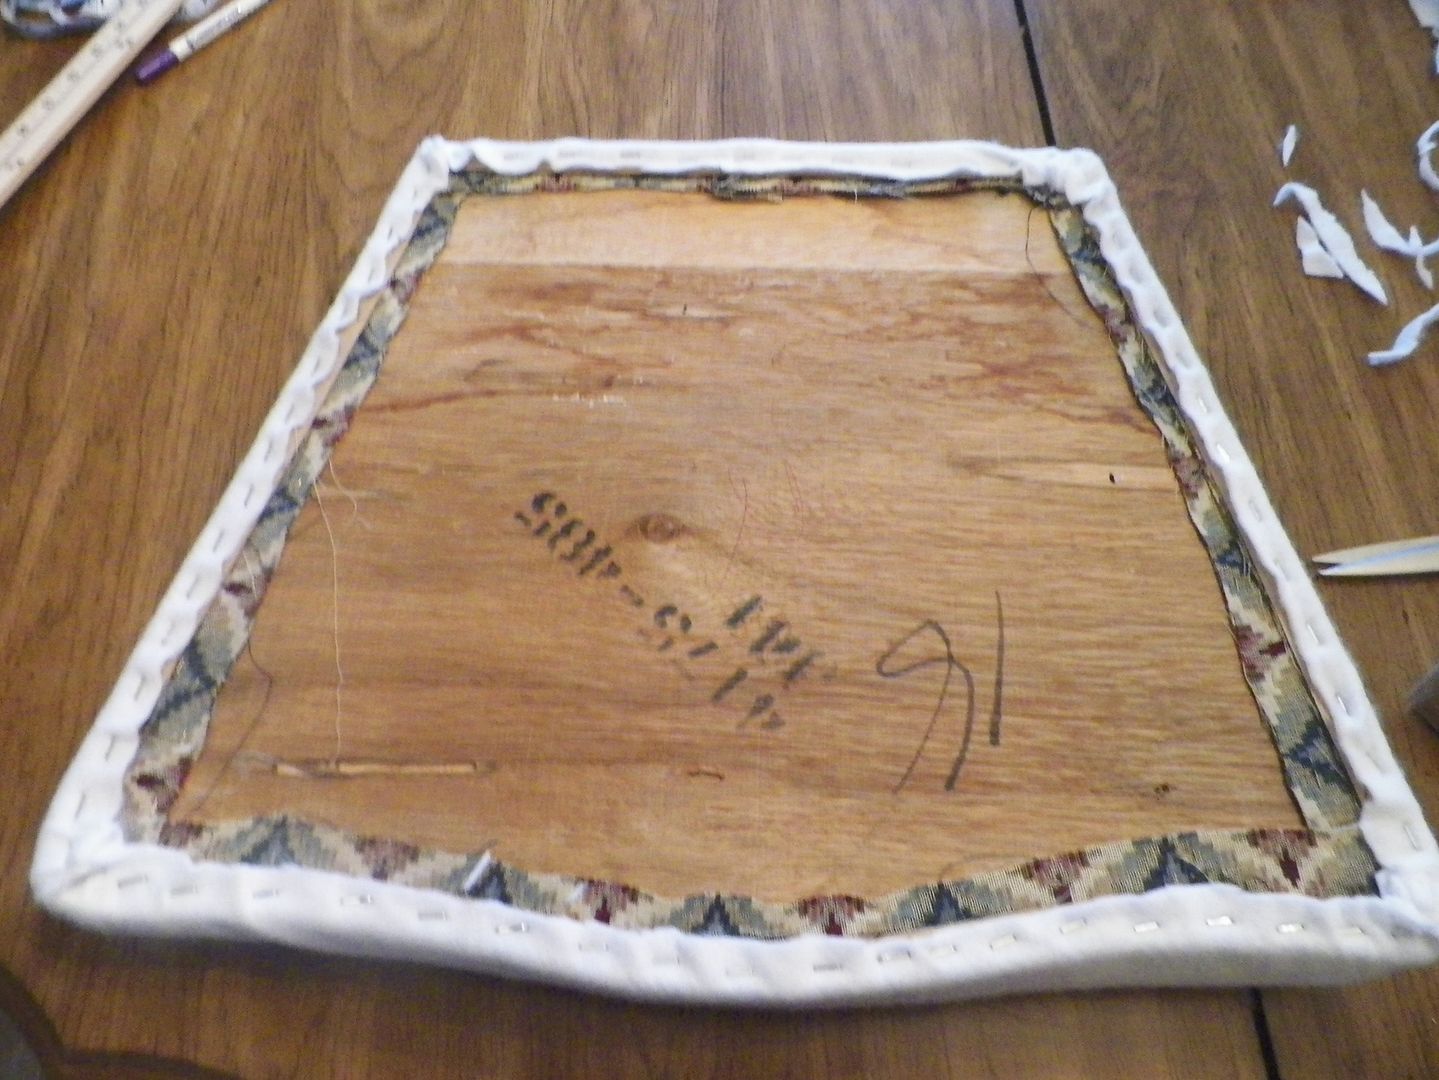
That was just my batting, I still needed to do the fabric, ugh!
11.) Reattach the cushion to the chair using a screw driver:
Repeat the process with all your chairs.
Voila!

If you're still confused as to the process, just do a google search and you will get tons of tutorials. There are probably even a few videos on youtube that could help you. It seems complicated, but it's really very simple. Have any of you ever done this and were you happy with the results? I wasn't sure how these would turn up since the fabric is so light, but I really love it. It goes so well with the French theme. The room is close to completion and I can't wait to show it to you!
Love the chairs. I saw some really nice paris-themed dinner plates in La Jolla that would go with the French theme, and with the cheese knives!
ReplyDeleteI still need to have a little tea party so I can breakout my cute cheese knives all fancy like haha. I'm almost done with the dining room so hopefully some time this week.
DeleteLove the dining set, Vero. Great job on the tutorial and chairs! I cannot wait to see the room! Must go look up "la Jolla"...... : )
ReplyDeleteThanks Jamie! Sonia was in La Jolla, CA a month ago and she brought me some cute French cheese knives, so that's what she's referring to.
Delete