
Forever now I've been saying that I'm going to re-do the long accent wall in my bedroom. This is what it has looked like for about 11 months:

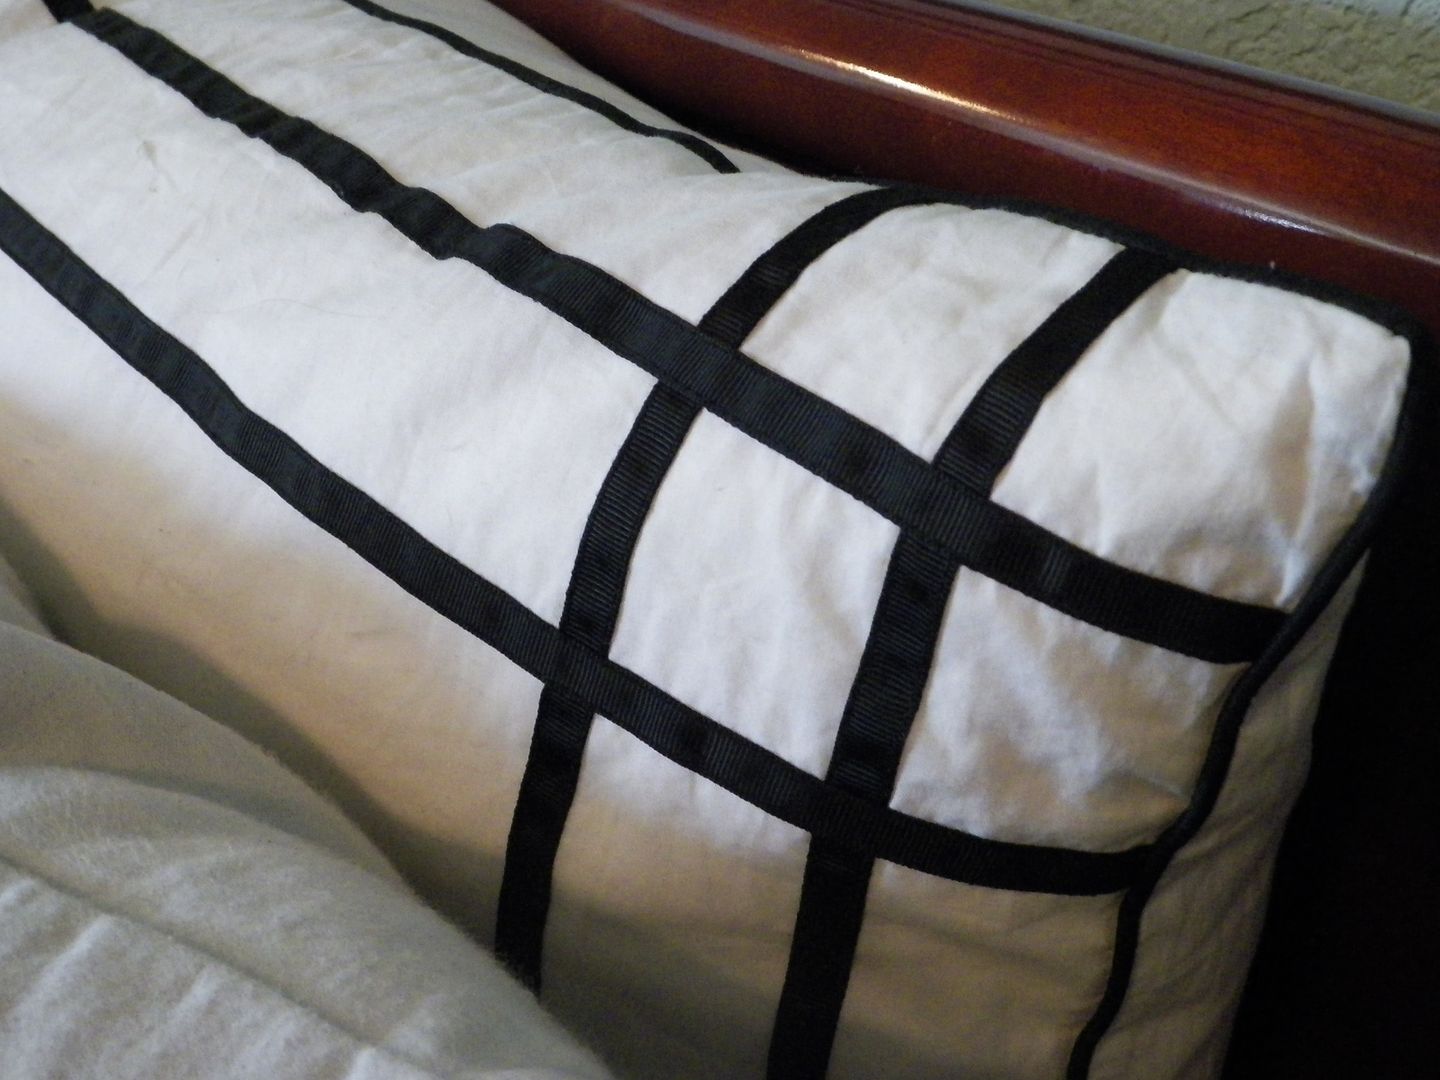
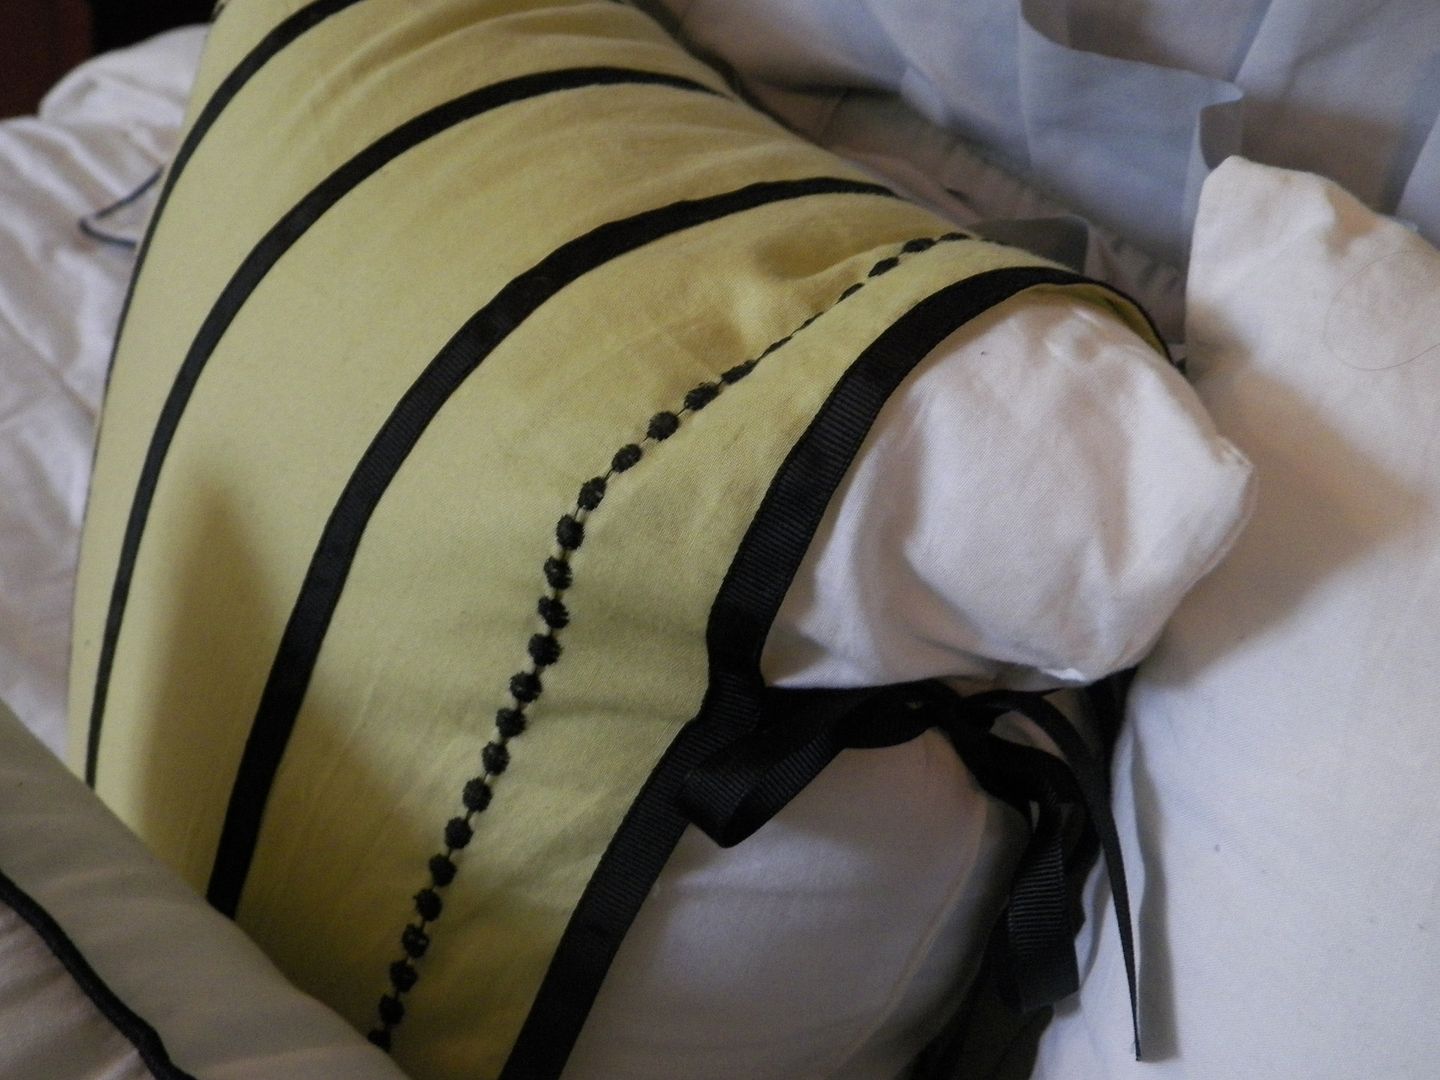
I initially thought I would stencil the wall, then about 6 months ago I decided I wanted to paint frames around the decal. I was inspired by all of the black lines in my bedding:
I put the idea off since I was working on a bunch of other projects. Then one day while walking around Hobby Lobby, I found some black frames on sale. It was a major clearance so they were 90% off the original price. I thought maybe instead of painting the frames, I could be lazy and just hang some? It was too good a sale to pass up, so I purchased two, not really knowing if they would work the way I was envisioning.
(Proof of the clearance prices)
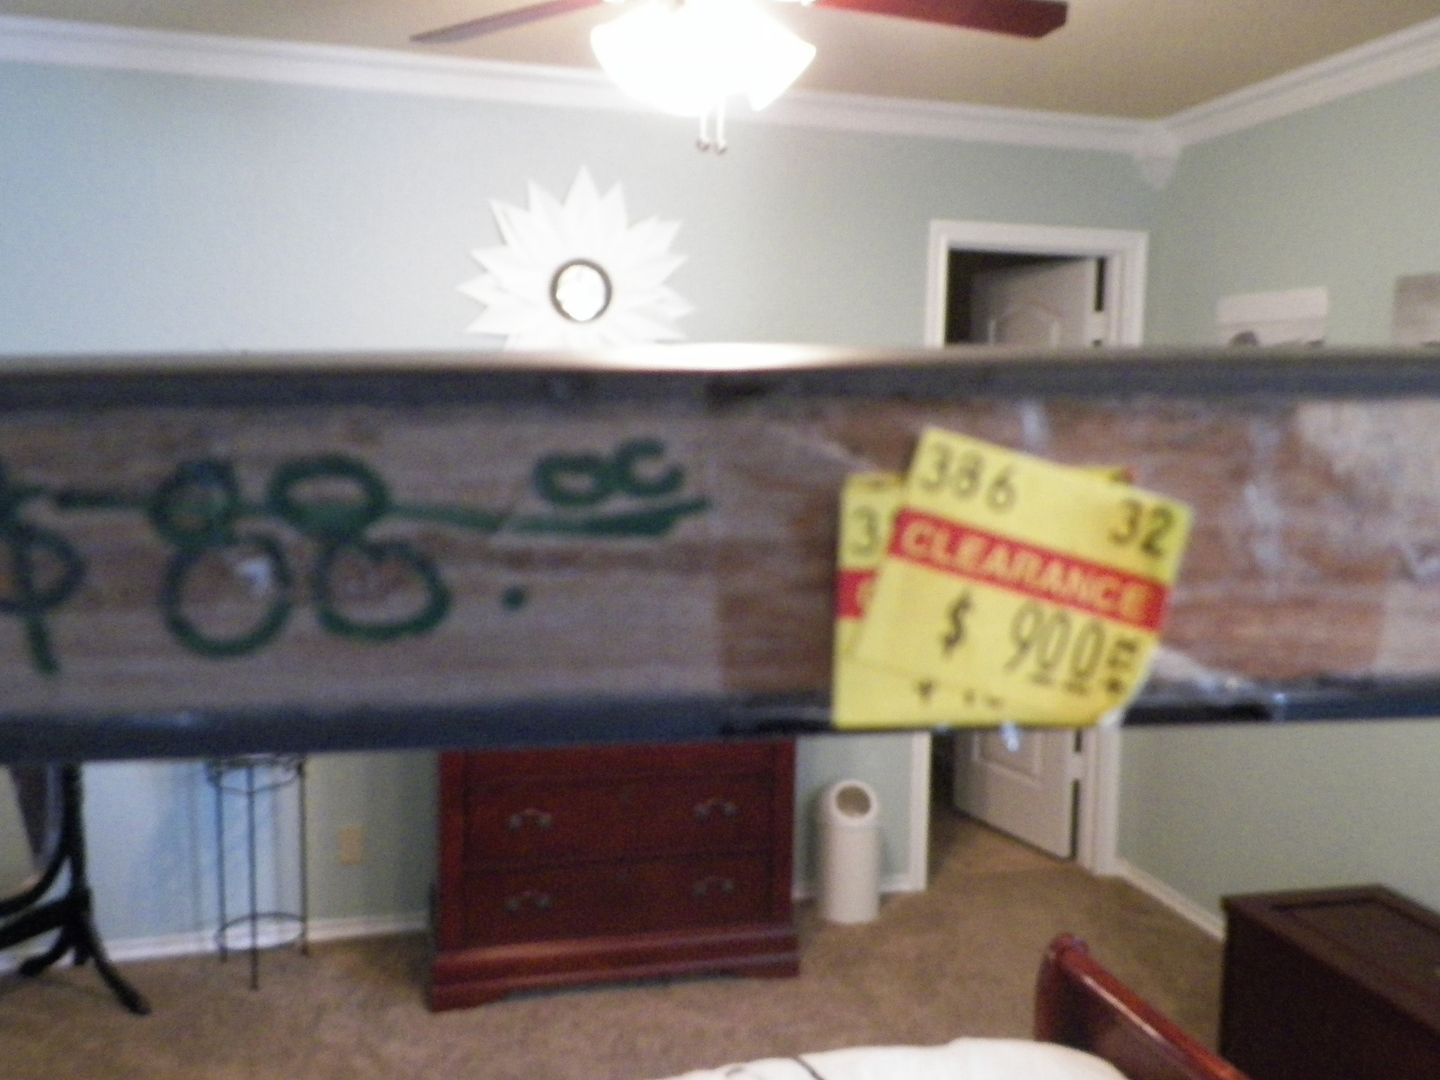
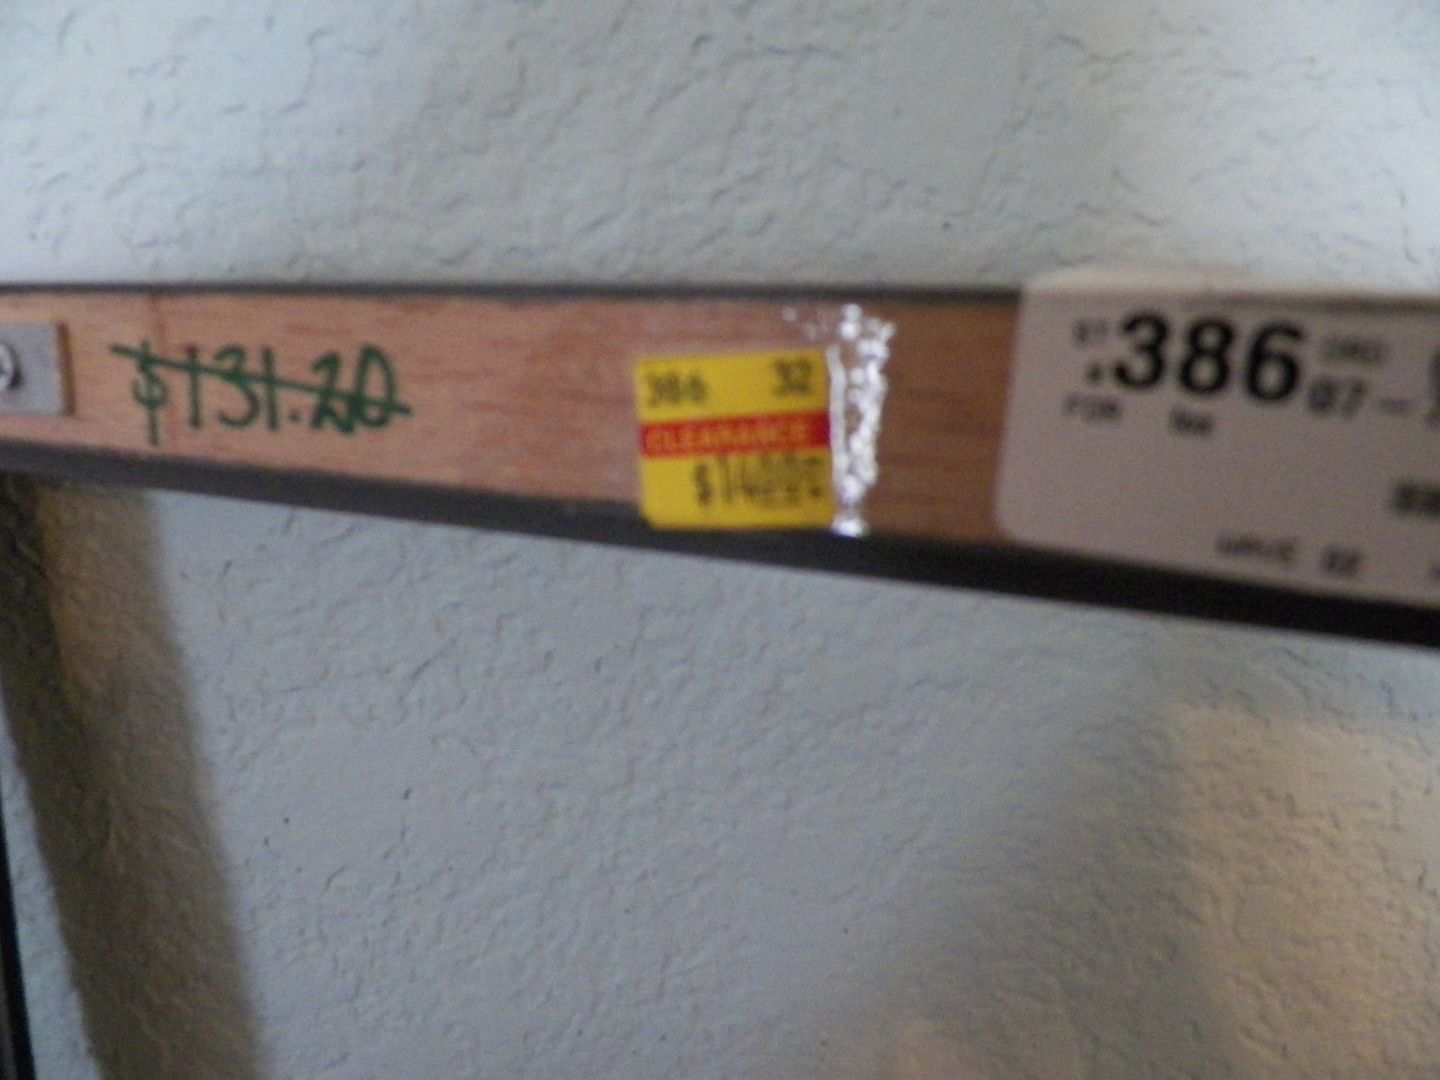
(Who would pay $88 & $131 for two frames? Not me!)
Then I just left them leaning against my dresser. Remember this picture:
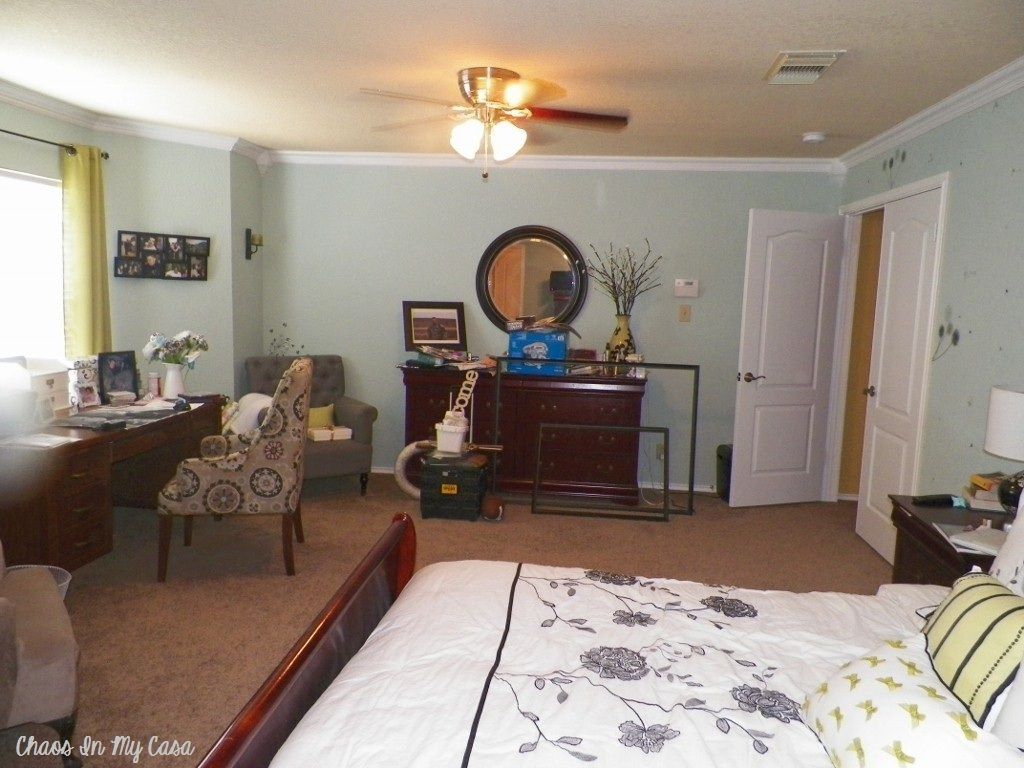
It's from the house tour I posted back in July. They'd probably already been like that for 3 months before this photo was even taken, so I'm not exaggerating when I say they've been there for at least 6 months now.
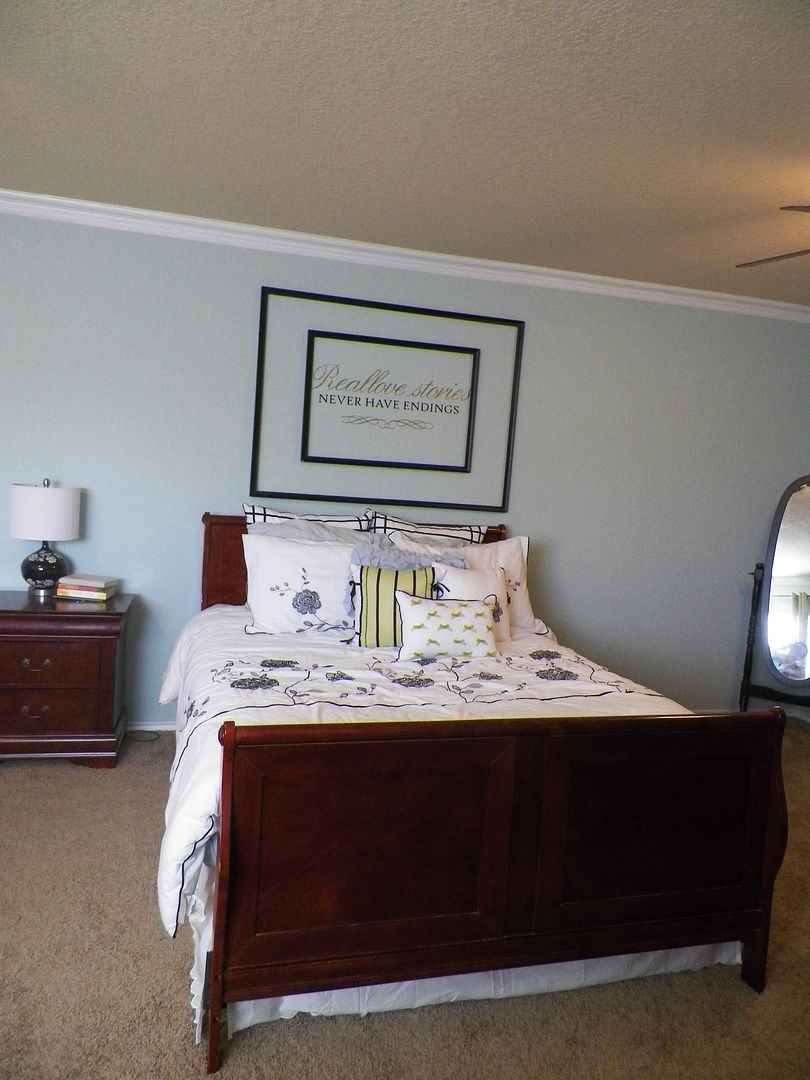
Anyway, I knew I wanted to use them to frame the decal that's centered over my bed:

I can't really say why I've put this project off for so long other than a combo of procrastination and fear that it would look totally horrible. I just knew I wanted to get rid of the dandelion decals that cover that entire wall. If you scroll up, you can see them in the previous pictures. I loved those decals when I bought them, not so much once I put them up. Initially I had them like this:

I hated it. That's why I rearranged them and added the decal over my bed. Then I made sunbursts using The Nester's tutorial. It was an improvement, but I still wasn't happy with it.
Now it's September 19th and it finally irritated me enough to change it. So first step was removing the sunbursts and dandelions. Once I was done, the wall looked nice and clear:
After that I grabbed the smallest of the two frames and held it up to center it over the decal....then I remembered that the decal was too long. %&#! that meant I had to rearrange the decal to scoot the words a little closer together. In the process I sort of tore one of the words:
Oops!

I put it back together and you can only really tell there's a small tear if you get right up close to it.
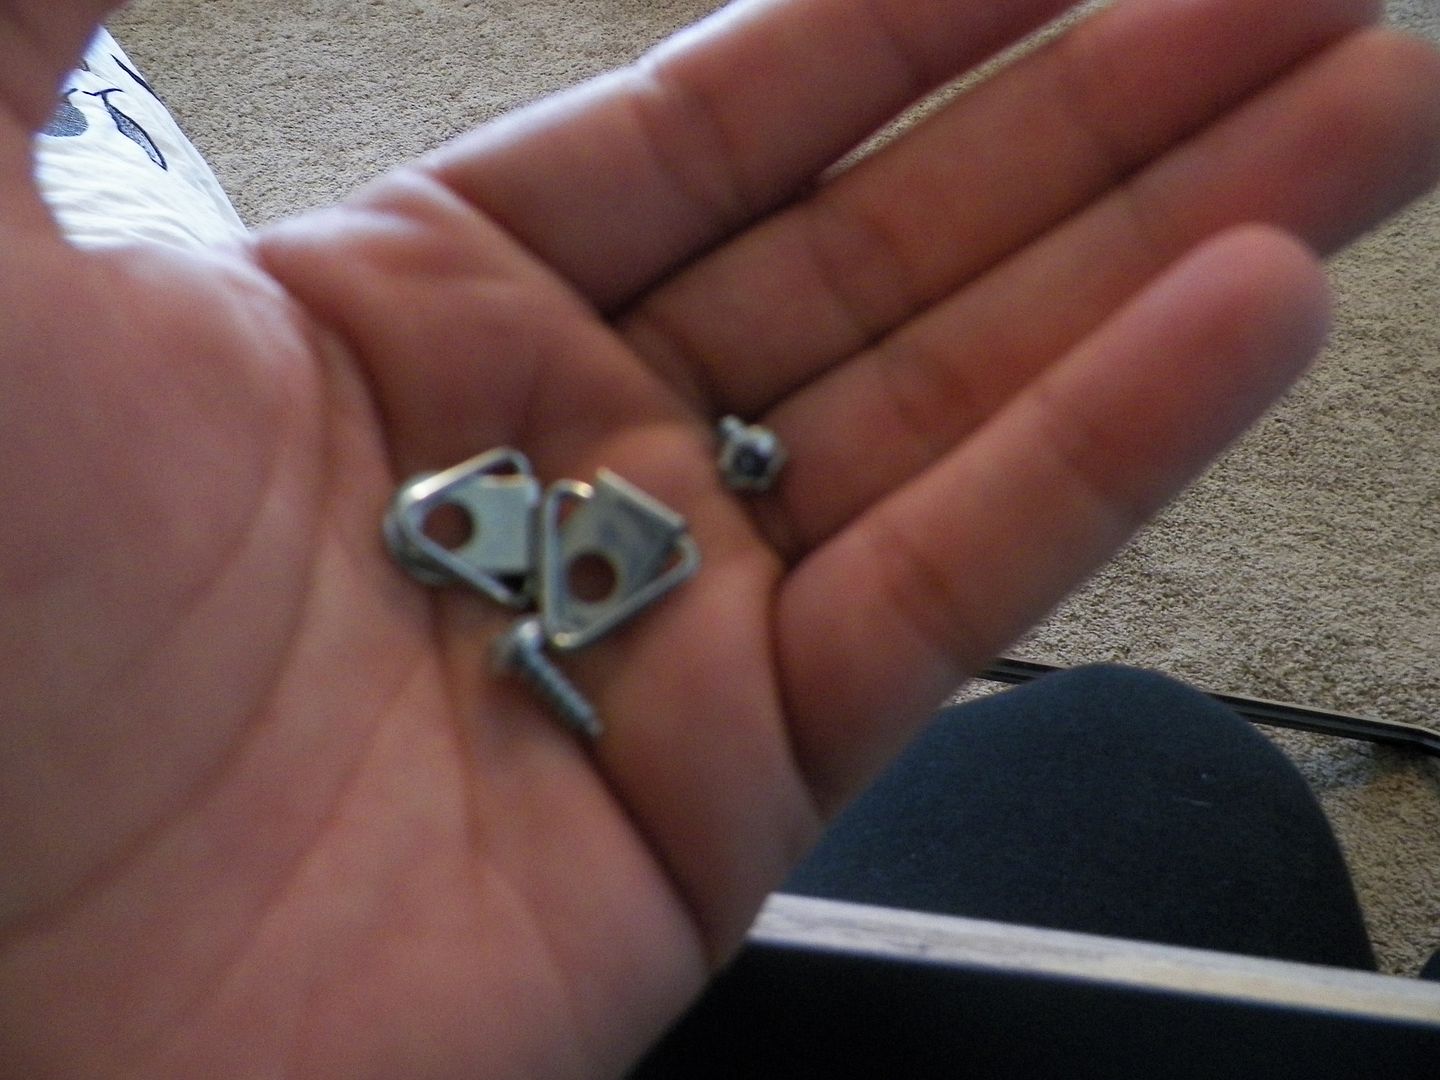
Then I installed hanging hardware on the backs of the frames. I used my go to hanging thing-a-mabobbers from Hobby Lobby:
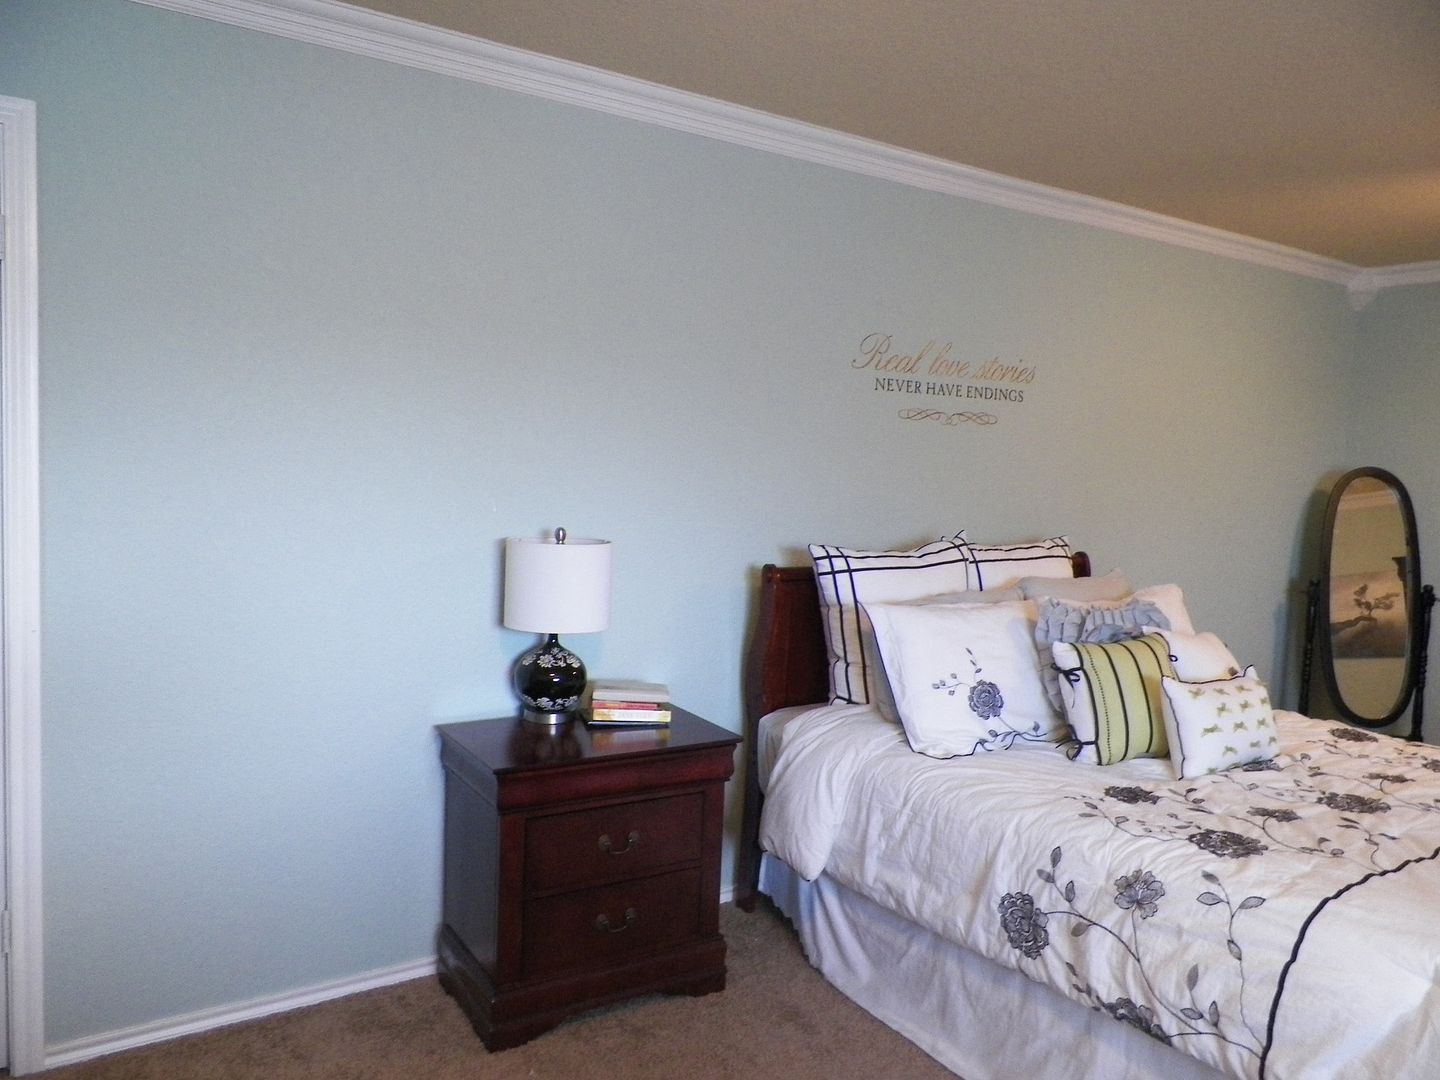
I took my measurements, marked the wall, checked them with a level, checked again, then tripled checked and hammered in some nails to hang them up. Now the wall looks like this:
(pictures from different angles. I need to re-center my bed)
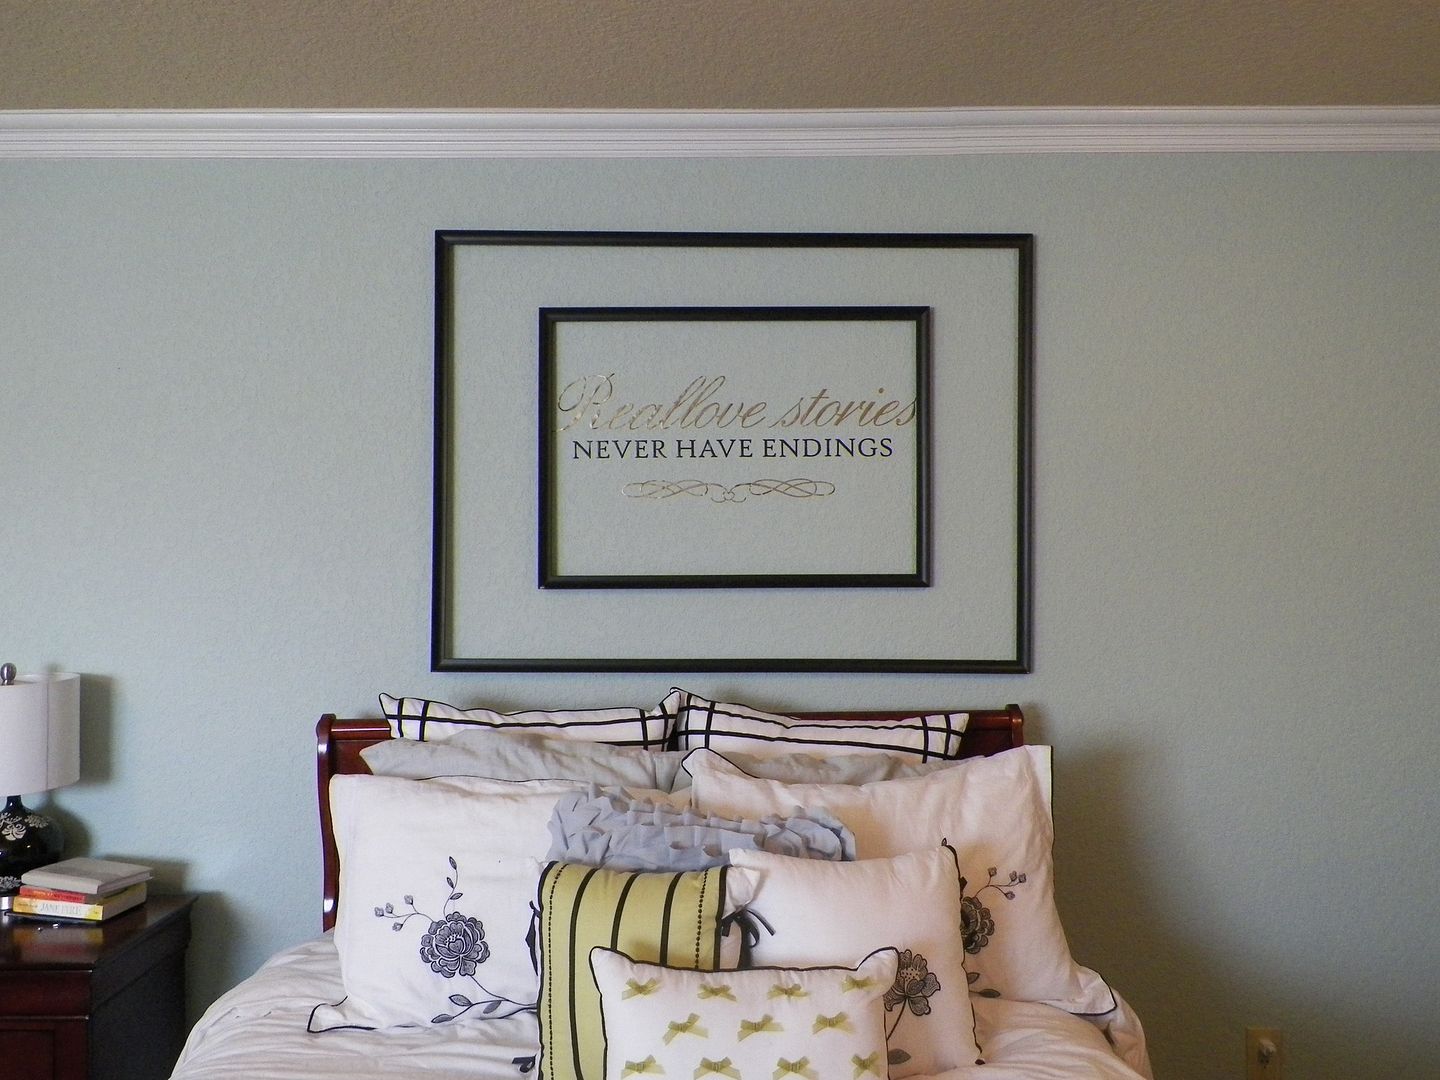

I'm liking it okay but I need to do something on either side. That wall is just too long. I am still considering stenciling it, though I am afraid that will make it too busy. My other idea is to paint black trees on either side with limbs facing the bed....hmmm maybe that just sounds like a good idea in my head.
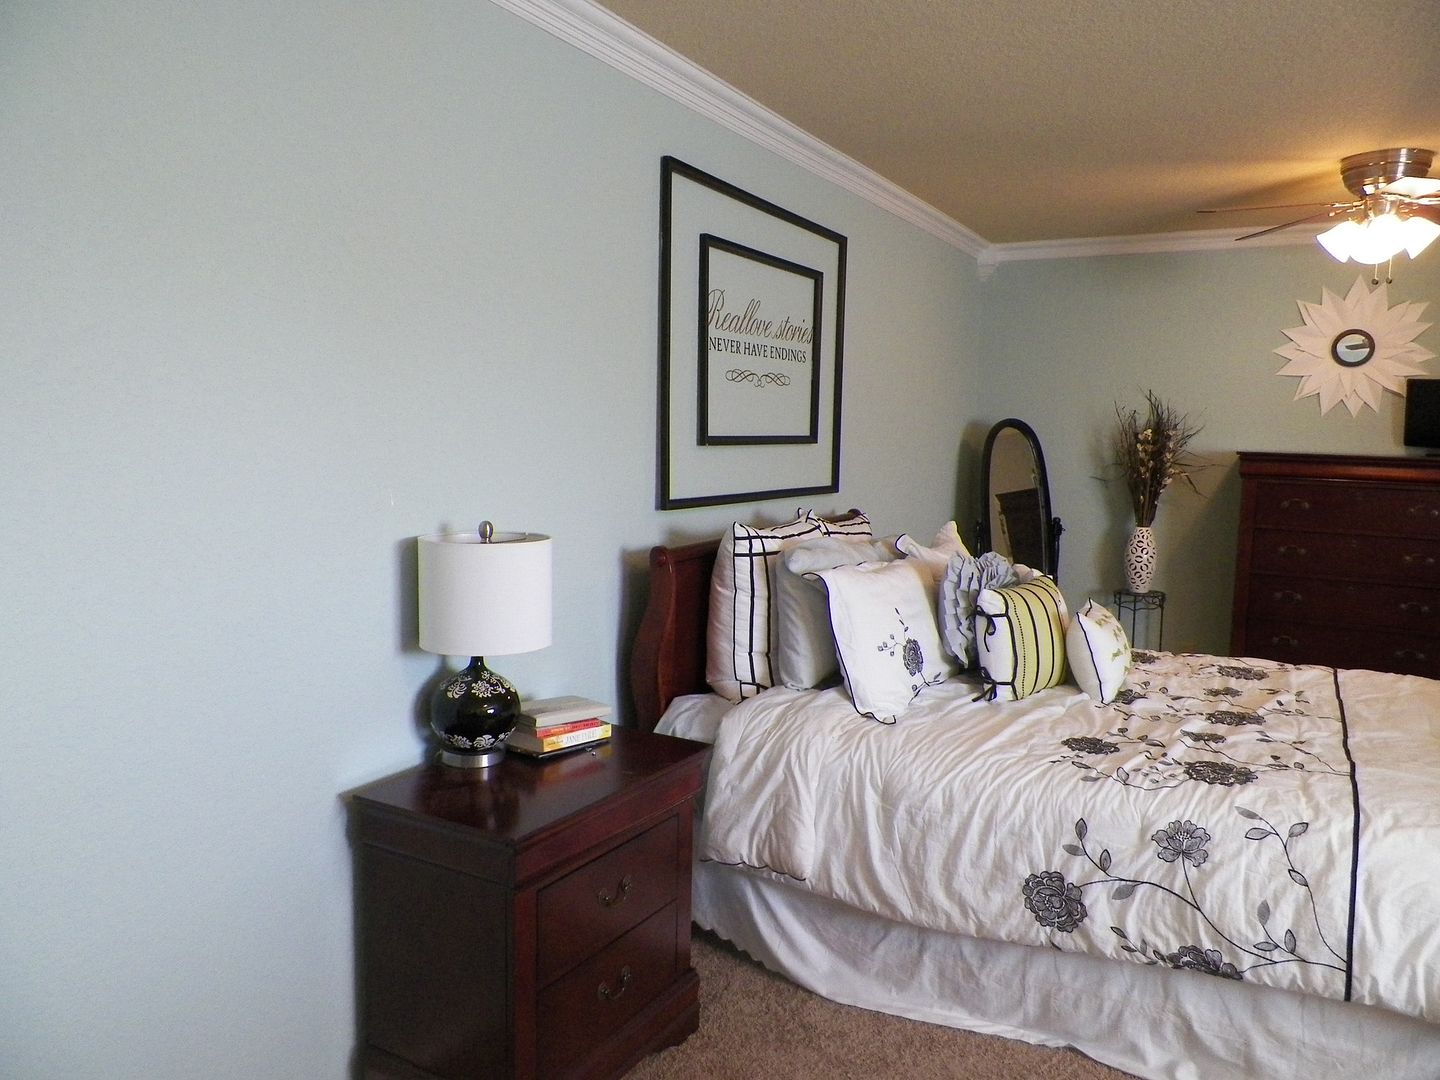
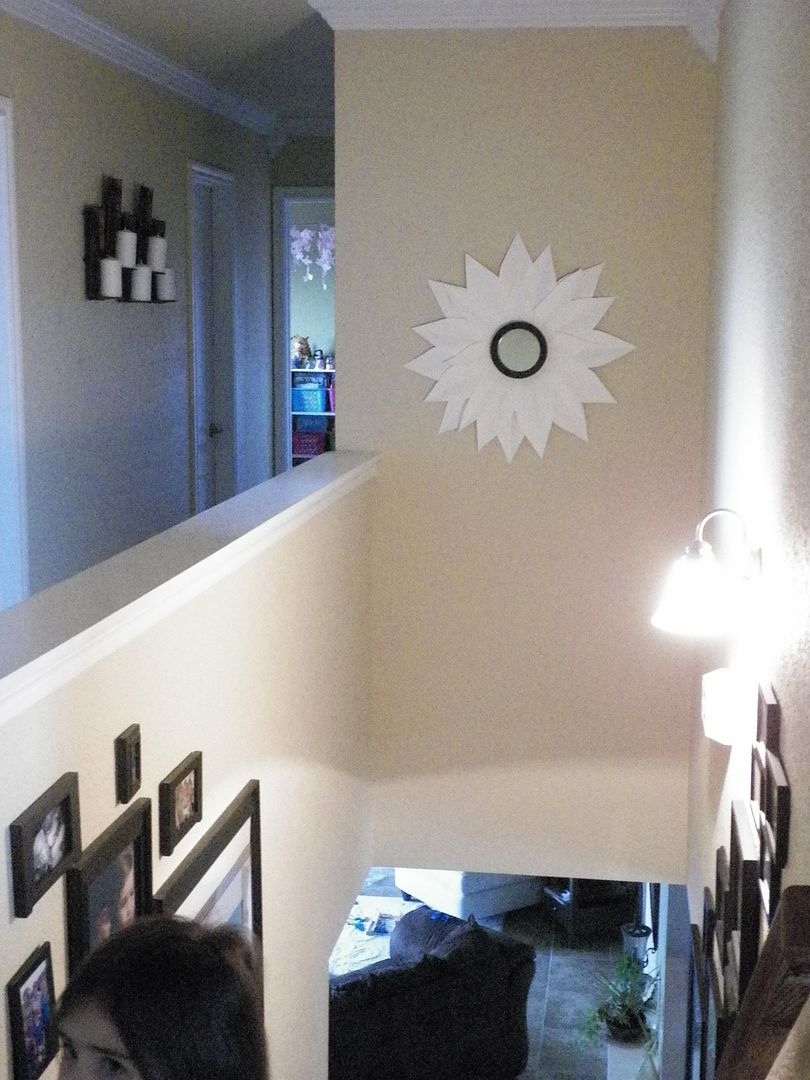
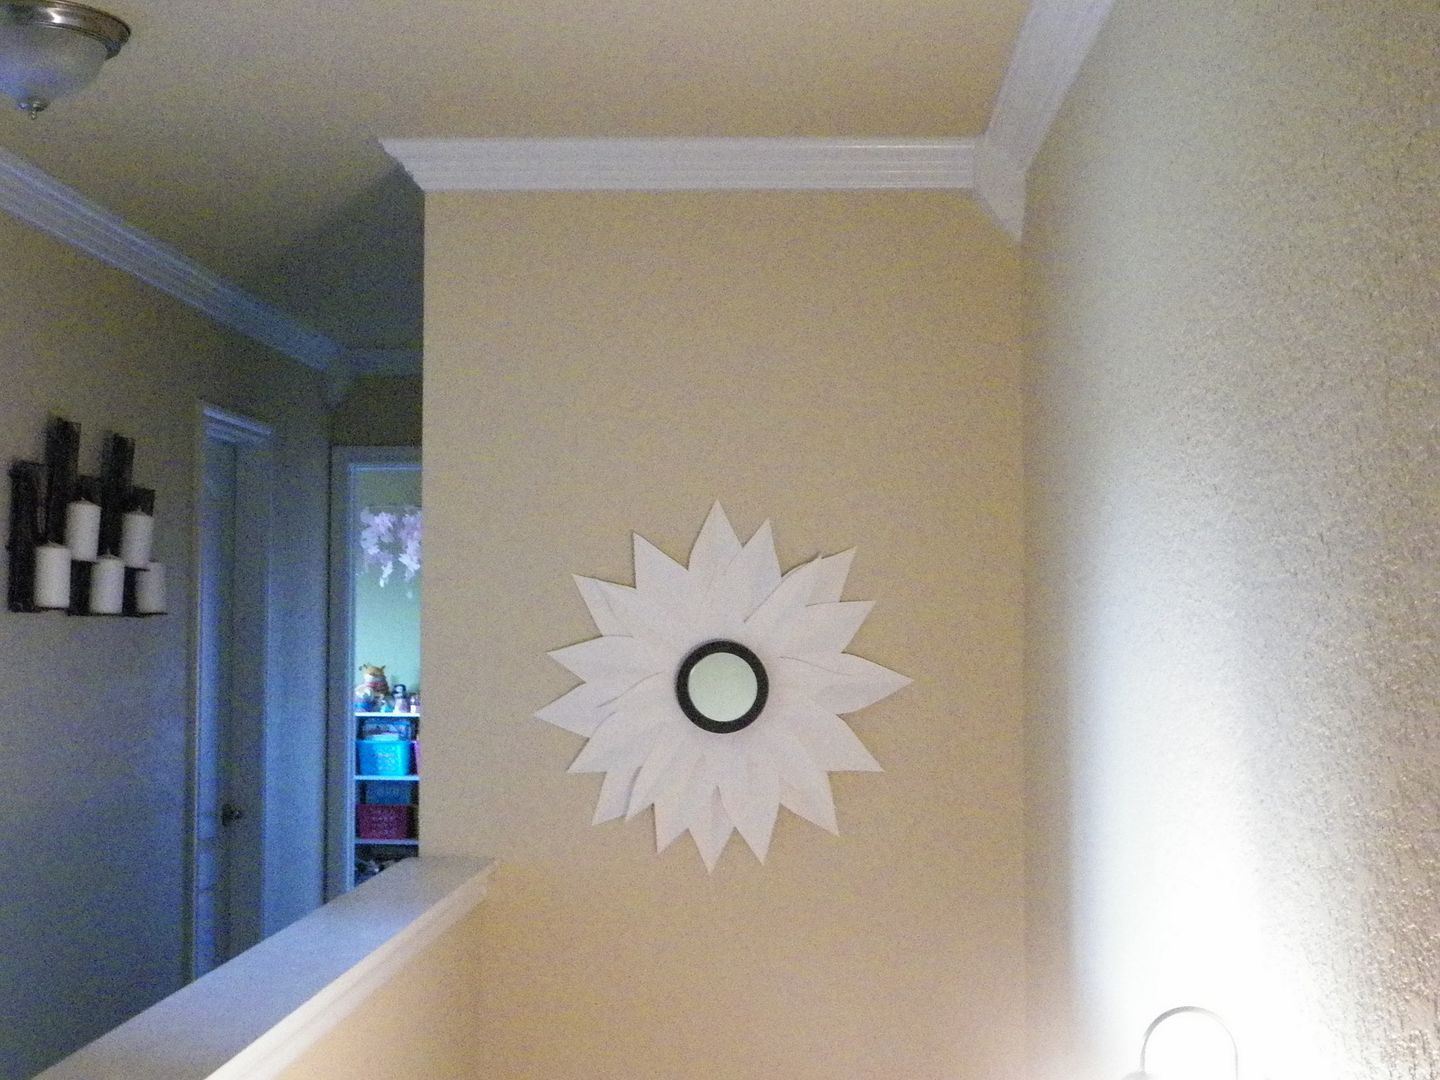
You probably caught a small glimpse of the sunburst in the previous pictures. Let me show you where I relocated them:
One on the previously blank wall above the stairs:
and the other is now gracing the previously blank space above the chest in my room:

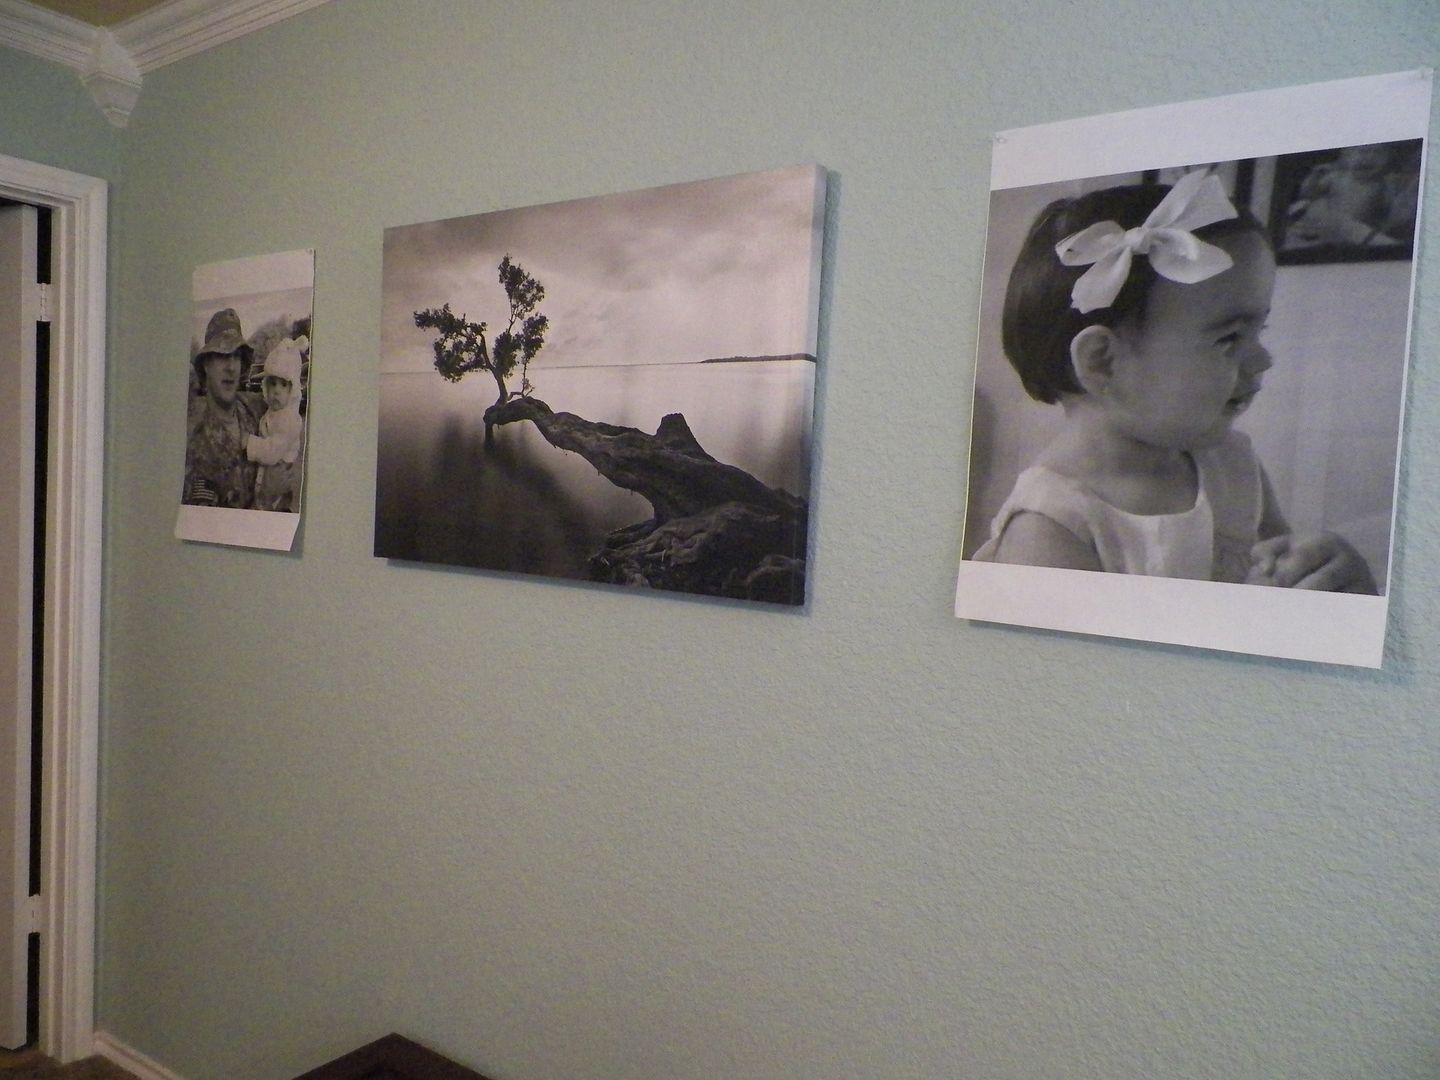
So that's as far as my accent wall transformation has gone. Here's a little peek at a project I'm currently working on for the wall opposite the accent wall. It involves artist canvases and black and white prints:
So what do you think? Improvement? Yay, Nay? Would you have left it alone? To stencil or not to stencil? I'll have to keep thinking on it.
No comments:
Post a Comment