
Okay, so this isn't really a tutorial, it's more like common sense, but I thought I'd share it with you anyway. It's also kind of a 'this is my trial and error project, hopefully you can find a better way to do it.' :) I wanted to paint the pumpkins using only materials I already had at home so that I wouldn't have to spend anything on the project. If you don't mind spending a few dollars, you can buy carbon paper to transfer your words onto your pumpkin. Another alternative would be to skip painting and use vinyl, if you have a vinyl cutting machine. I didn't wanna use vinyl so my materials were a sharpie, scissors, printed words, tape, paint brush and craft paint.
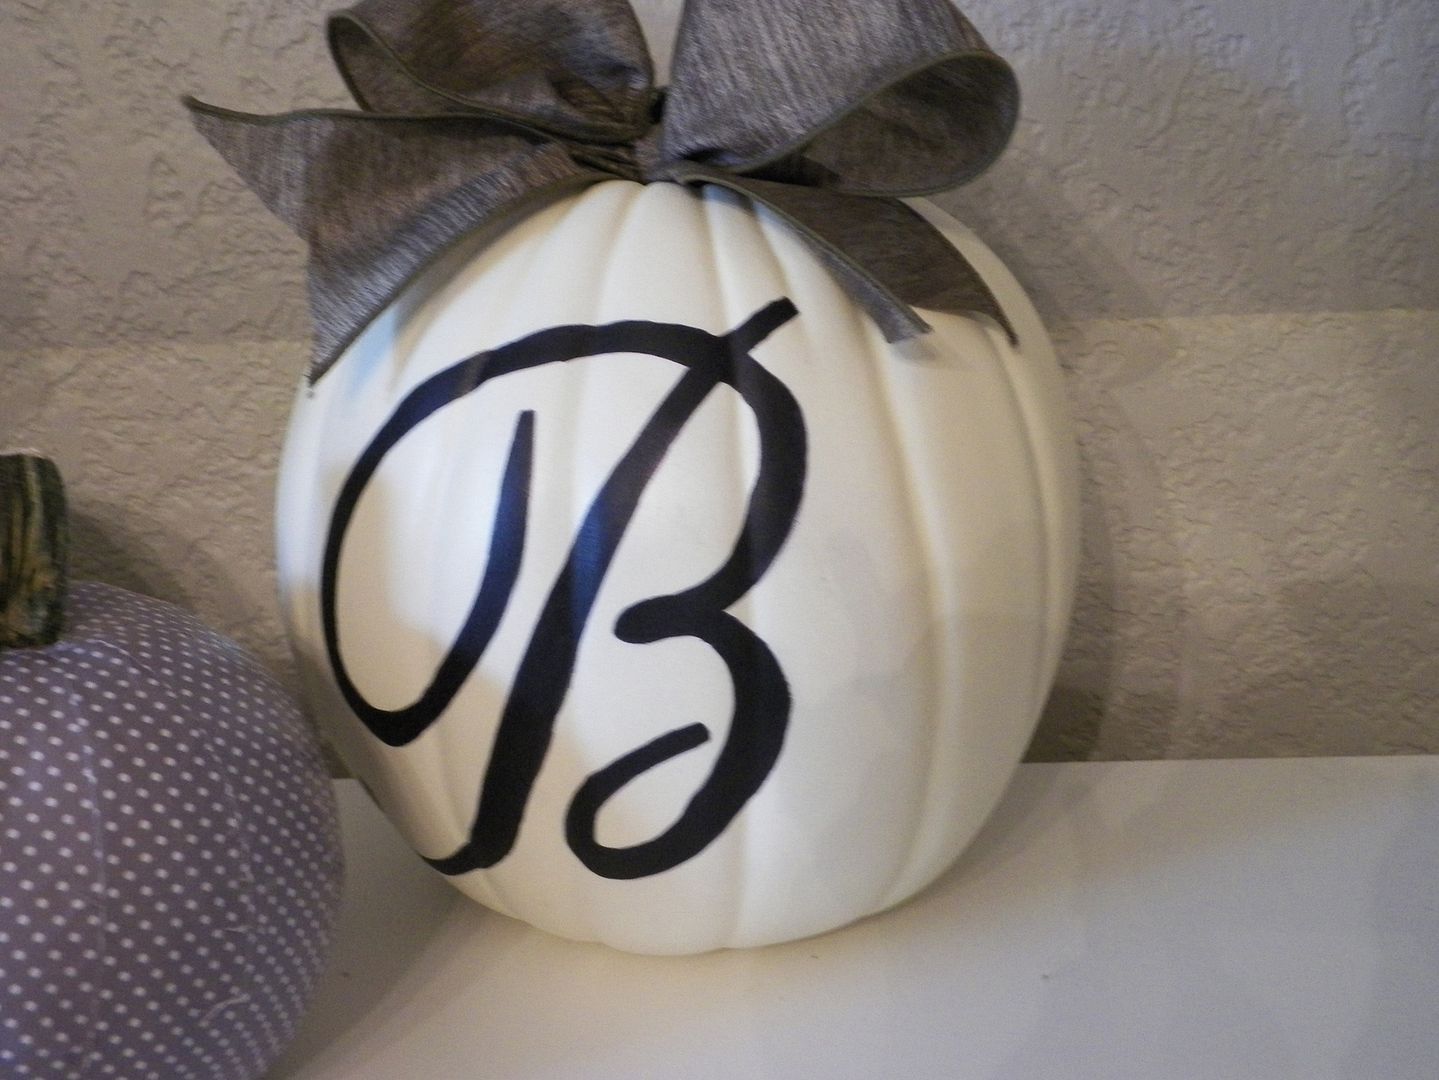
When I painted this first pumpkin for the dining room:
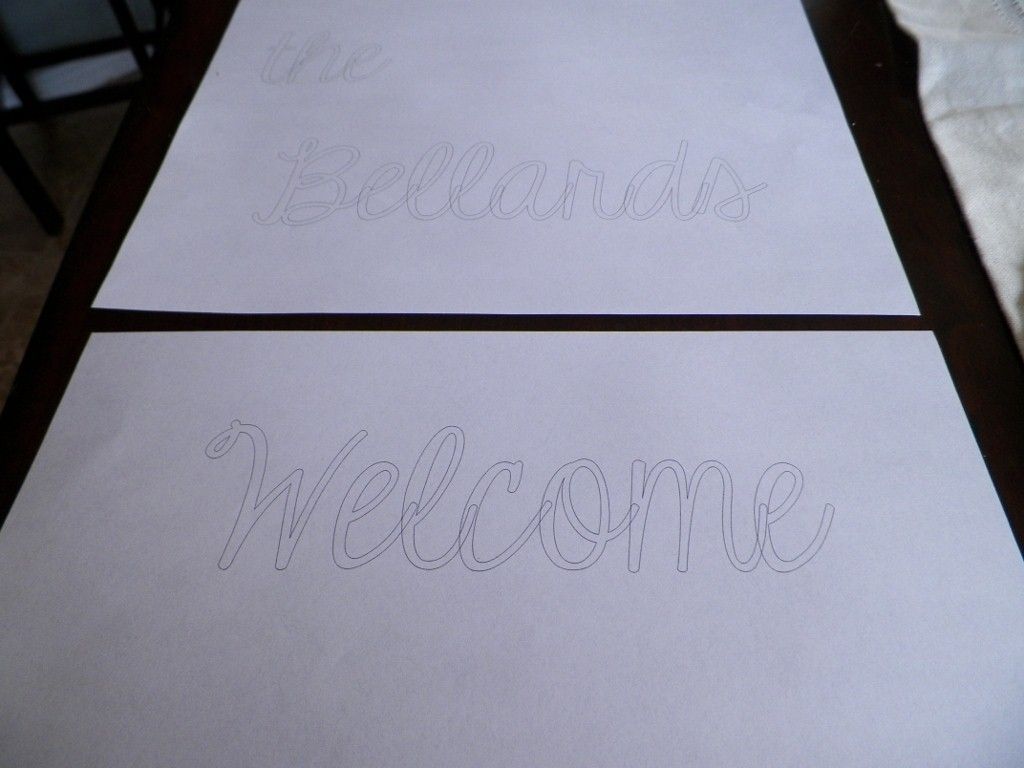
I printed out the letter in black ink. After I thought about it, I was like, "Uhhh...why did I waste ink when the letter is going in the trash?" Duh duh ruh!
So first thing's first, if you're going to trace something on to a pumpkin, make sure you print it in 'outline' mode and save yourself the ink:
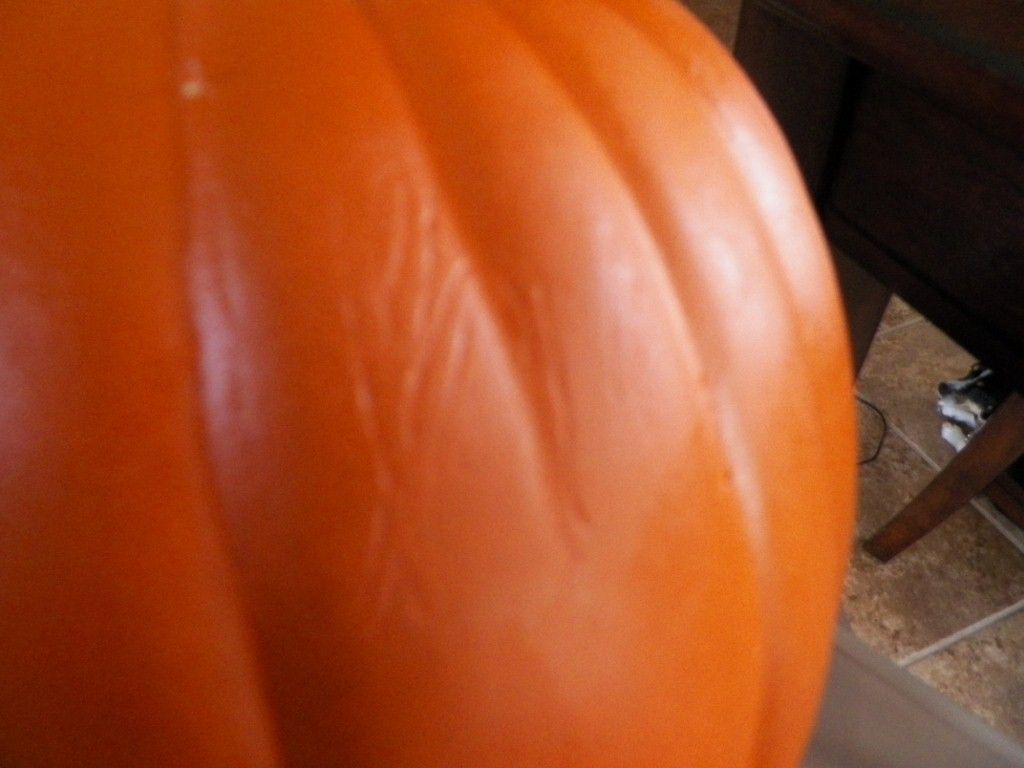
After printing everything out, I taped the words on and tried to push down on my pen to get them to show through, but of course they didn't show through. It created more of an indent.
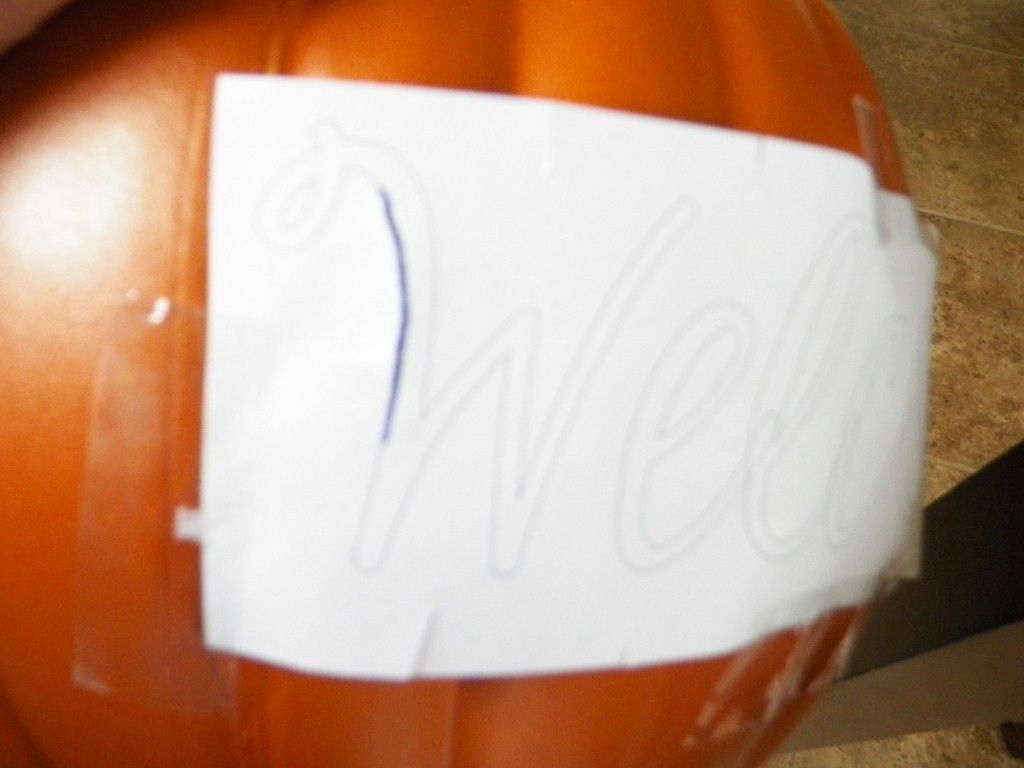
So I took the trouble of cutting around the letters.
It came out great, but I got impatient.
so for the next pumpkin I went back to pushing down hard with the pen instead of cutting around the letters.
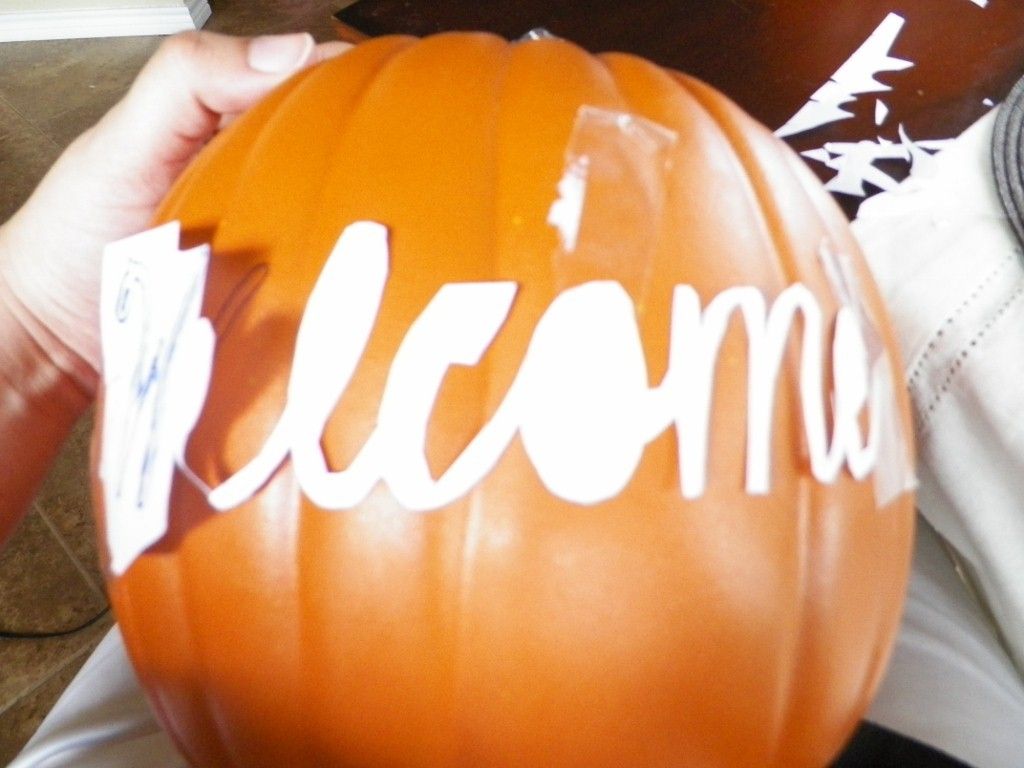
This is what it looks like:
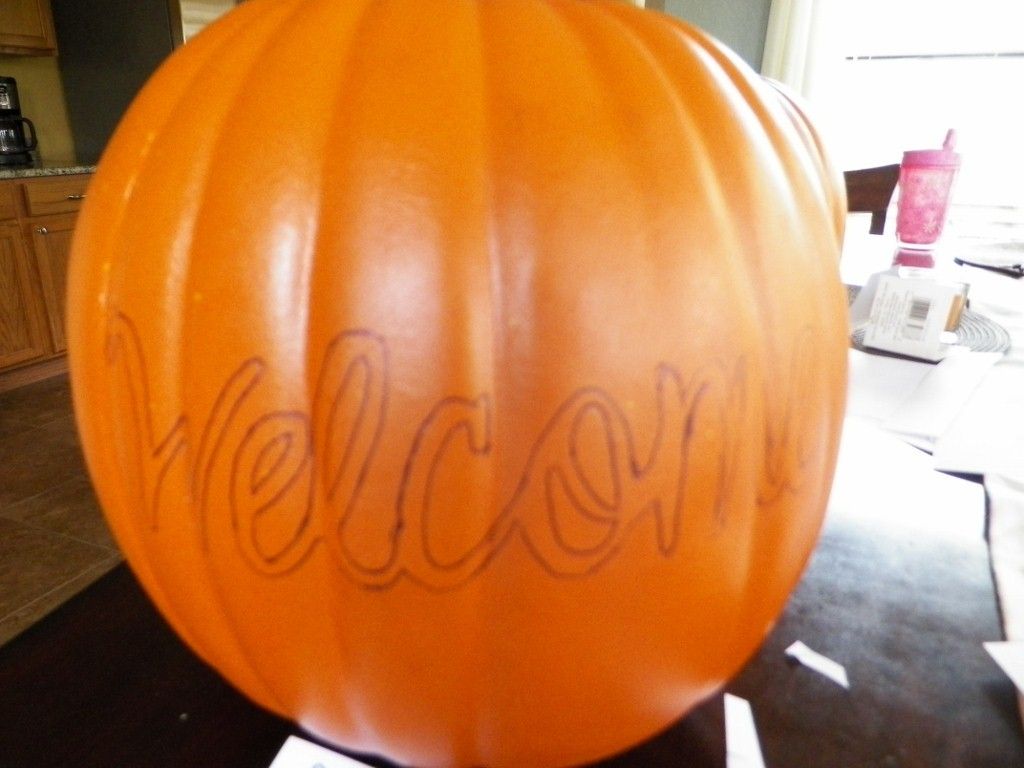
It's really easy to see the letters. Then I just traced back through with my pen:
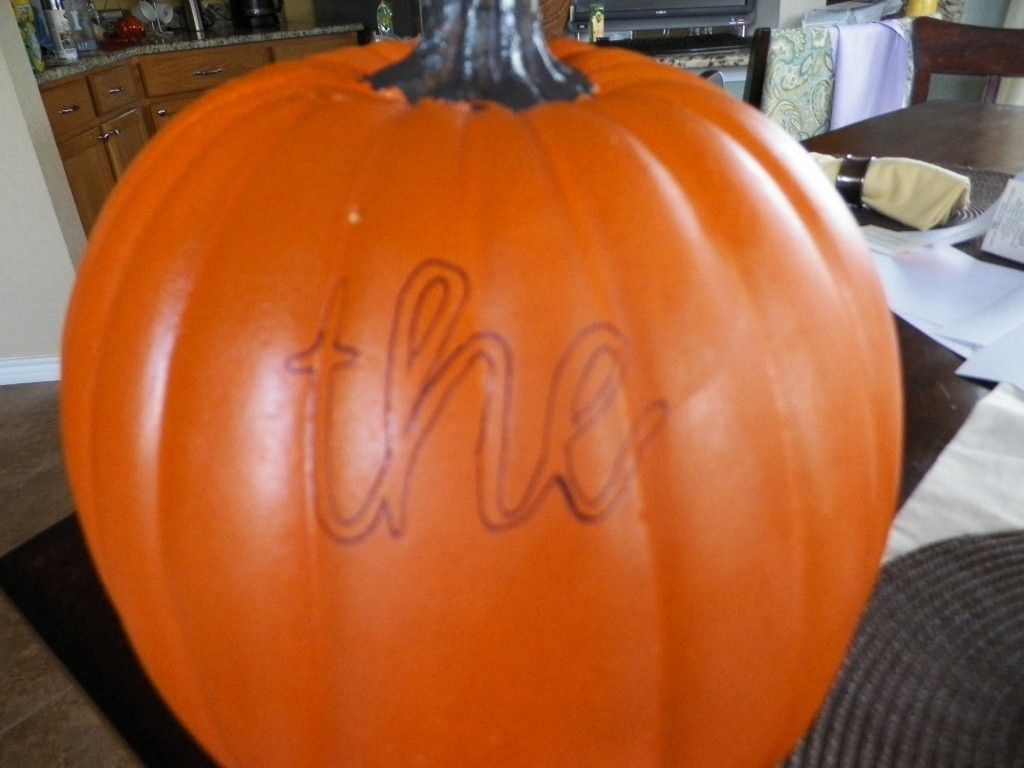
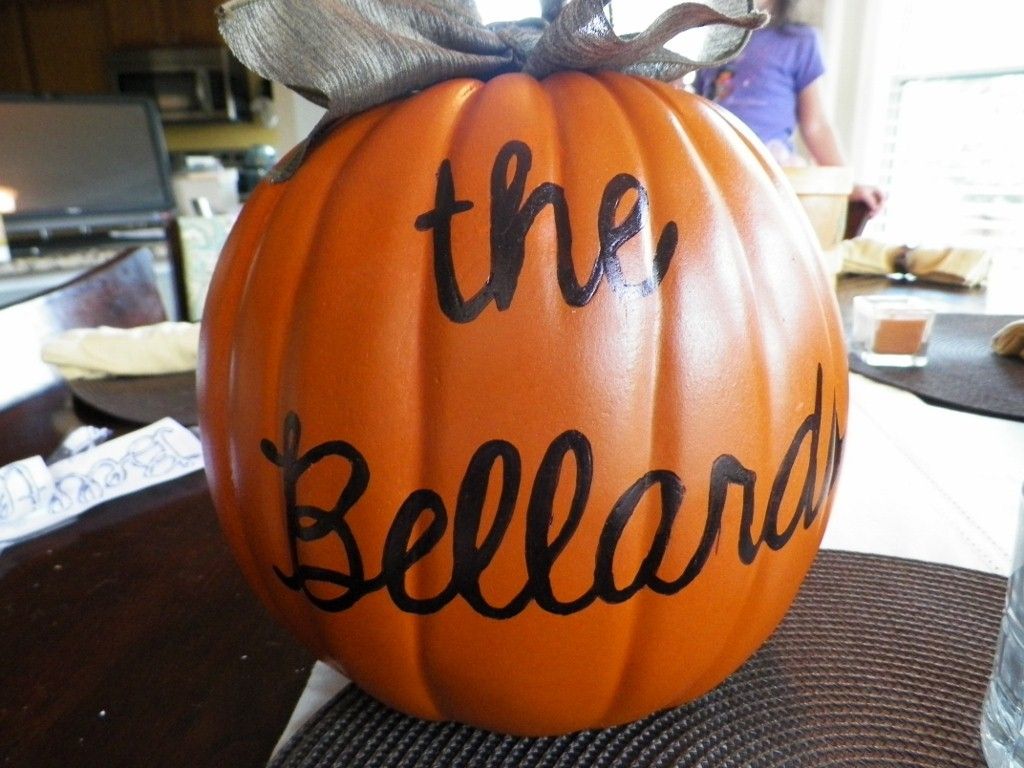
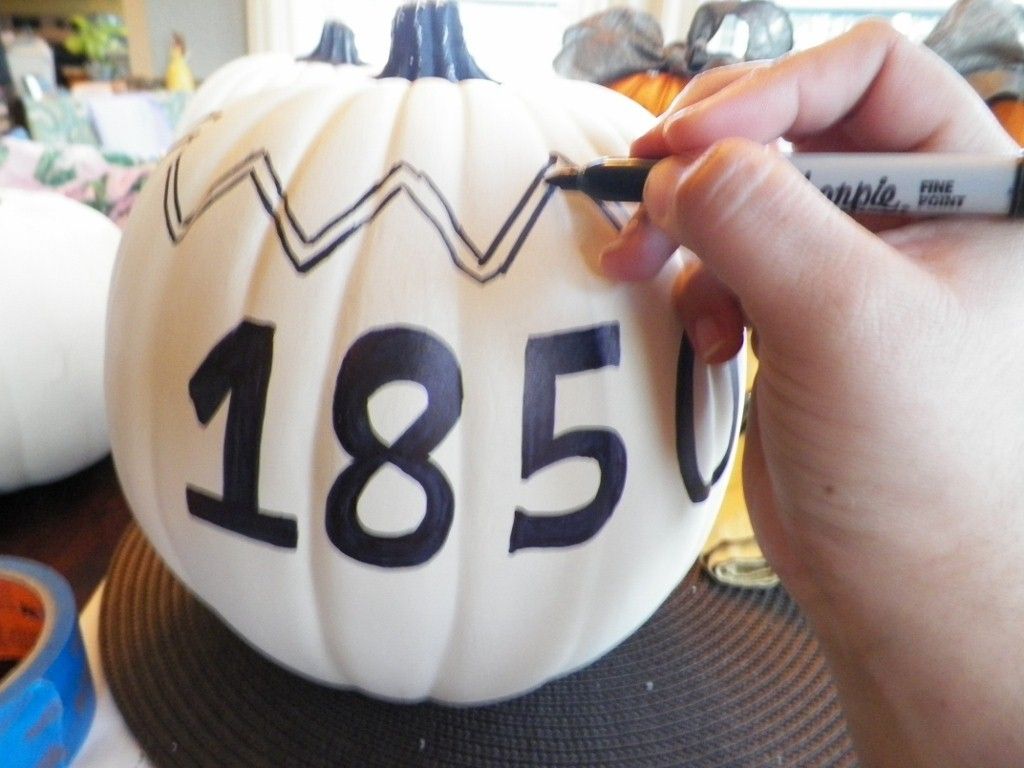
Next I took my sharpie to the pumpkins to fill in the outline. Afterwards, I painted over the letters with black craft paint and a pointy brush to deepen the color.
That's the other thing I forgot to tell you. Definitely use a sharpie. It will save you from painting multiple coats.
I didn't bother printing out numbers so I free handed them:
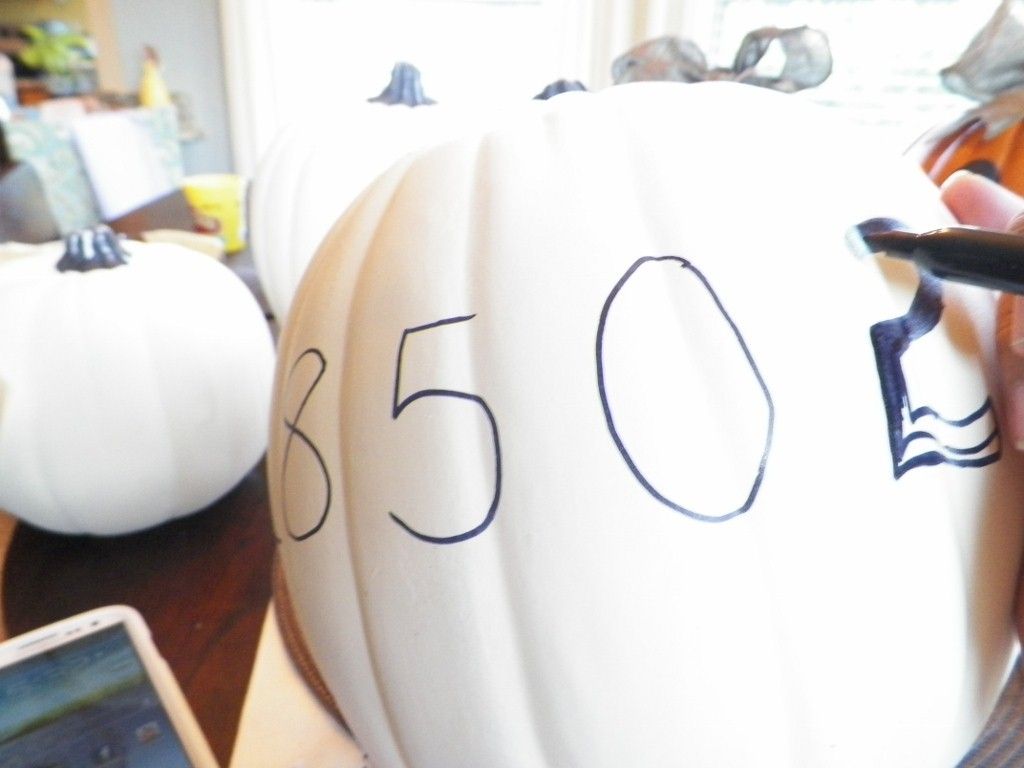
Then I decided they were too plain so I went back and drew in a design.
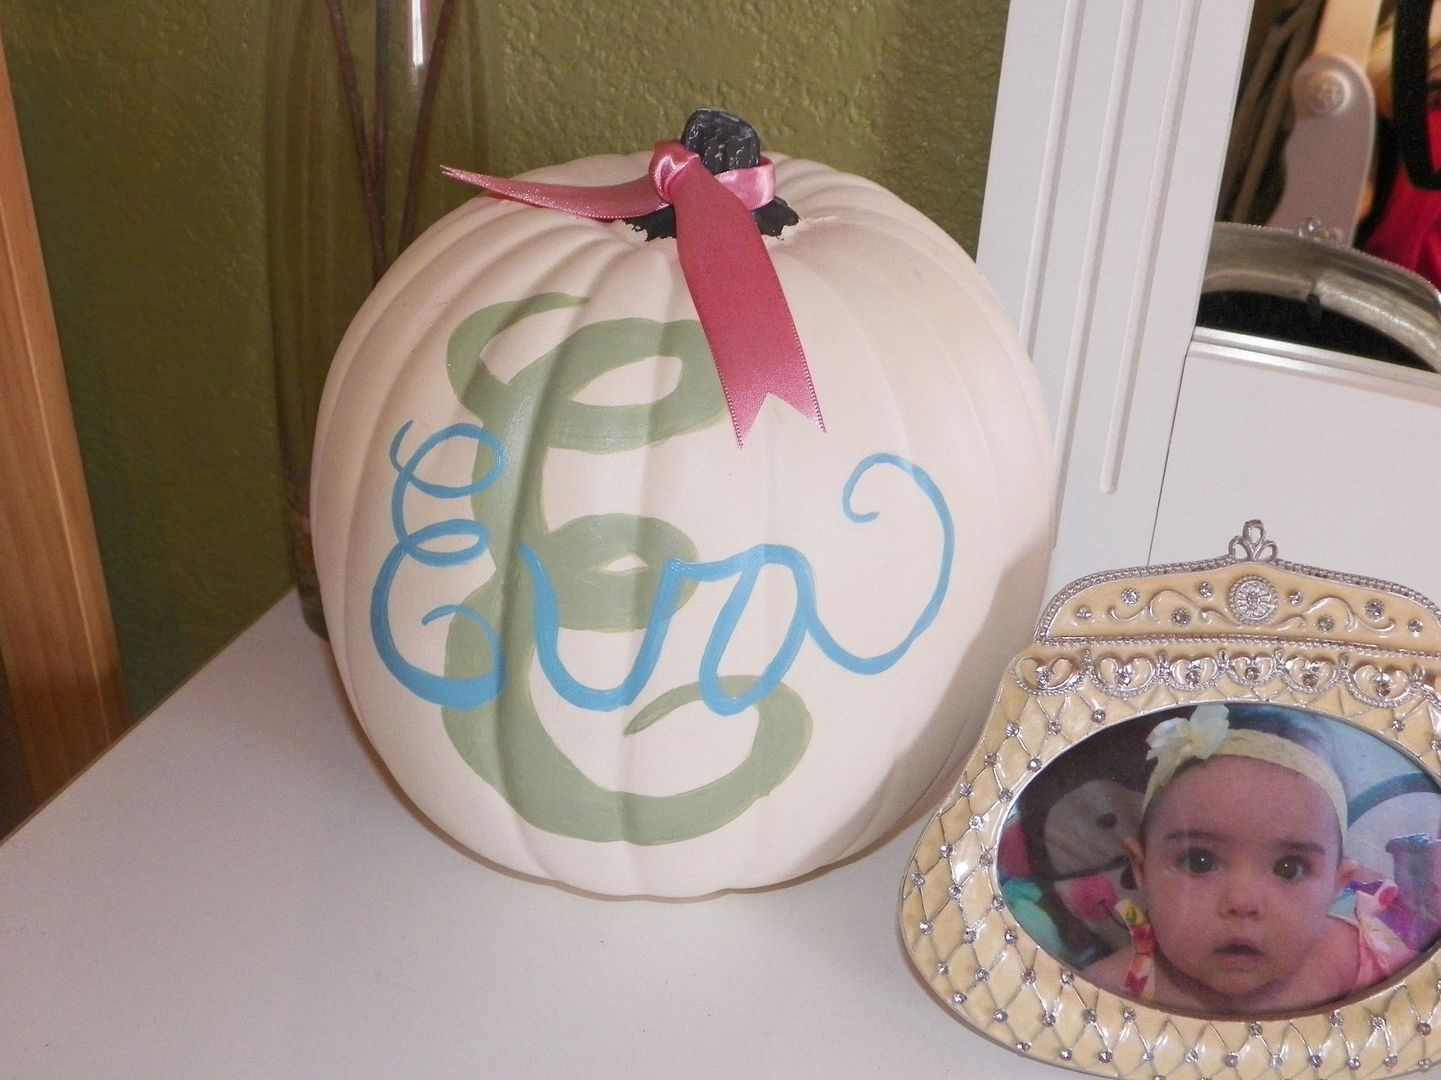
I also free handed the pumpkin for Eva's room. I shared it with you a few days ago:
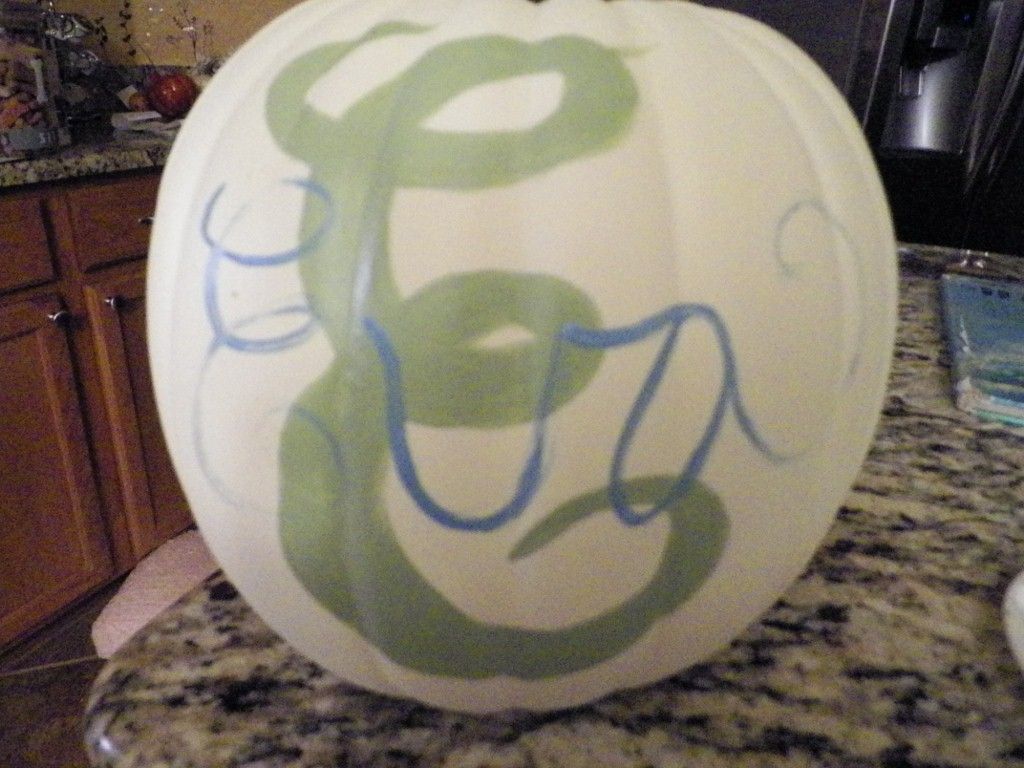
Since I didn't use markers for it, I had to paint about 3 coats to deepen the colors.
I used foam spouncers to add some polka dots to the orange pumpkins.
Here they are with their burlap bows:

I didn't hot glue the bows on because next year I may switch up the fabric. I just pinned them on.
This is what our porch looks like now, but I'm in the process of adding the finishing touches.
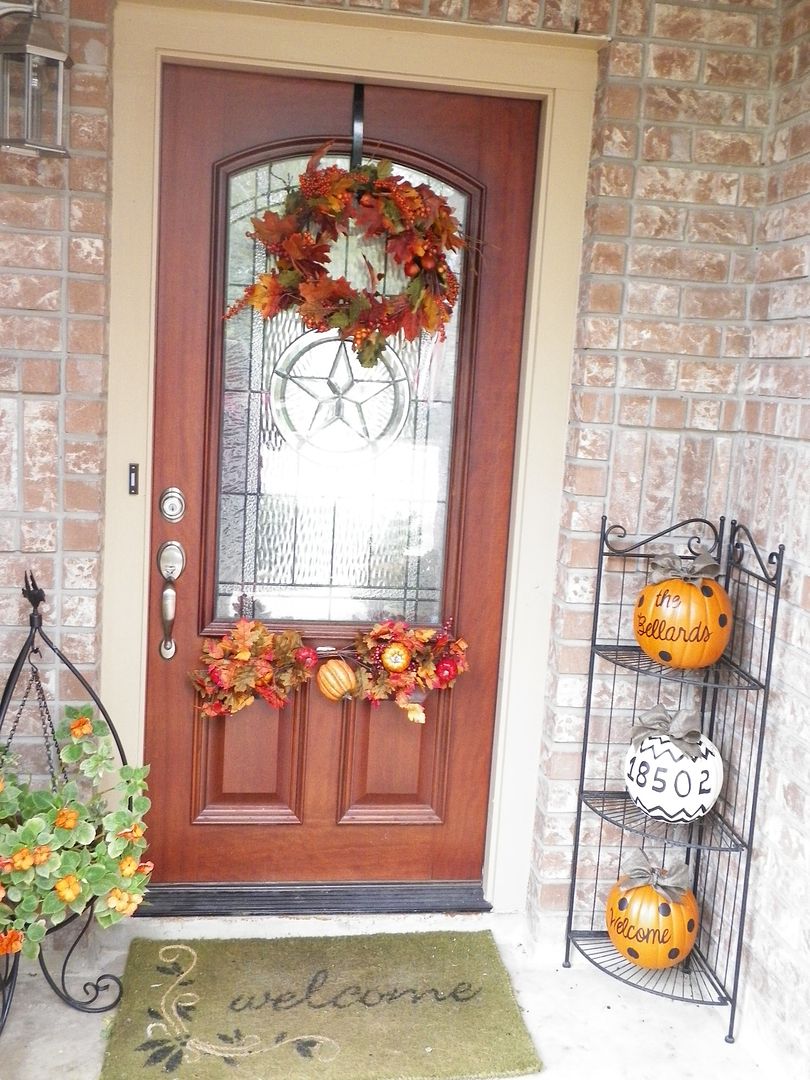
In case you're wondering, the painted flower pots that used to be there are being packed away in the garage and the flowers are being placed in containers that are more Fall appropriate.
I look forward to sharing our Fall porch soon. We usually do the cutesy Halloween decor outside, but this year we may just stick with Fall decorations. Have you all finished up your outdoor decor or have you been procrastinating like I have?
Today I am linking up to My Uncommon Slice of Suburbia. Go check out all the great inspiration over there!
Today I am linking up to My Uncommon Slice of Suburbia. Go check out all the great inspiration over there!
Those pumpkins are too cute! Thanks for sharing!
ReplyDeleteThank you and by the way, your blog is adorable!
Delete