
**********************Long Post Alert!********************
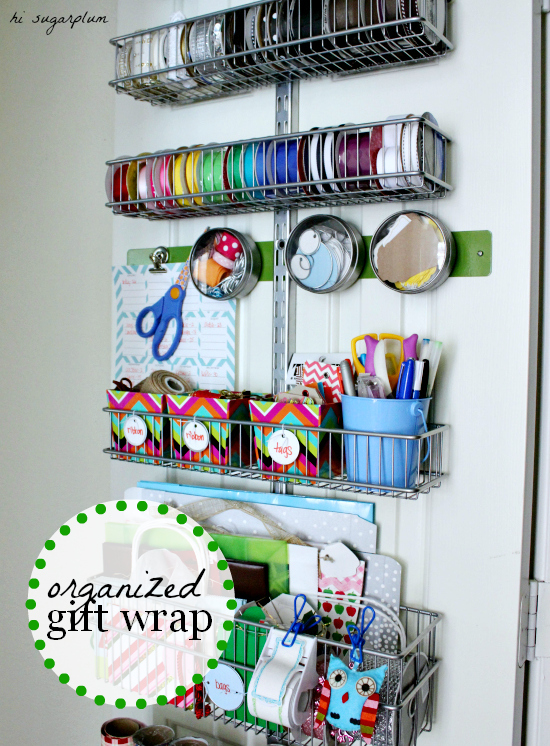
Hi everyone, today I will be sharing a recent project that has made my life sooooooo much easier. I'm not one to copy furnishings, decor, or projects, but when I saw Cassie's gift wrap organizer over at HiSugarPlum, I just knew I had to have it:
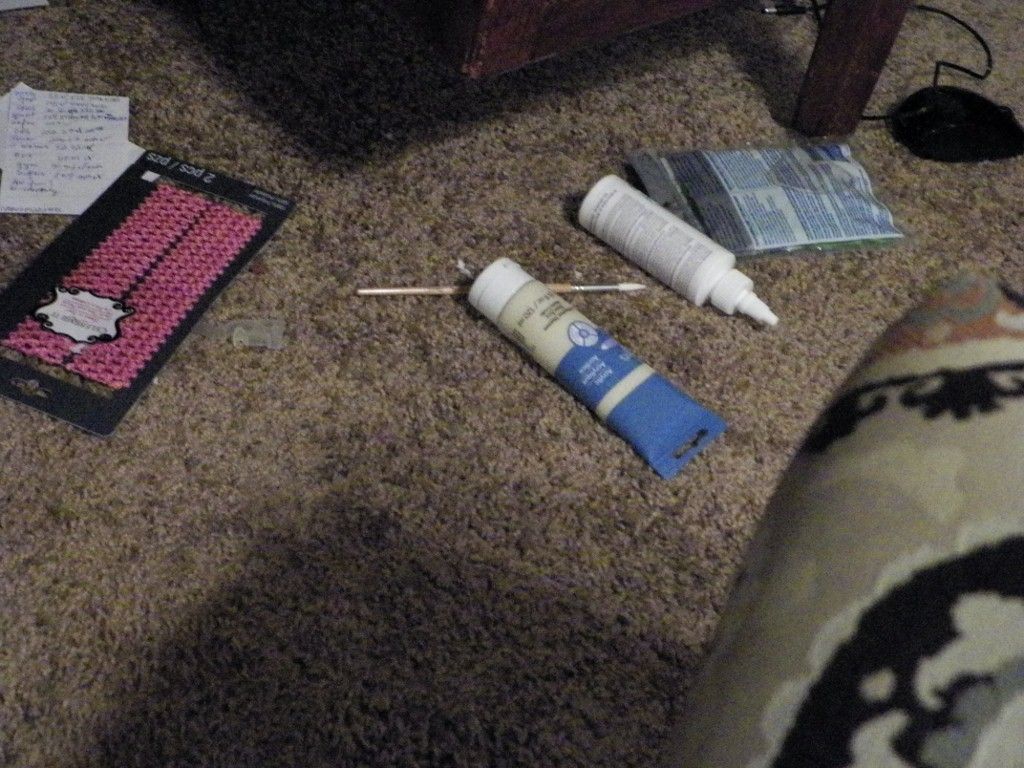
Now, hers is dedicated to gift wrap, but I wanted mine to store my gift wrap & bags as well as the majority of my small craft supplies. I hoard use a lot of ribbon, paint brushes, craft paint, etc... and it was starting to take over various parts of my house. Don't believe me, well looky here:
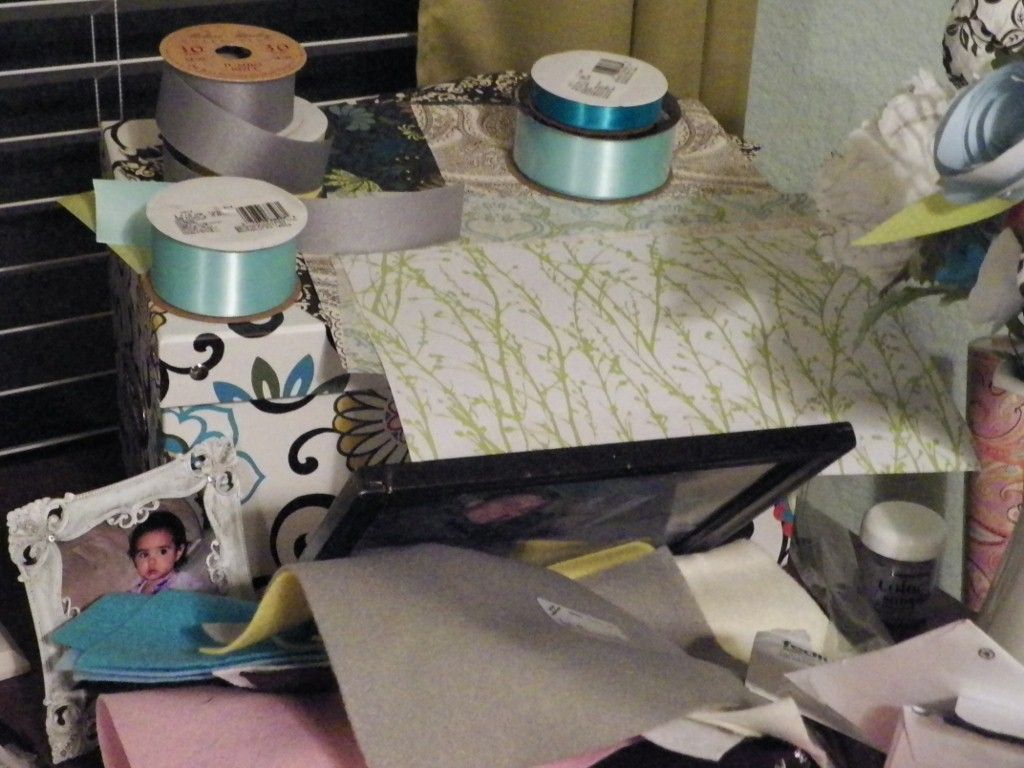
ribbon hiding in my desk

a certain 3 yr old was messing with my paints
my crafts puked on my desk
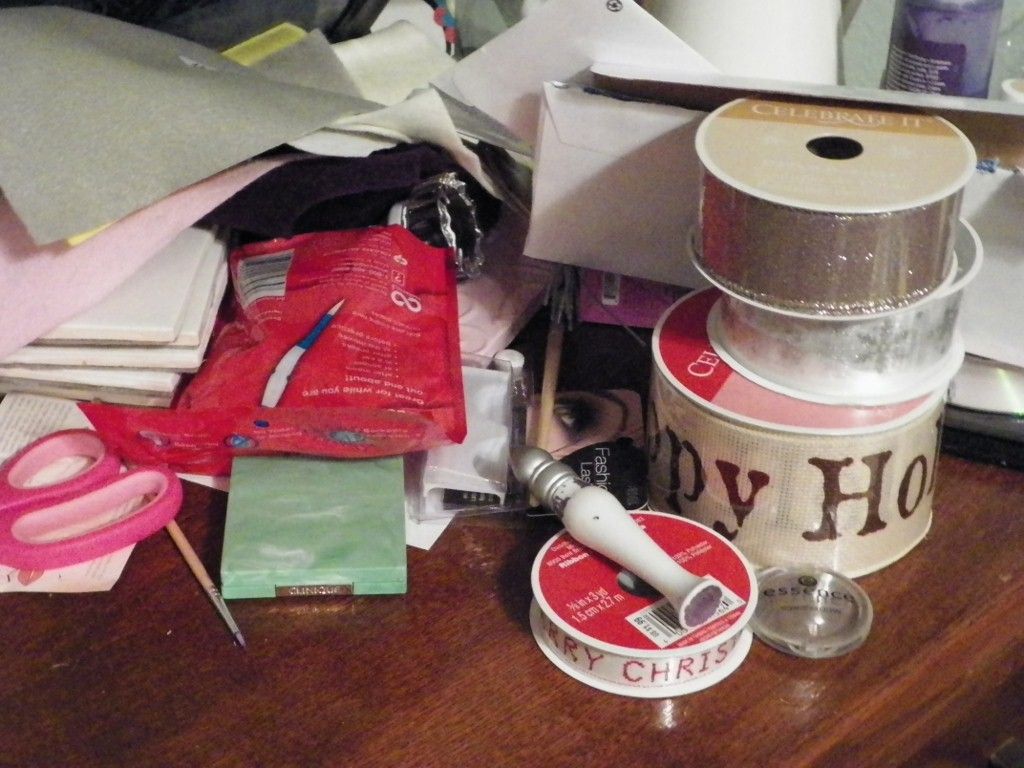
my craft box was overflowing
I had no idea what all I had hiding under all the ribbon

rolls of wrapping paper spilling out of this tiny basket

thank you card collection stuffed in a drawer
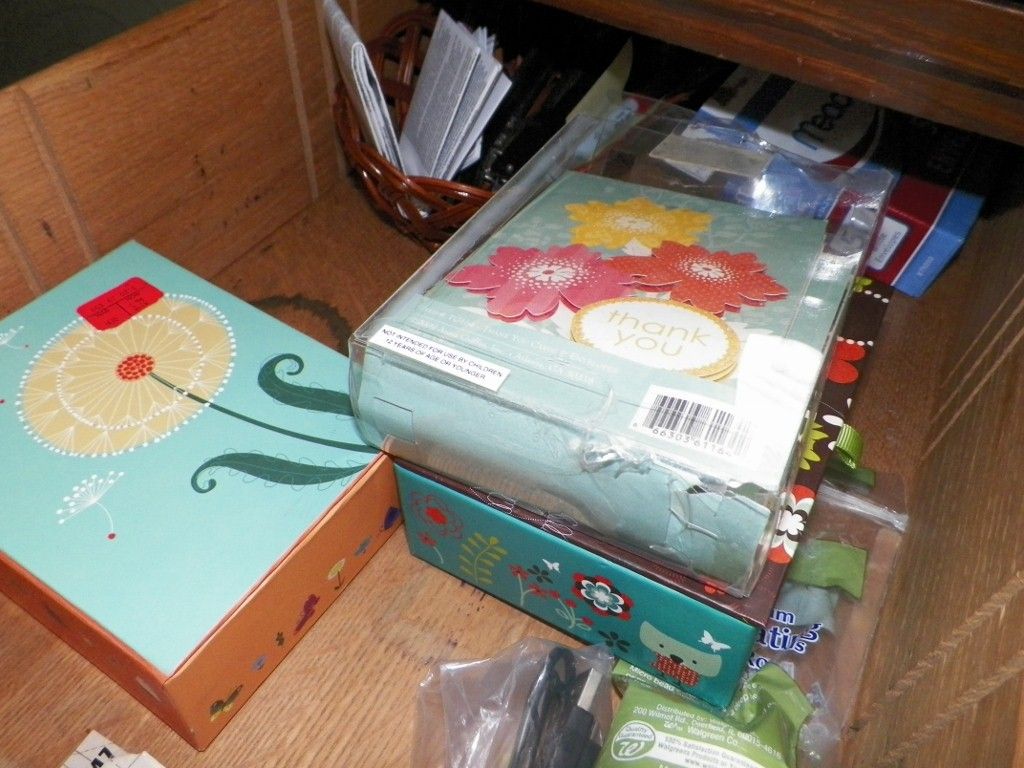
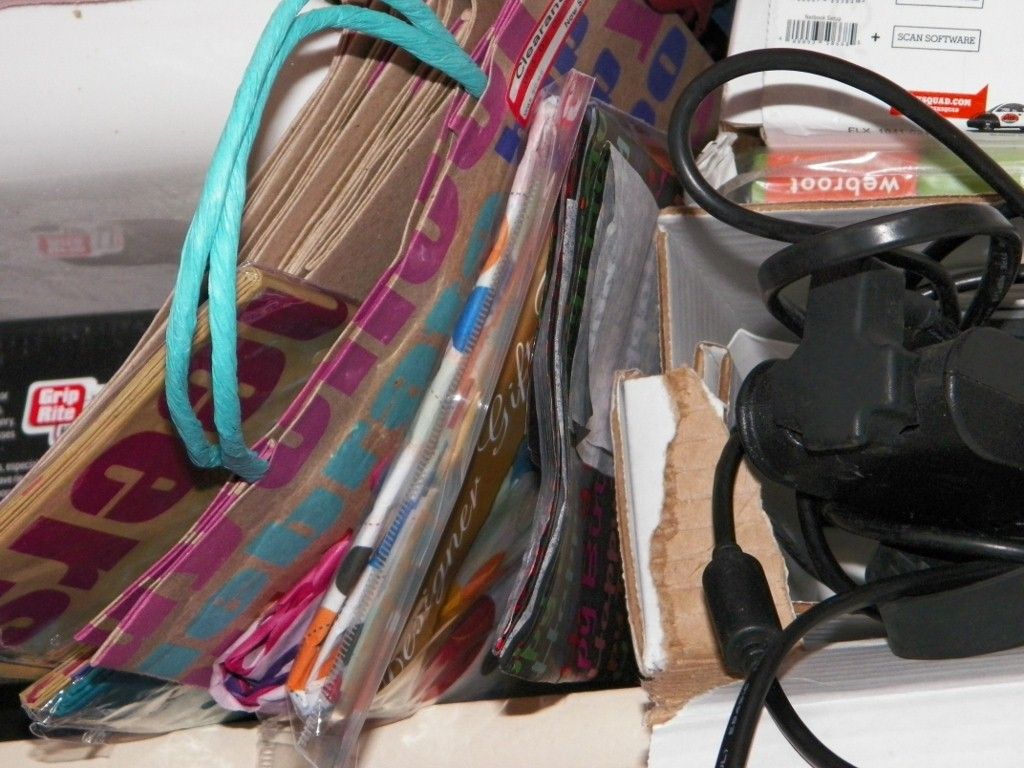
gift bags cluttering the coat closet

Get the picture? Ahhhhh, so that's why this blog is titled Chaos in My Casa!
Everything was scattered, and I had no way of knowing what all I had because it was a big ole mess.
Then I came across Cassie's tip about the 25% sale on Elfa products at the Container Store. It was a revelation. A few days later I happily made my way over there to pick up supplies.
Then I went to Louisiana. I told you I put all my projects on hold! I can't even tell you how badly I was itching to come home and put this baby together. I think I even dreamt about it.
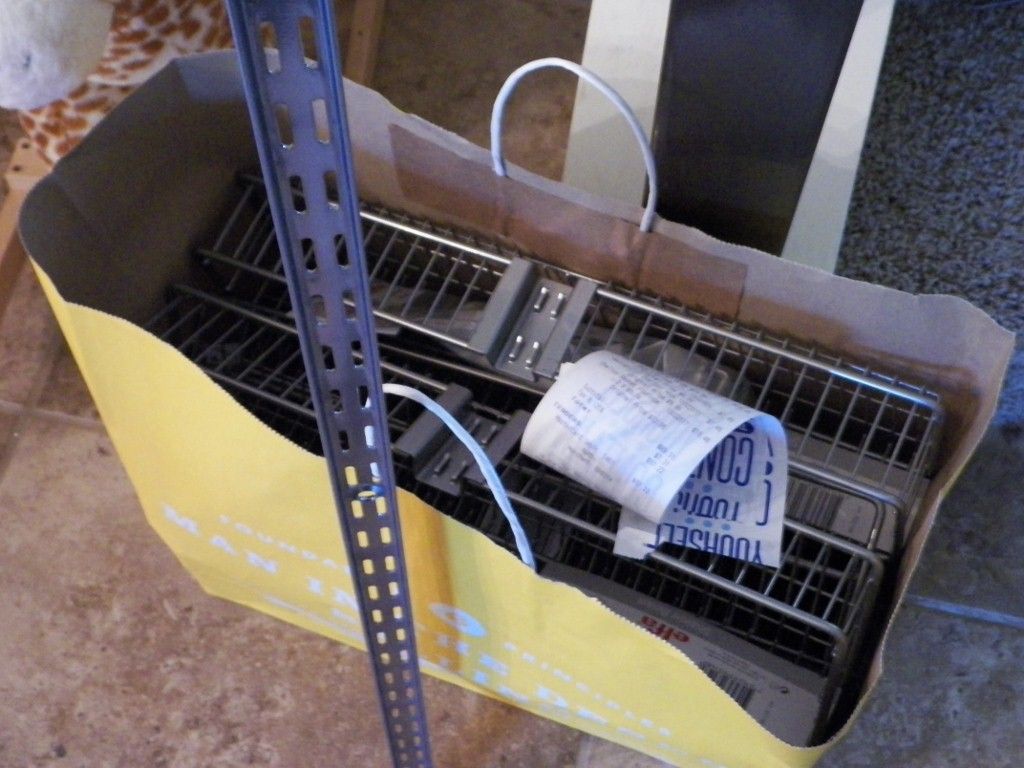
So one of the first things I did when I got home was lay it all out on the floor to figure out an arrangement that would work.
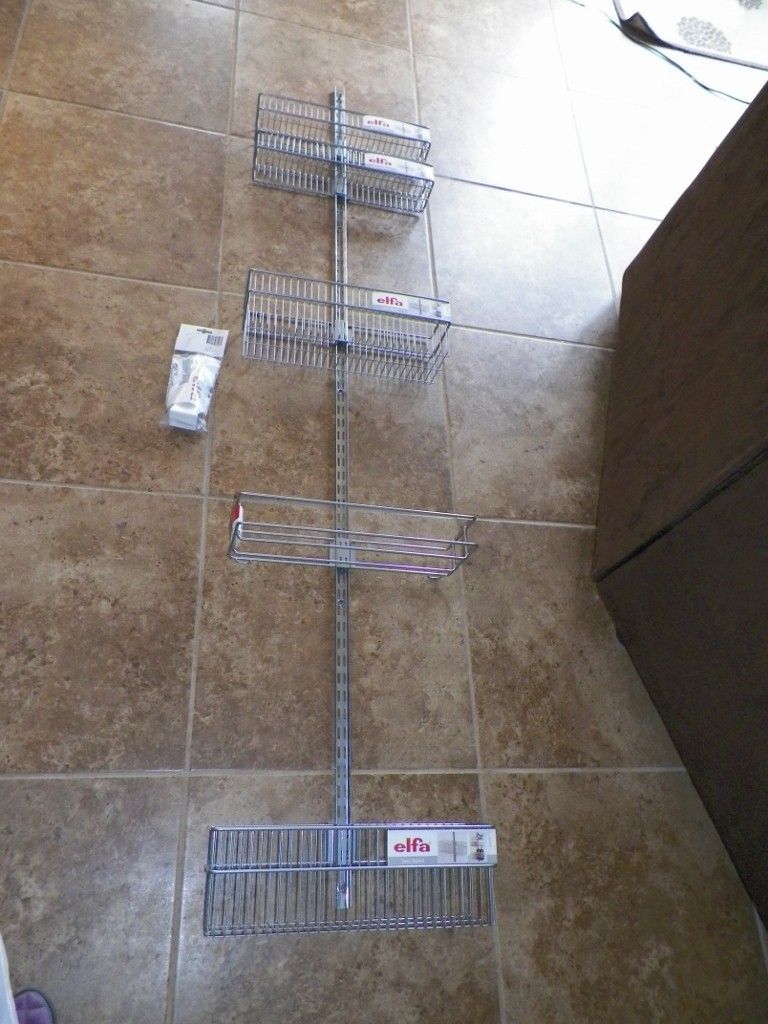
I realized that I was going to need one more shallow basket as well as the magnetic strip with containers, so I went back and picked them up while the sale was still going.
I went with the magnetic tins package instead of buying everything individually. It was cheaper this way.
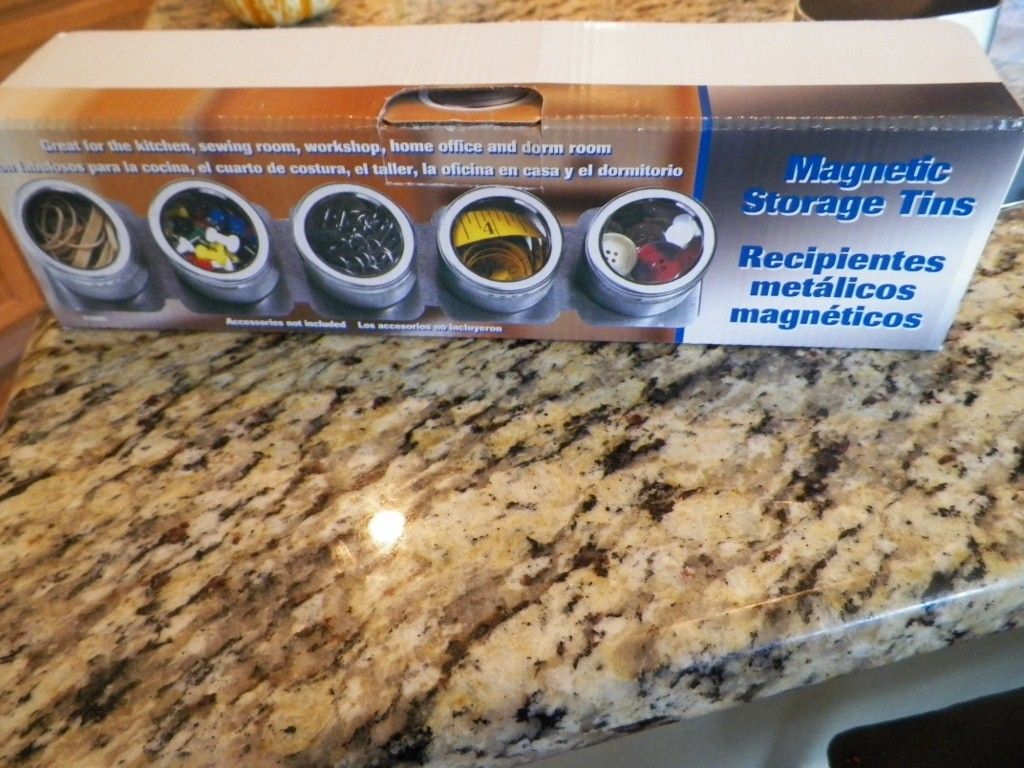
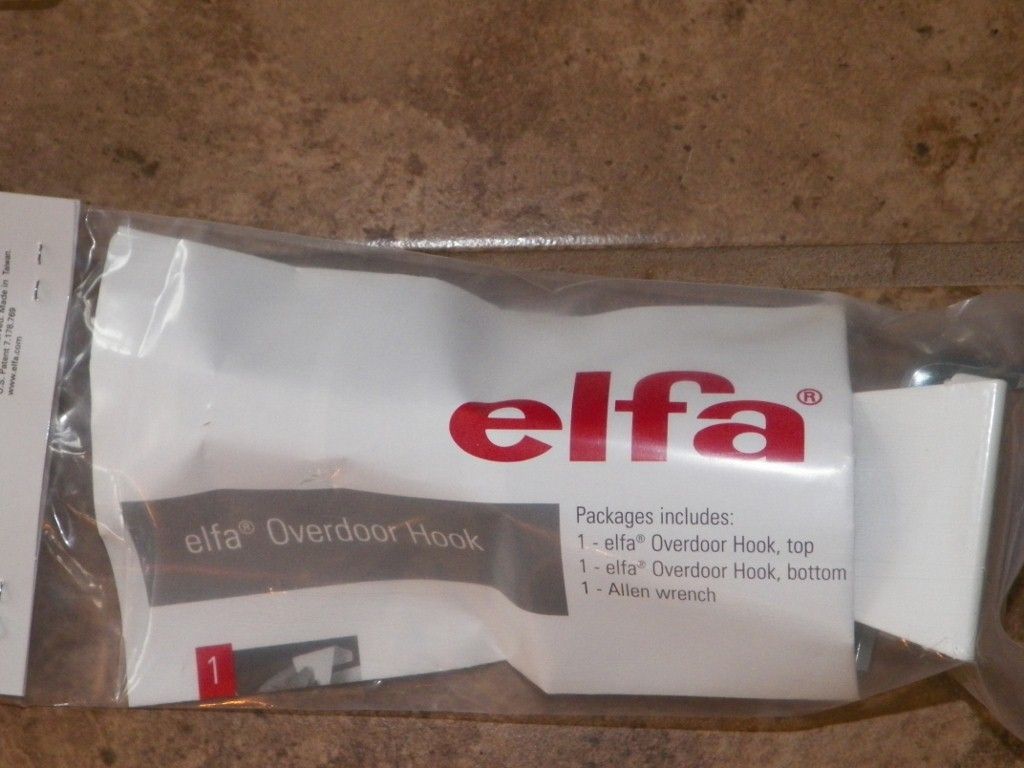
This is what comes included:
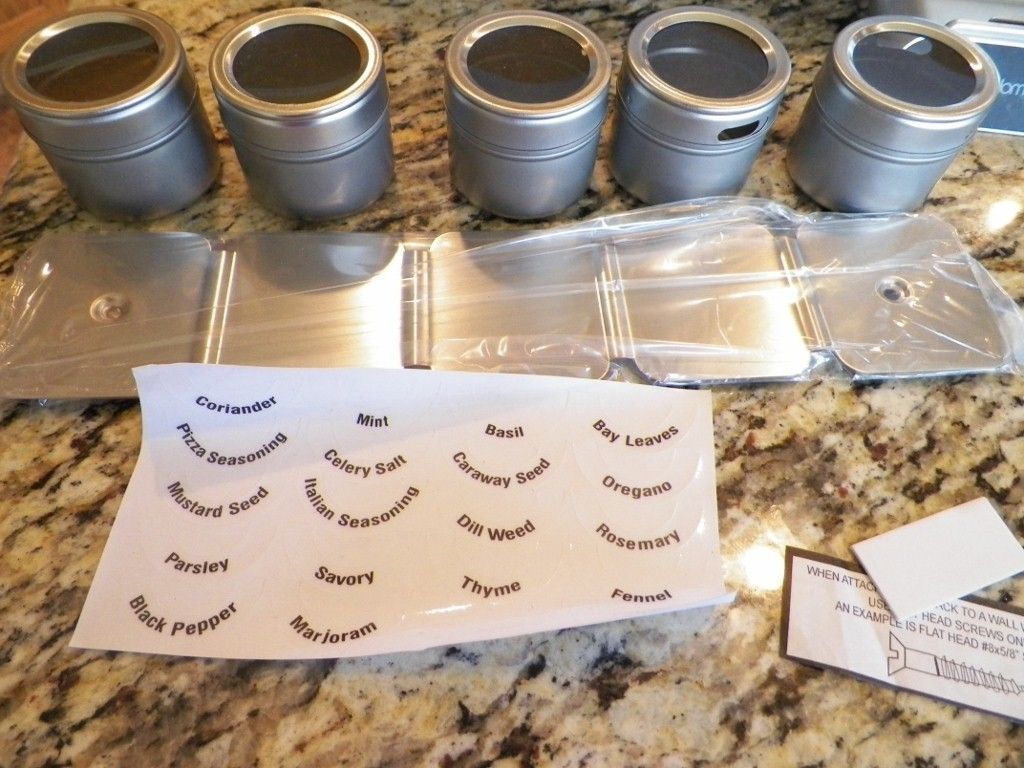
I didn't use the labels since I wasn't planning on using the containers for spices.
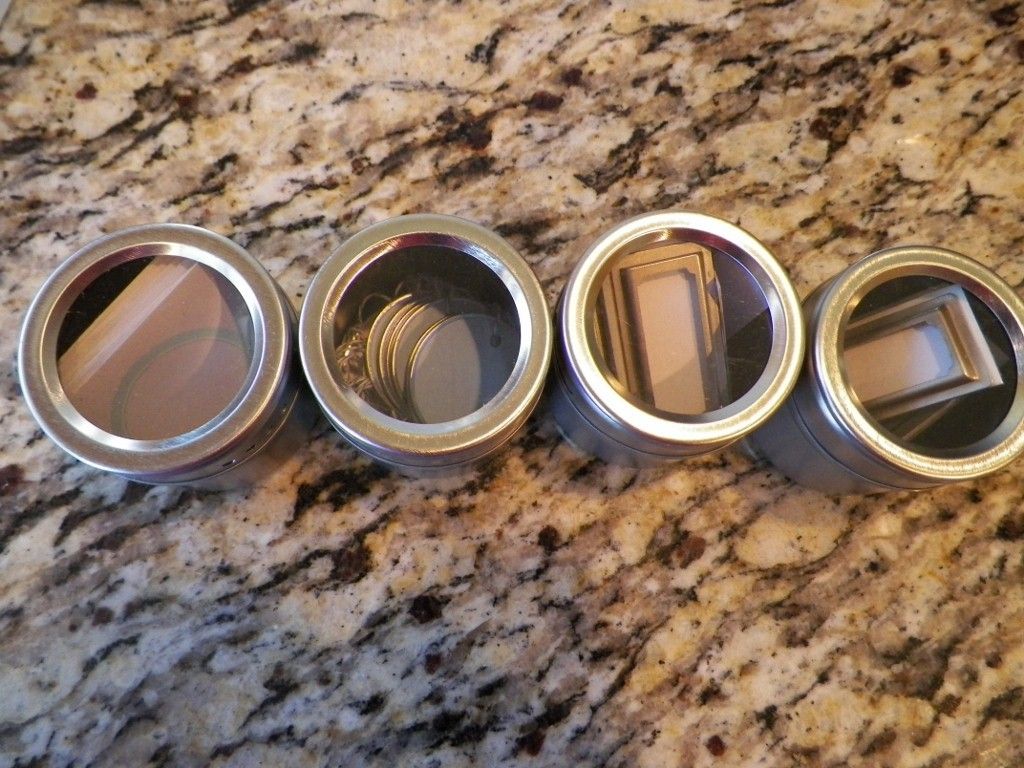
I used it to house all of my Martha Stewart labeling stuff:
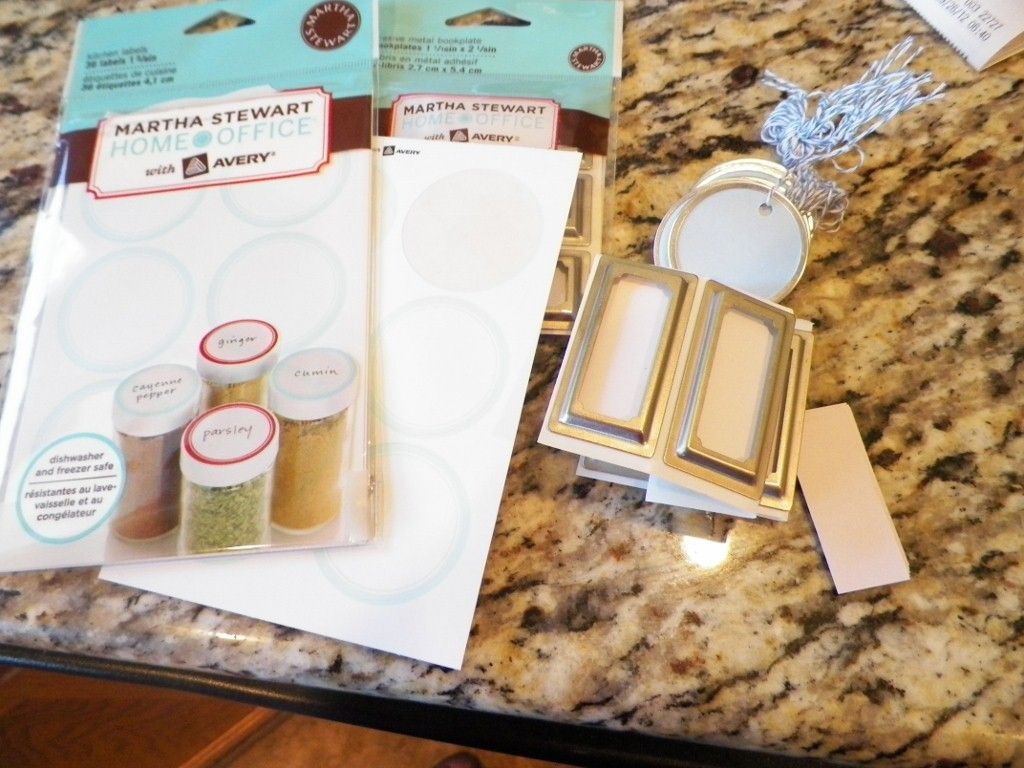
Perfection....
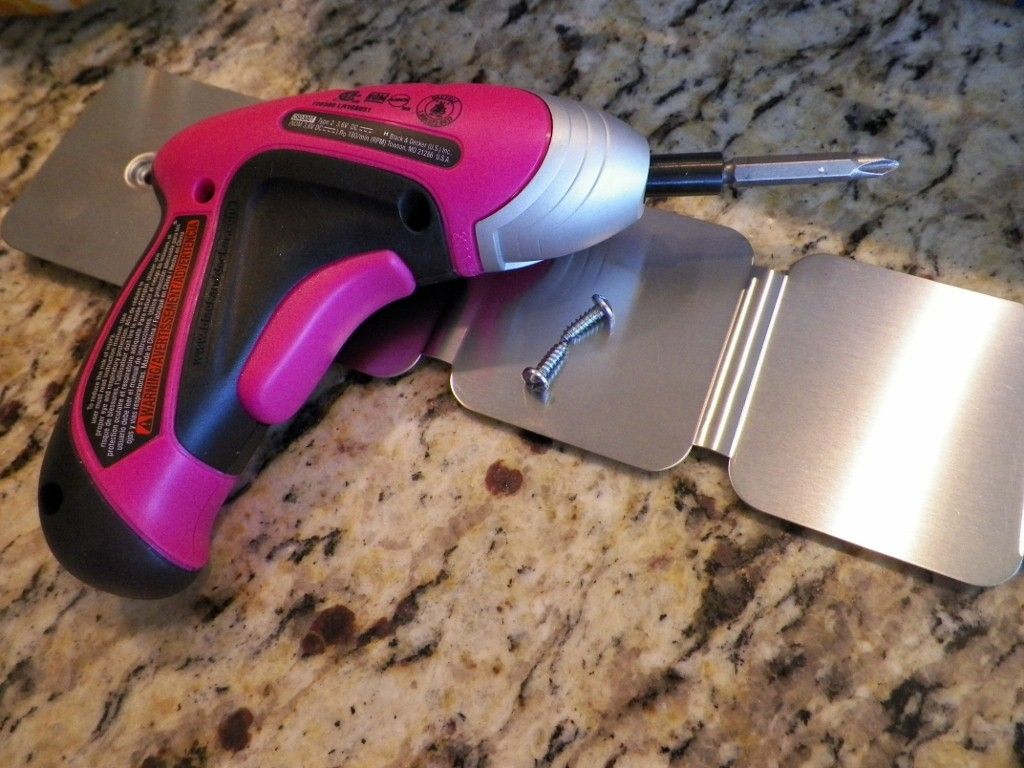
All you need to hang the strip is a screw driver and some screws:
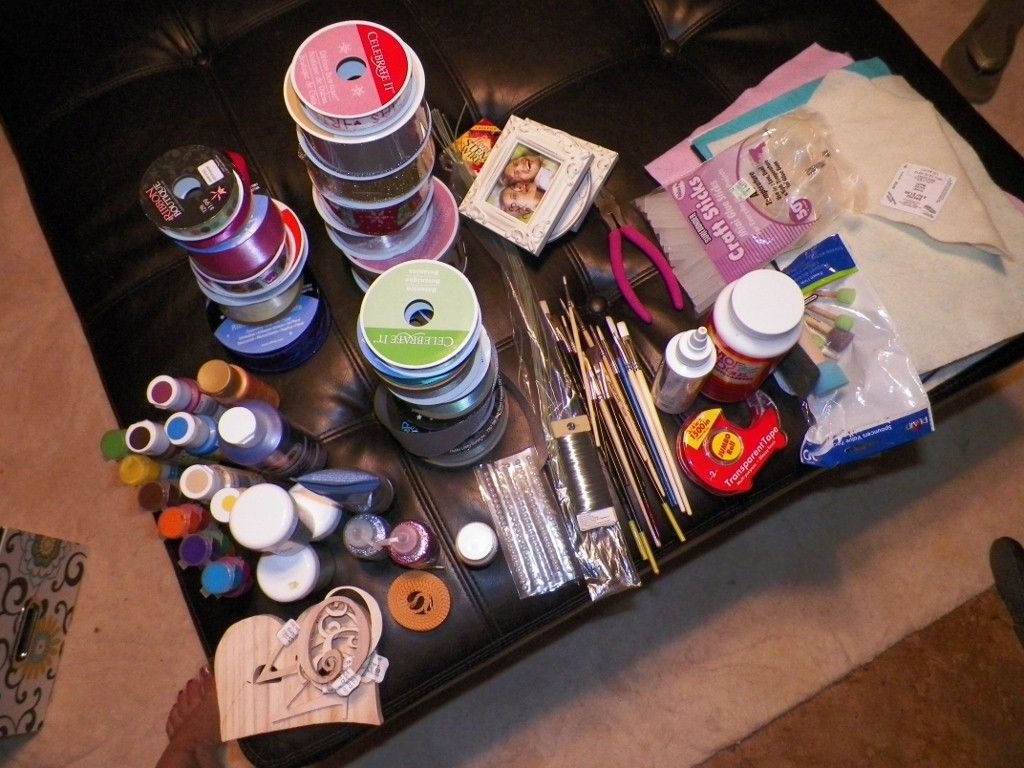
Next I took everything out of my craft box. I grouped similar items so I could plan out where I was going to put things:

(Wrapping paper, bags, cards etc, not shown)
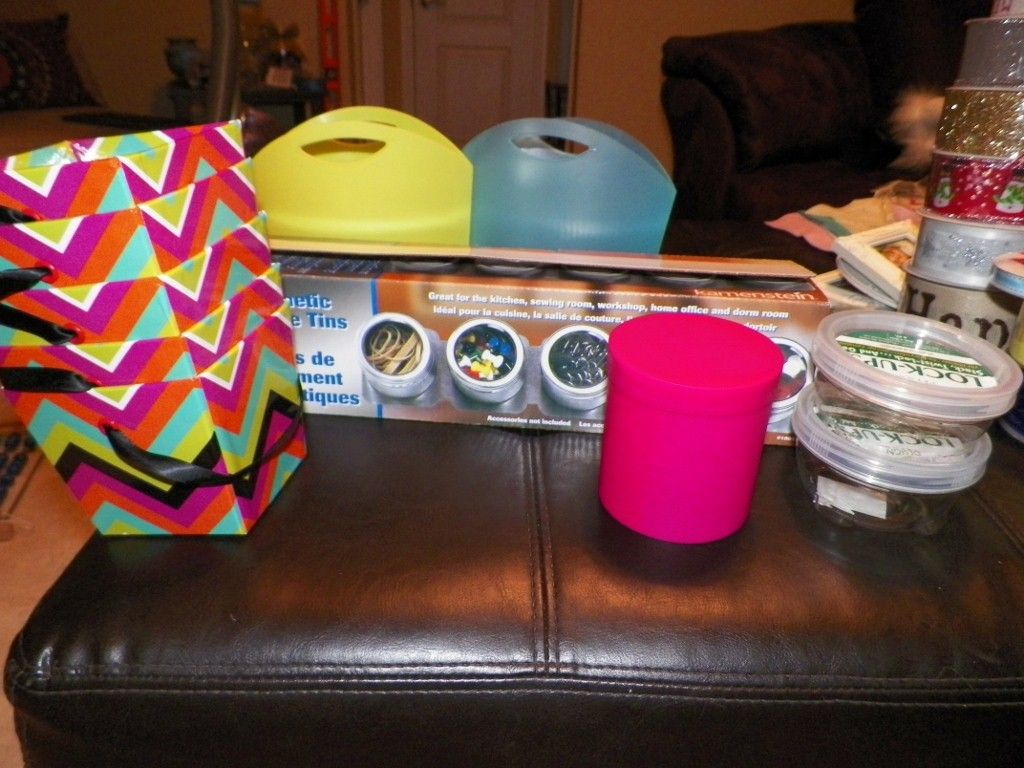
Once it was all grouped, I figured out I would need containers to hold my brushes, small paints, spouncers, buttons, etc... I didn't want to have to shop around and guess as to what buckets or boxes would fit inside the elfa shelves, so I just used the same adorable chevron boxes that Cassie used. They're from Michael's.
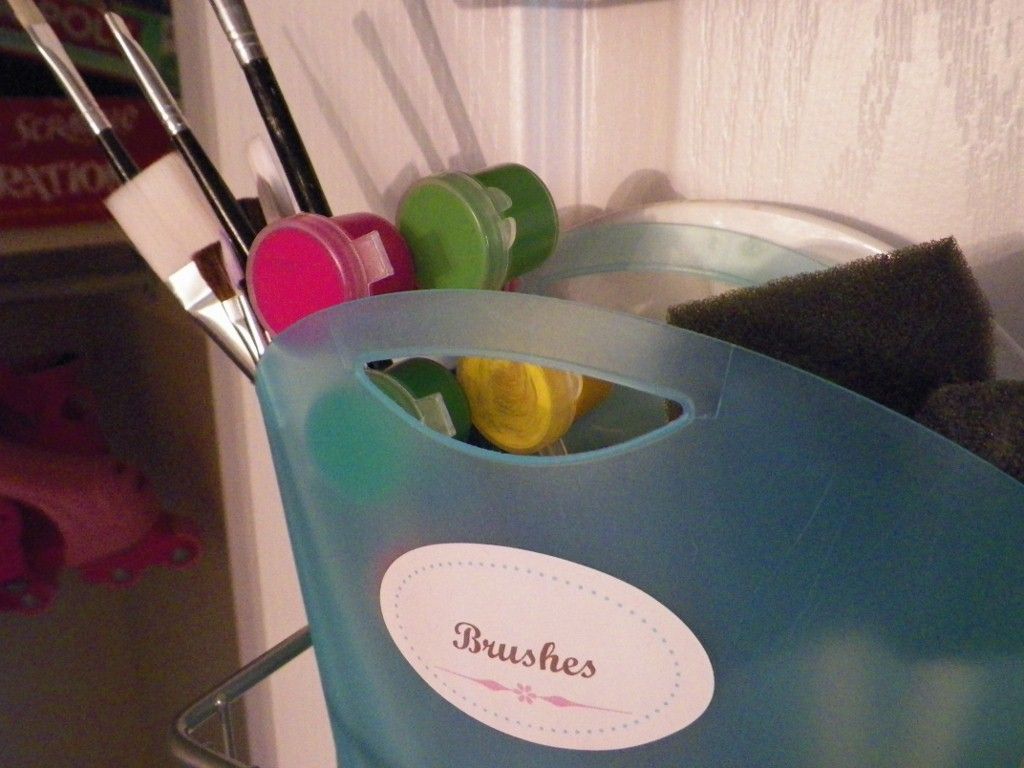
I also picked up this cute pink container and the blue and green plastic mini totes at Michael's. I think each of these items was $1, so it was very affordable.
Next step was putting it all together. Since I sew and craft in the dining room, I decided to hang the system in our coat closet. It's the only closet downstairs other than the pantry. It's also on my organizing to-do list, so it was perfect:
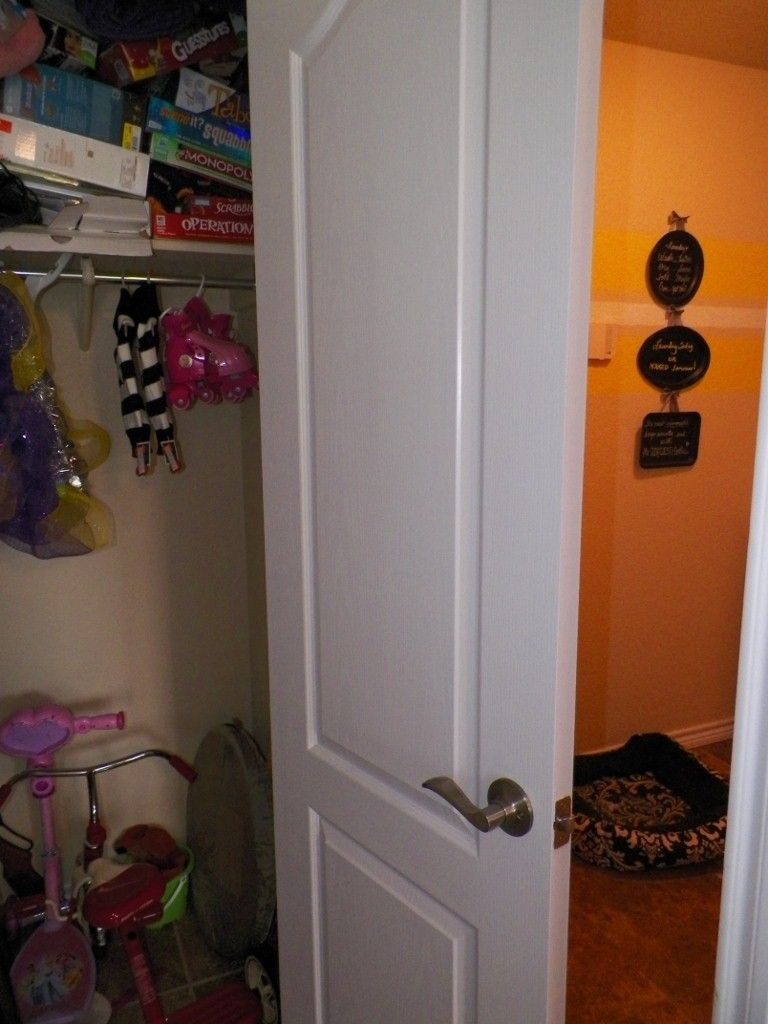
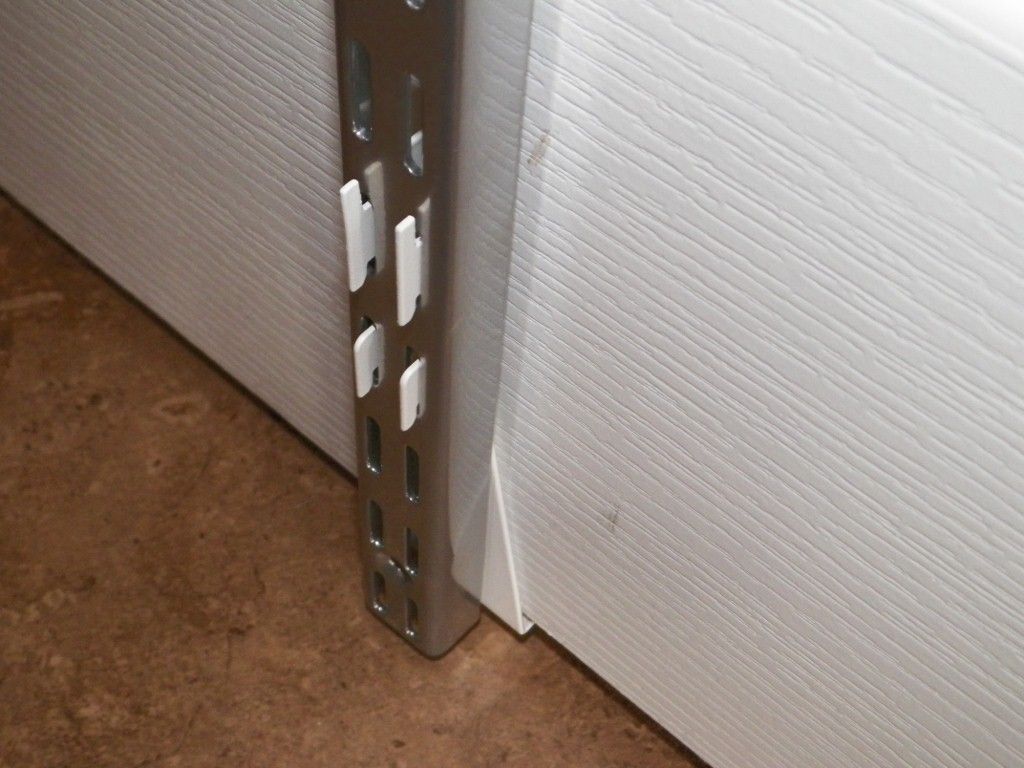
You can either screw the system into your door or buy the door hanging hook kit. Since my doors are new and I'd like to keep them that way, I opted for the hooks. You can choose silver or white. I went with the silver system and white hooks, which is what Cassie recommended since white blends in with your doors.
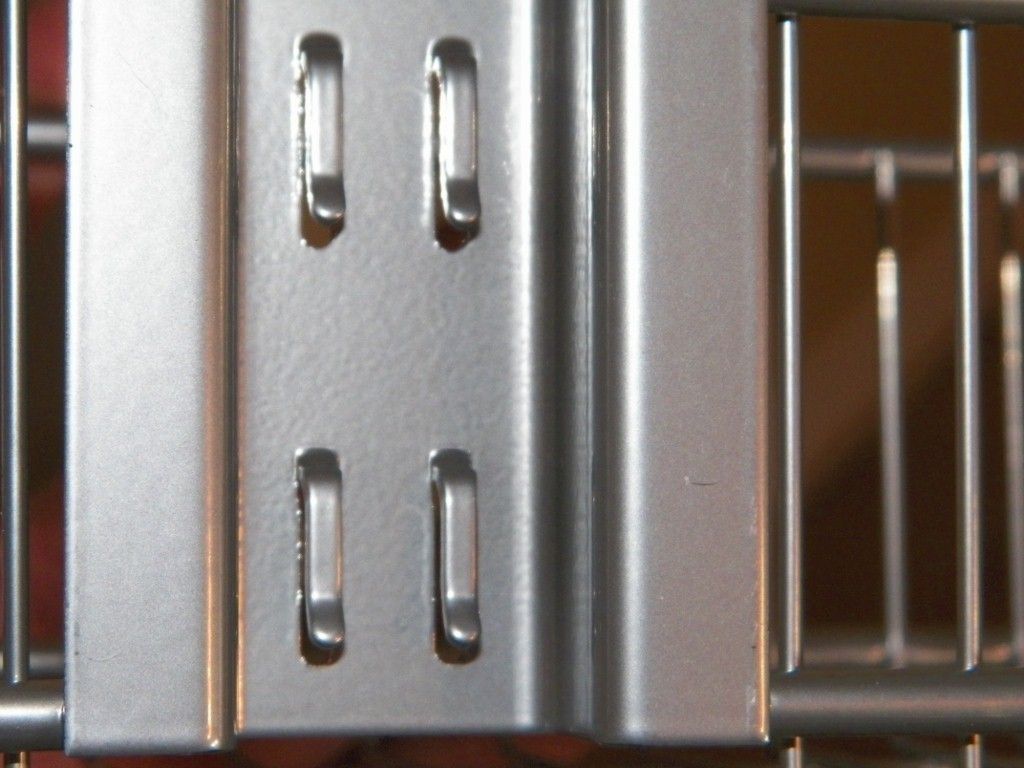
The system is very simple. It's basically a rack with holes and each basket has tiny hooks that hook into the holes. That's it. Seriously. Whoever invented this is a genius.
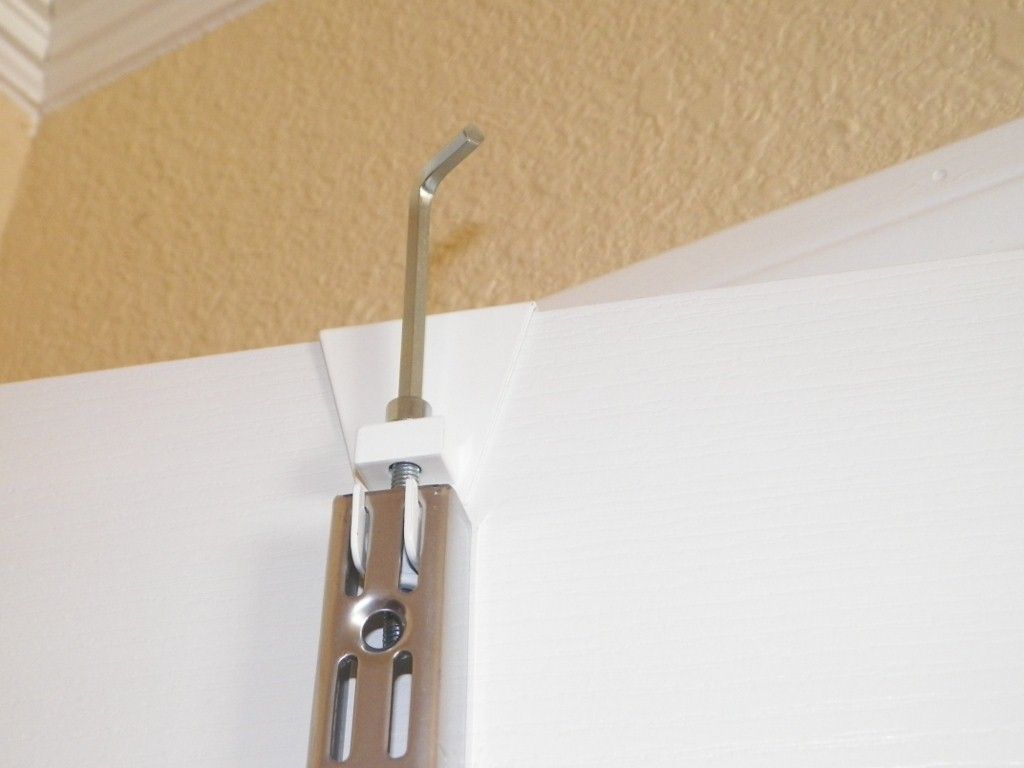
I started by putting up the top hook.
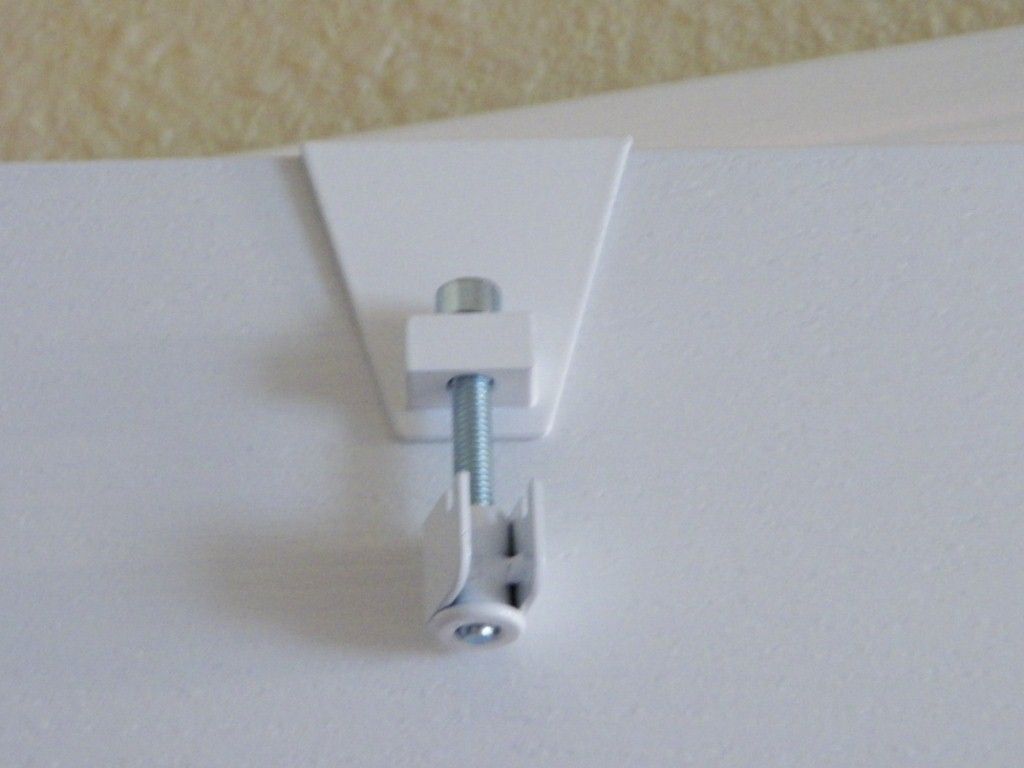
This is all you see when the door is closed:

Then I added the bottom hook, which isn't even noticeable from the back.

Then all you have to do is hook the bar onto the door hook on top
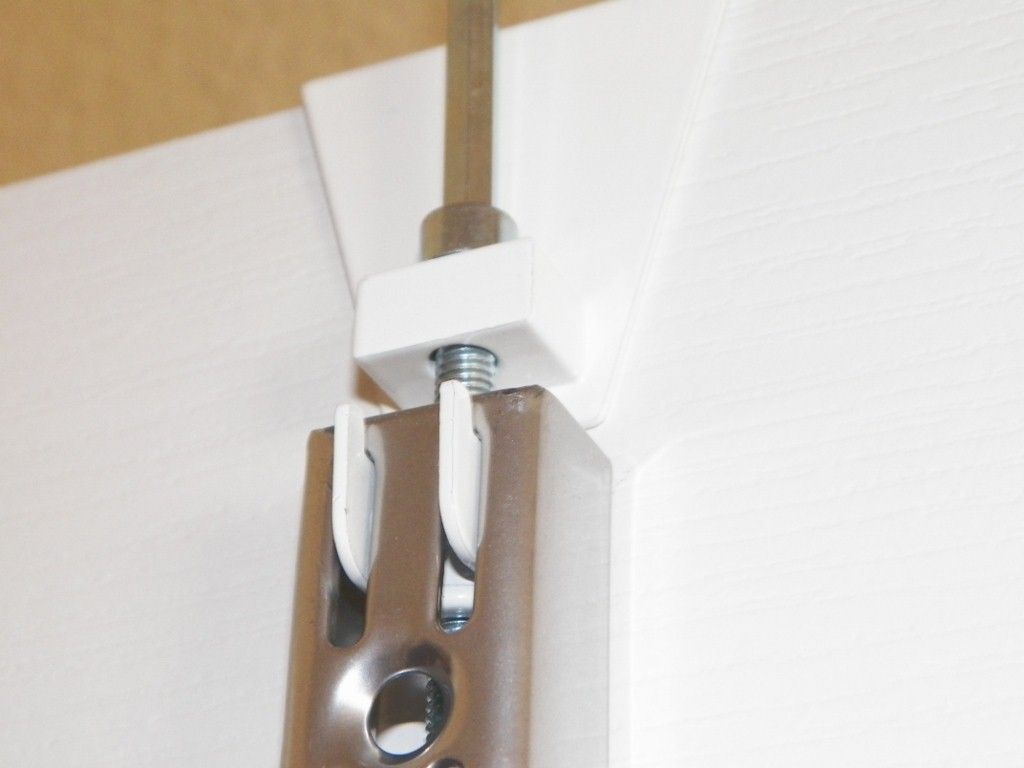
and bottom
Easy peasy lemon squeezy! Fo real!
Once the bar is hanging, you just use an allen wrench to tighten it up to the right height.
Now I could add my baskets:
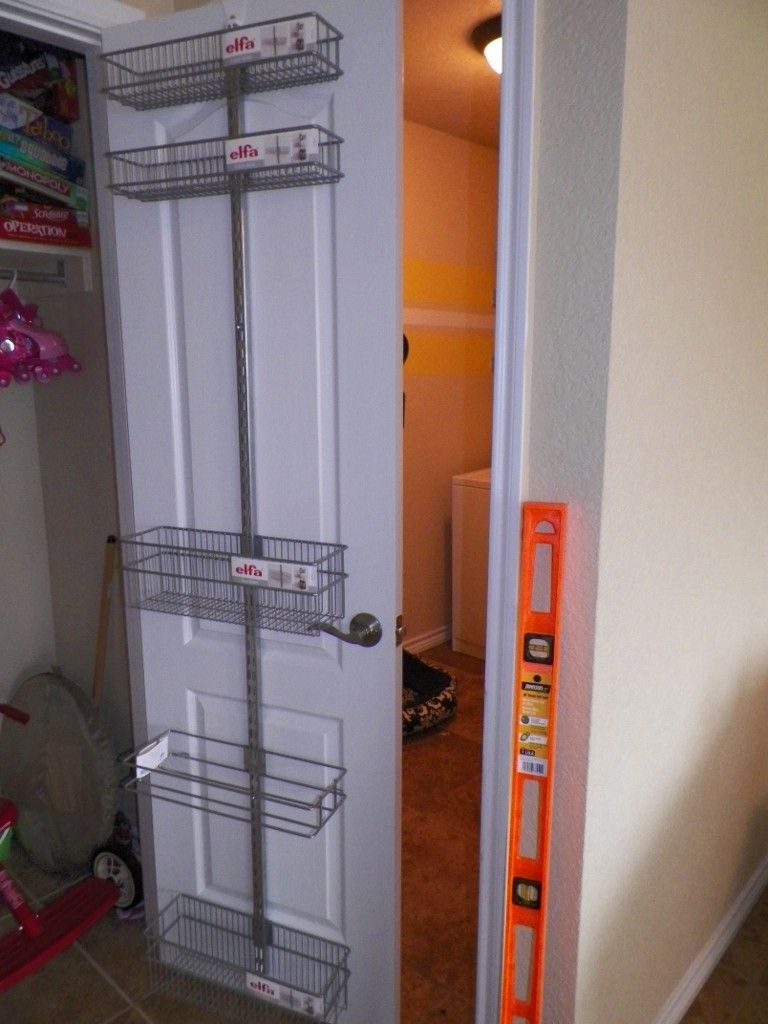
Awww suki suki! I was beyond excited.
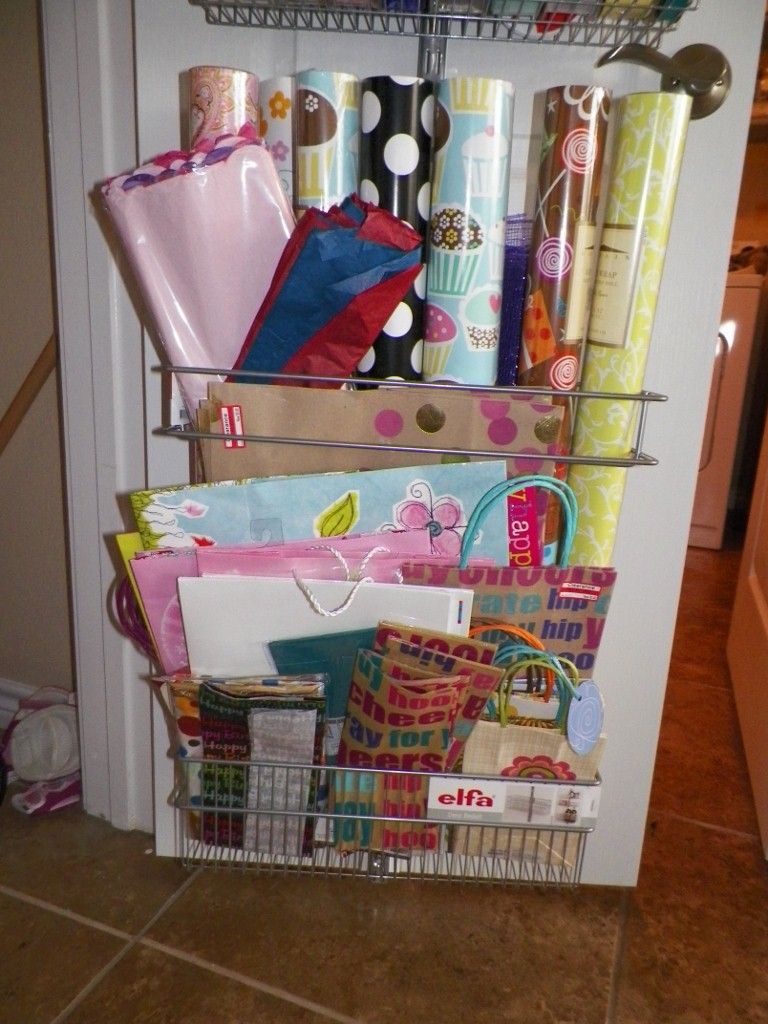
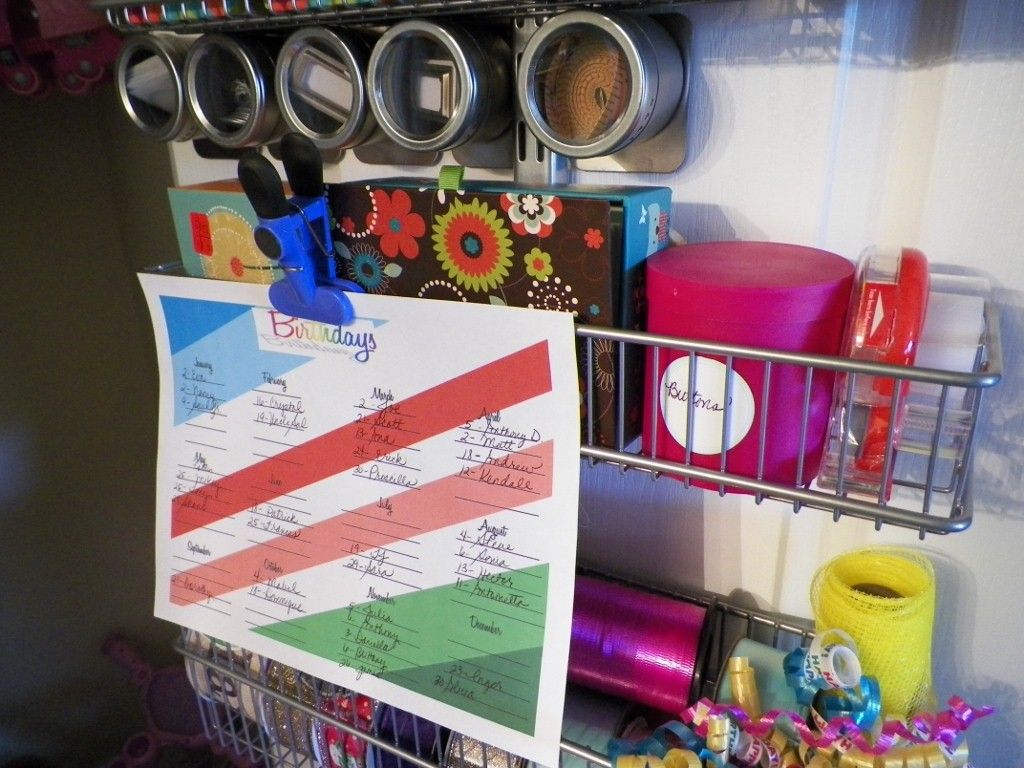
Here is how it turned out once I added all my junk supplies:
Whoa!
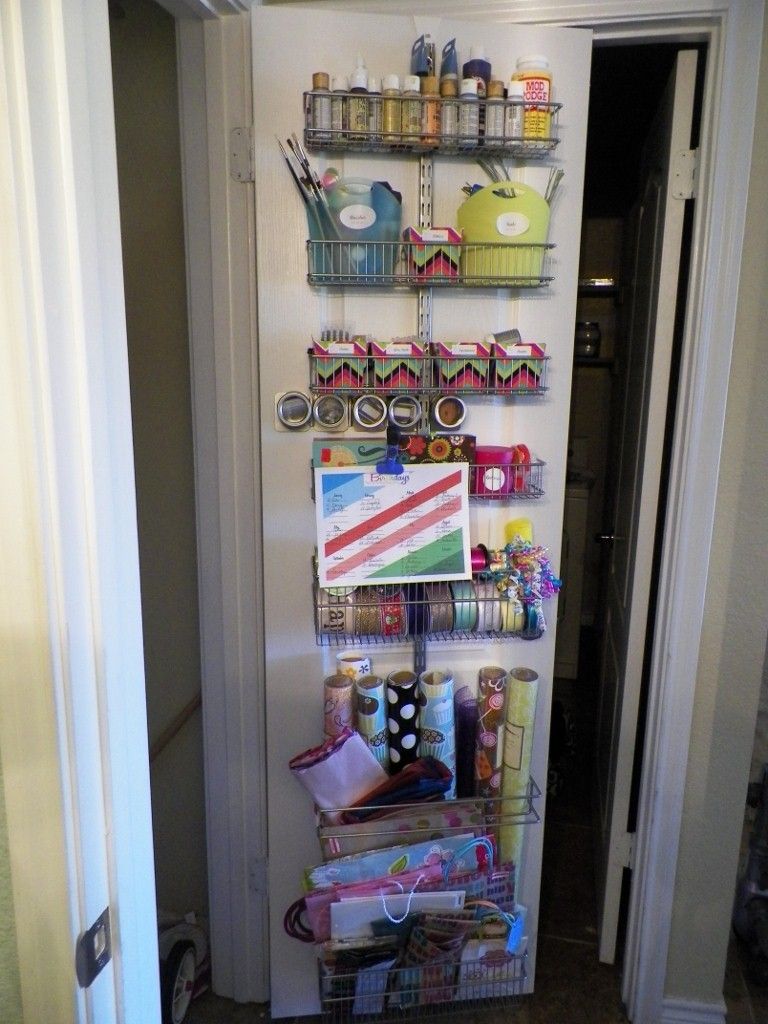
Here's a break down:
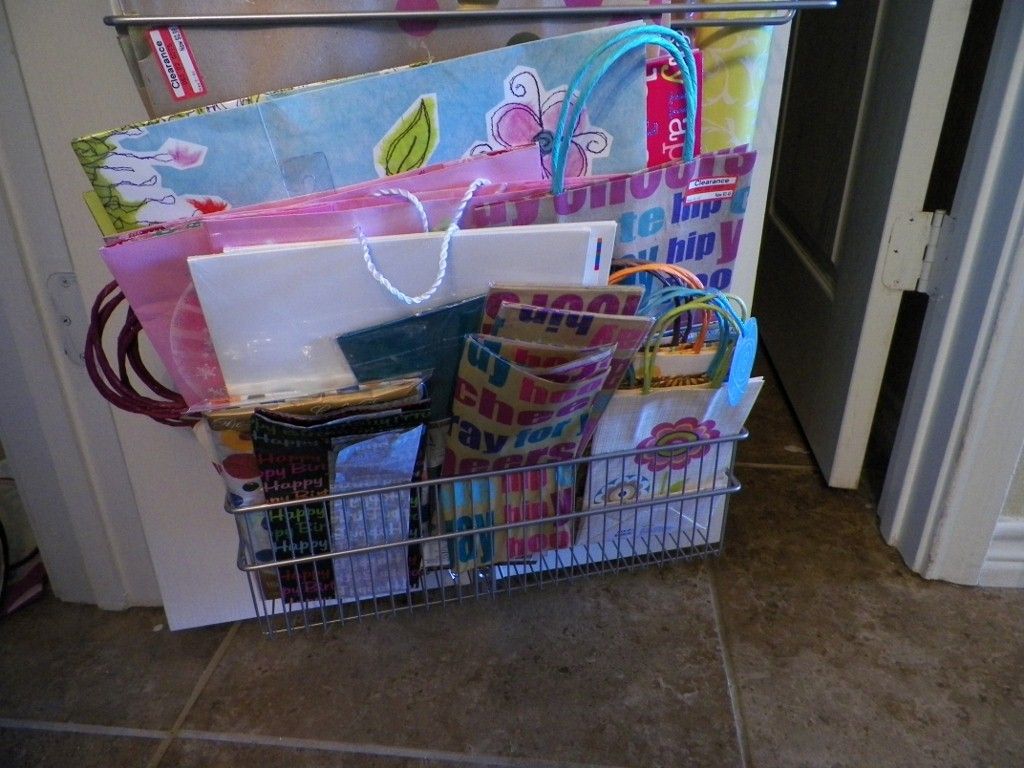
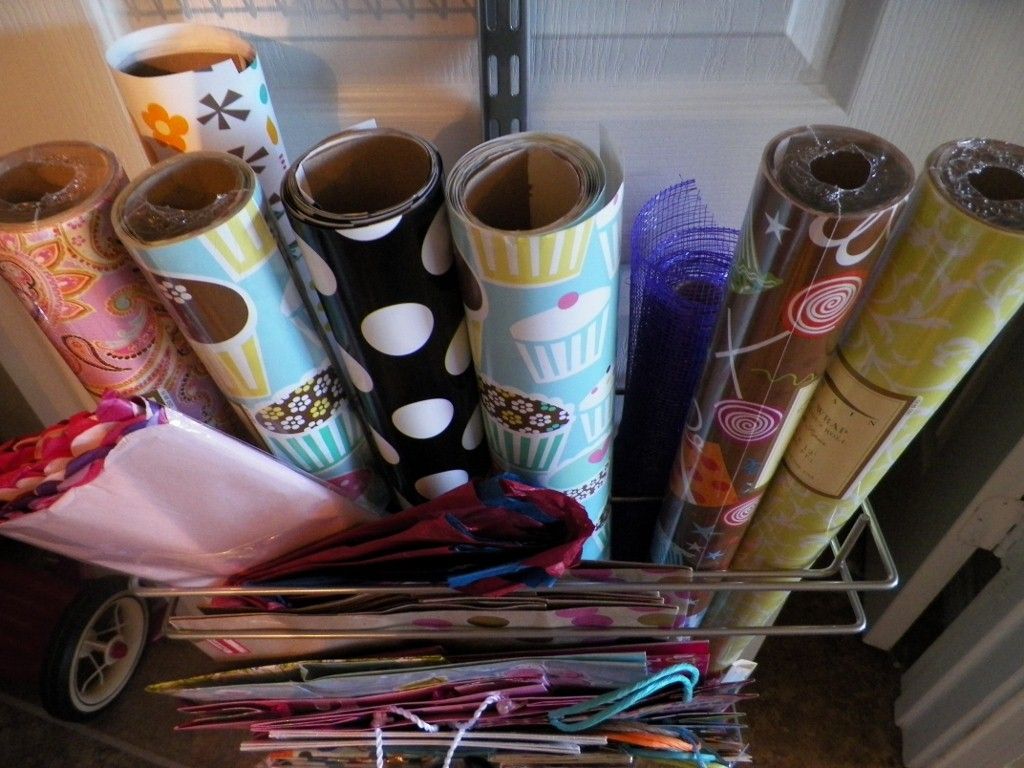
I used a media rack and deep basket to hold all of my deco mesh, gift wrap, bags, and tissue paper. As you can see from all the red clearance tags, I like to stock up when I find things marked down.
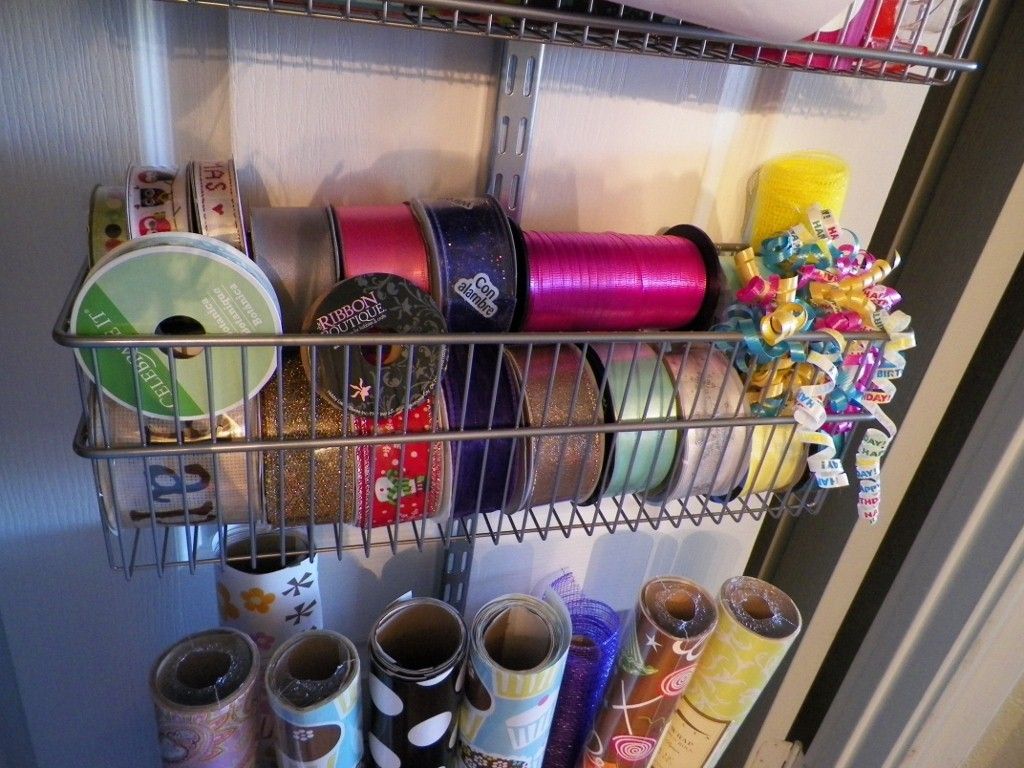
Another deep basket holds all of my ribbon:
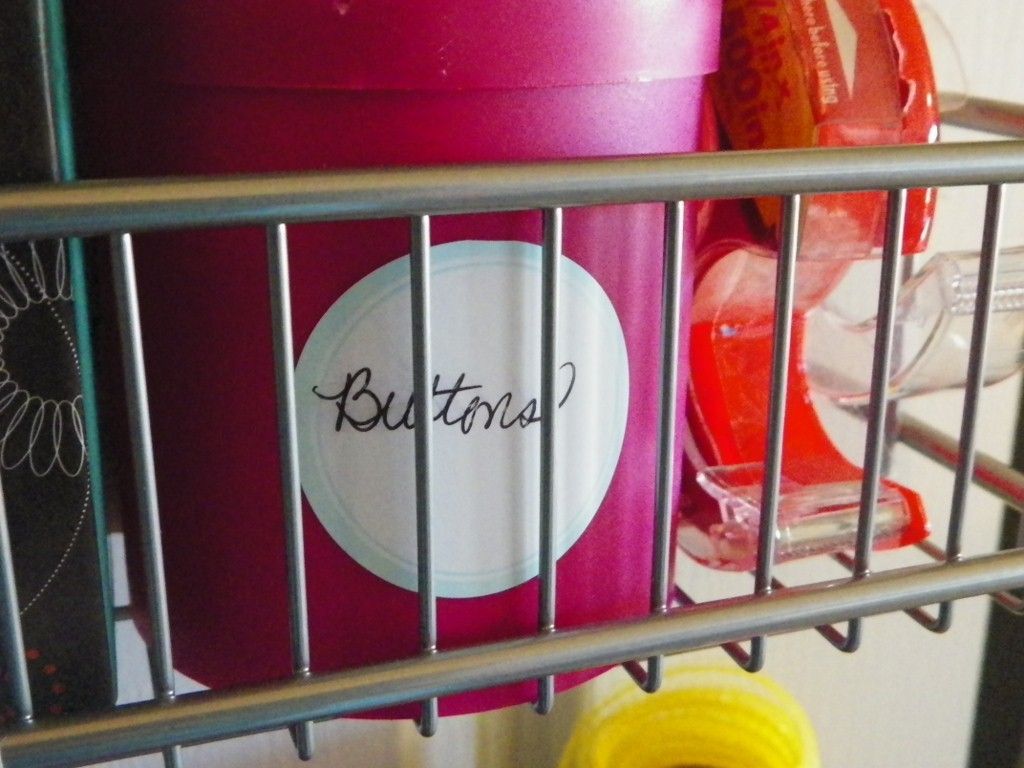
Above that is a shallow basket. This holds my thank you & blank cards and envelopes as well as my tape and the pink container for buttons.
I just used a stick on label for it.
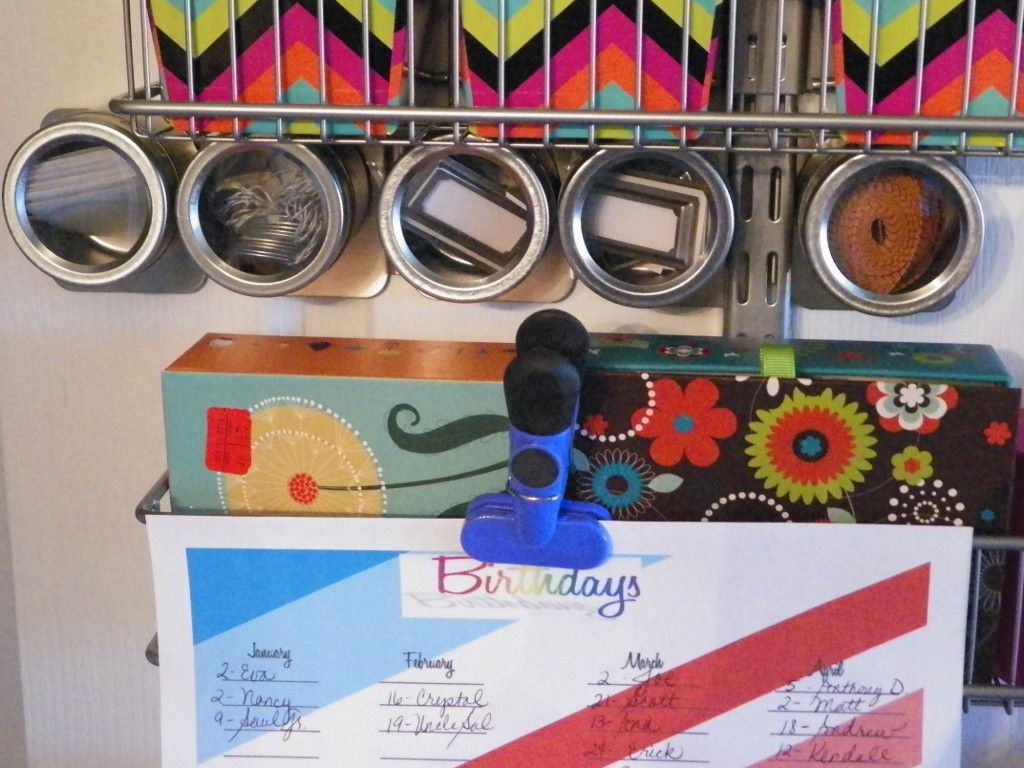
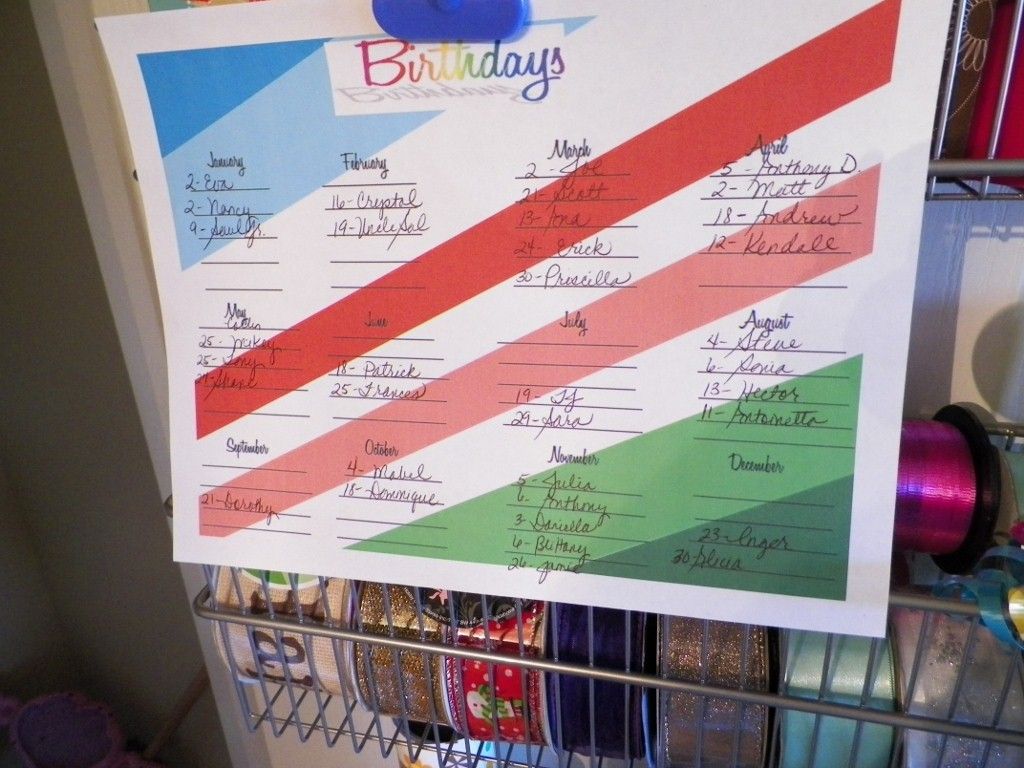
You may have noticed the birthday list. I created my own one night while watching a movie. It's similar to Cassie's, except mine is strictly birthdays. If you would like a copy of it, let me know and I'll figure out a way to share it with you, just be forewarned, it is not perfect, just something I threw together:
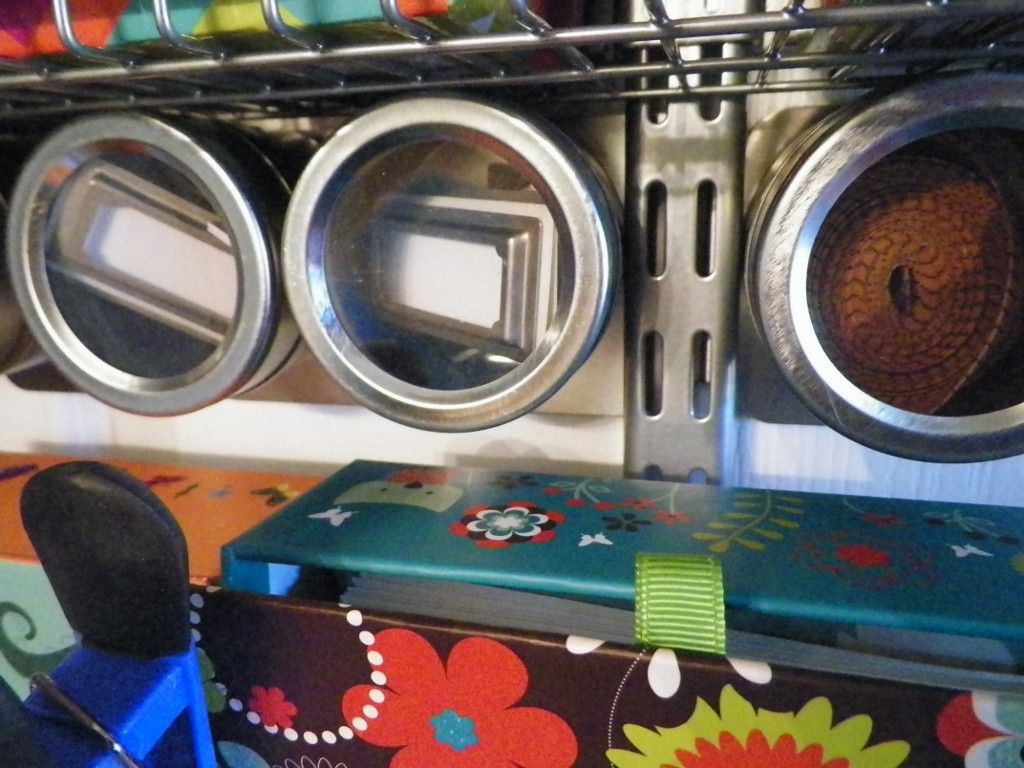
Above this basket is the magnetic strip with containers:
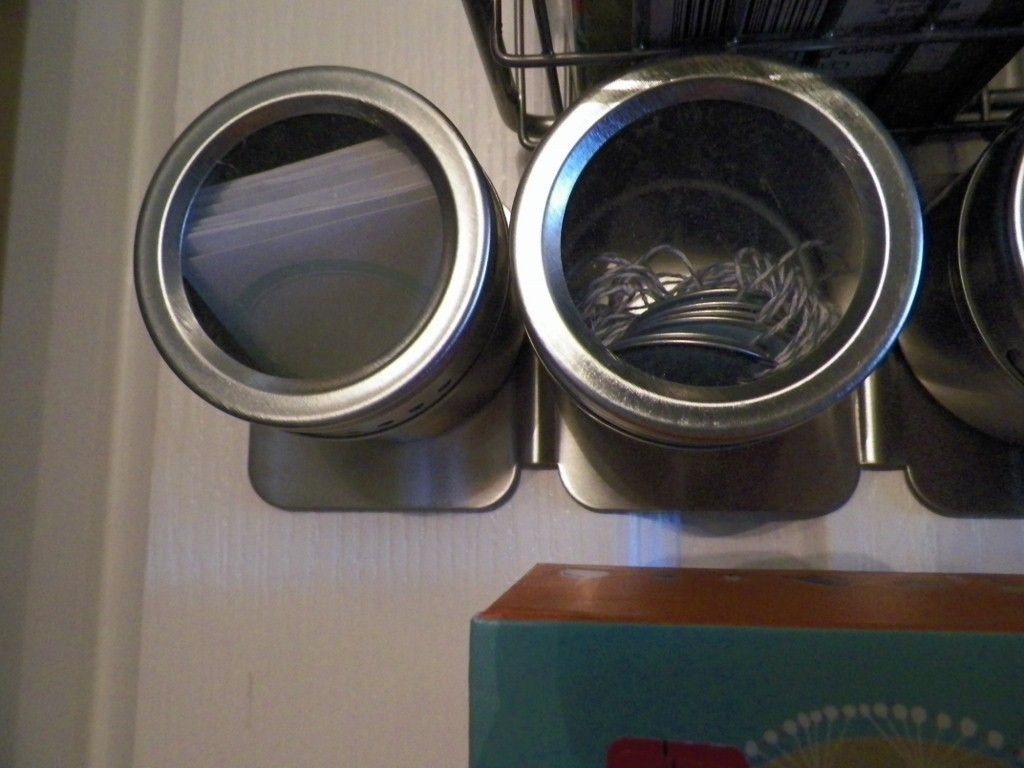
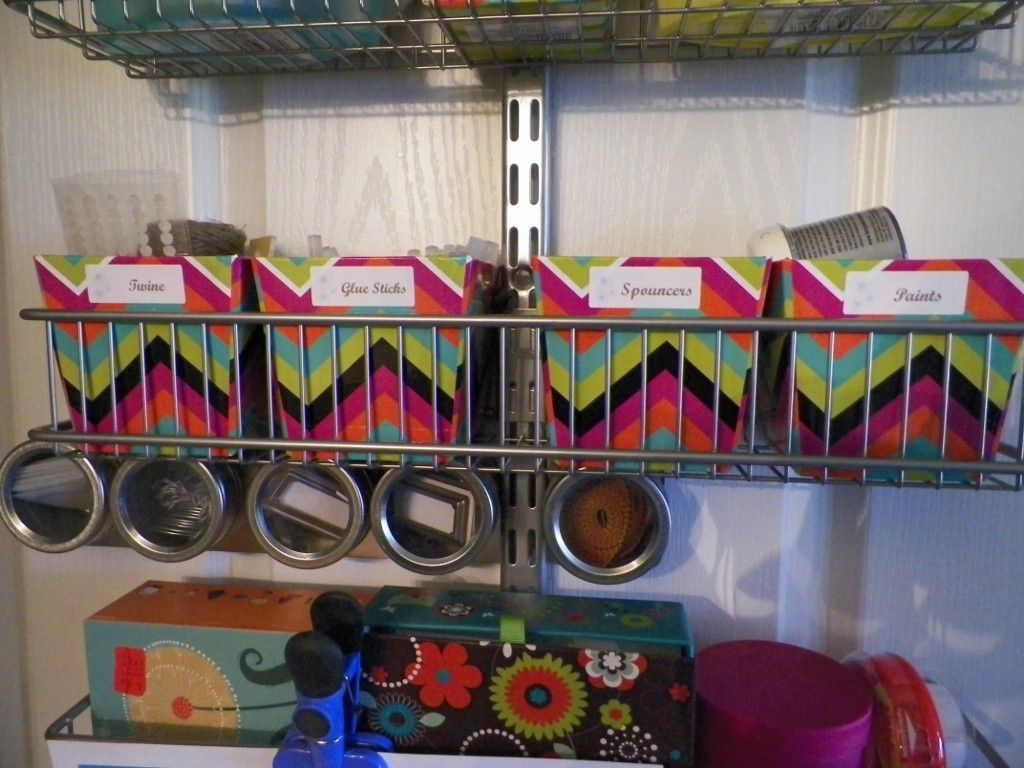
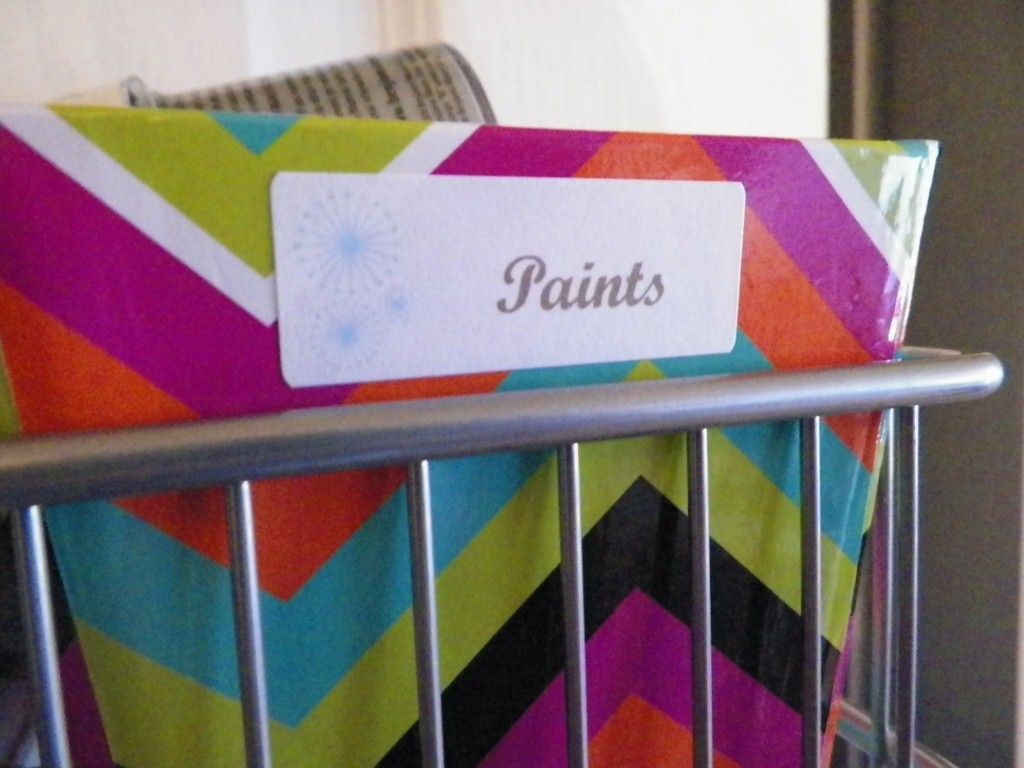
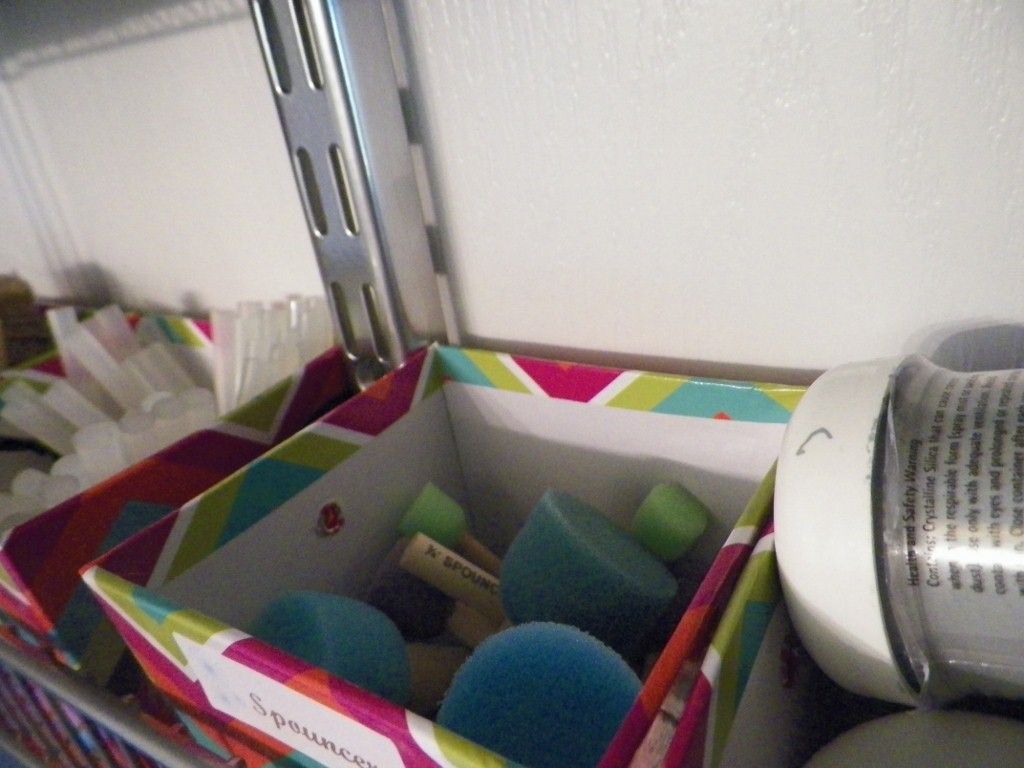
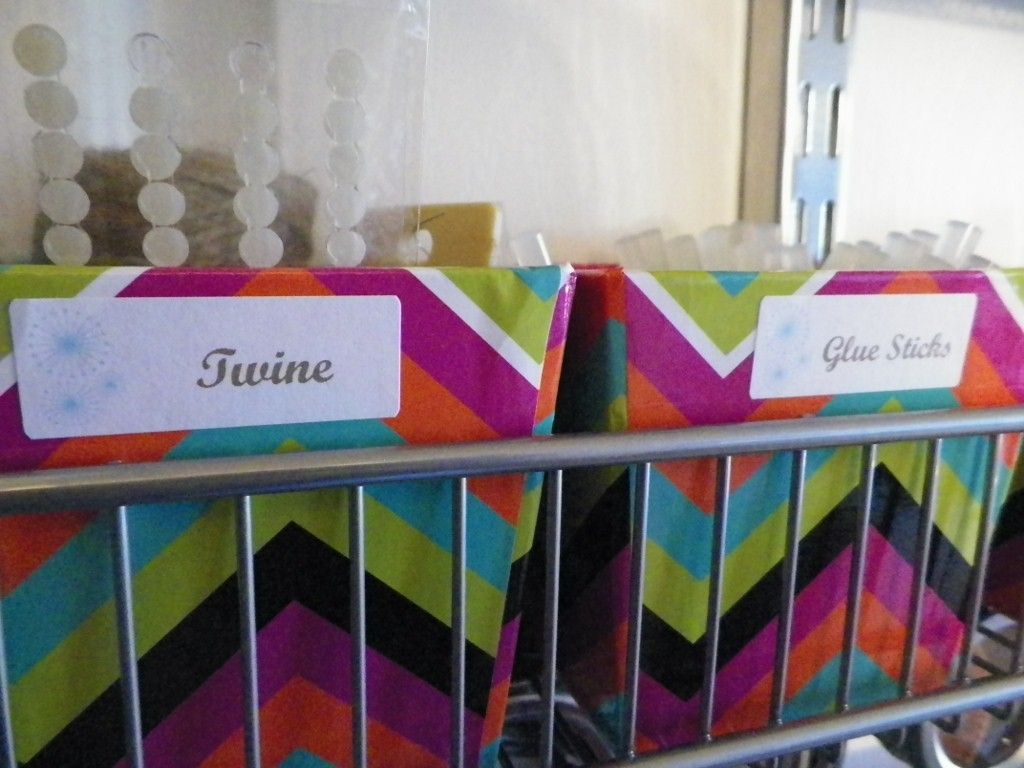
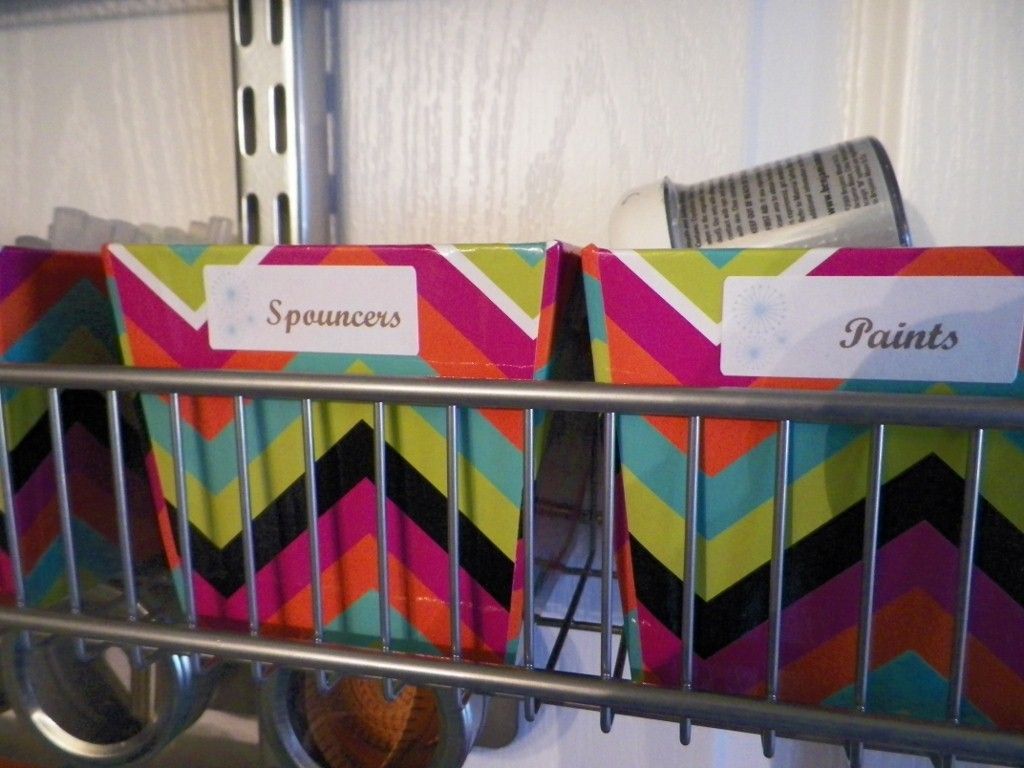
Next row up I have another shallow basket containing the chevron boxes. I printed a label for each one using Avery mailing labels. They have free templates online so I didn't create the design myself. If you would like more info on how I made the labels, just ask, and I will do my best to answer:

I chose to put all the things I didn't want Eva to reach in the top two shallow baskets. The first holds my glue gun, scissors, wire cutters, paint brushes, etc...

I also created these labels using free Avery templates. I obviously didn't stick them on correctly because they were peeling up on the sides, oops!
Ahhh, much better.

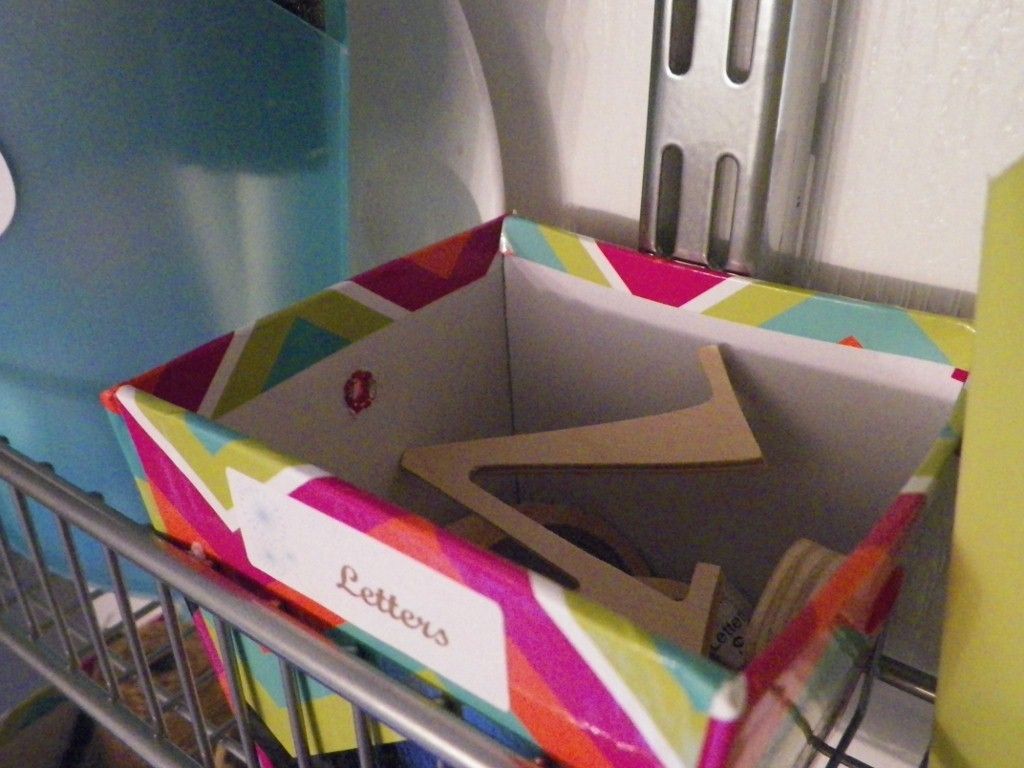
The box in the middle holds my mini wood letters:

Last but not least, the uppermost shallow basket holds my paints, fabric glue, mod podge, etc...

My craft supplies and I are happy. Okay, so inanimate objects don't have feelings, but if they did, trust me, they would be happy.

I want to thank Cassie for sharing her organization idea. I passed by these baskets at the Container Store several times and never once thought of using them in this way. While the system wasn't cheap, it is seriously worth every dollar to me. I am a very disorganized person and this makes it easier for me to keep track of what I have. Perhaps when Eva's older I can convert the fourth bedroom that never gets used into a craft room where everything can be on display, but for now, this will do, since I can't go upstairs to craft and leave her downstairs unattended.
What do y'all think? I've had the system up for about a week now, and I still love it! Now I can dedicate my beautiful craft box to holding just felt and yarn...no more clutter! Ps, I apologize ahead of time for the dark pictures. This short,awkward hallway doesn't have a light and it was overcast today so not much natural light shining in. If you've made it through this ridiculously long post, thank you for reading!
I'm also really happy to announce that I'm going to be organizing my very first giveaway very soon! In order to be eligible, all you have to do is make sure you subscribe! Look over to the right and click on the blue "Join this Site" button. You don't have to have a blogger account. You can use your gmail account since blogger is run by google, or you can use any other email. The giveway will be for a few of my favorite things, just as a thank you to those of you who read my blog. I'm really looking forward to putting the prize together!
Linking Up!
What a great idea everything is neat and tidy and yet you can see it and access it at a glance. Genius!
ReplyDeleteSarah @ A Cat-Like Cusiosity
I agree Sarah! Thanks so much for stopping by and taking the time to comment.
DeleteUh-oh.....you forgot Grandpa Jairo's B'day. Shhhhhh.....I won't tell him if you don't! :)
ReplyDelete(Hint: it is 3 days after Nick's birthday ).
I love that shelf system, Vero! Great job.